This week the Scrapbook Nerd DT has been working with sketches. I chose to create a multi picture layout all about the girls love for our outdoor pool. The sketch was the perfect starting point for this page.
My choice was to stay close to the sketch with a few modifications. First, i added some mixed media to the background using Vicki Boutin's watercolor marker onto Bazzill Marshmallow cardstock.
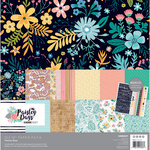
Once the mixed media dried, i used papers from the Kaisercraft Paisley Days collection to create the triangular paper strips at the edges of the page. In this case, i chose to move them around so that they guide your eye to the top of the page.
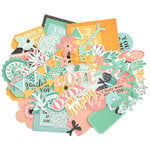
I chose to replace some of the pictures with a cut file from Handipaper which was backed with papers from the collection, and then used the some of the ephemera to complete the clusters just like in the sketch.
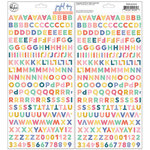
To finish the page, i used the larger ephemera pieces to create the floral cluster at the bottom of the paper strip, then added a title to the page using chipboard stickers from a 1Canoe2 collection, and mini Alphas from the Joyful Day collection from Pinkfresh Studio. Here is the final layout:
This page came together rather quickly as the sketch was a great starting point. I hope you stop by the Scrapbook Nerd Friends page to check the sketch and more inspiration from the DT. As always let me know if you have questions on how this came together.
The NSD celebrations have started, and of course i am joining in the fun. Scrapbook Nerd is hosting both a physical and on-line crop to celebrate the day.
The crop theme is scrapbooking, and i got to design the Stamping challenge. So, i set to use stamps and ink to create the background for the page. For this, I used the new Pinkfresh Studio's Adore Alpha stamp set, and a butterfly stamp from Kaisercraft.
Once the ink had set, i added a bit of liquid watercolor from Pinkfresh Studio and splatters around the background and title ( this was so inspired by Suse Fish), and then it was ready to embellish.
I chose a picture of my daughter and used pieces from Pinkfresh Studio's Joyful Day and Everyday Musings collection to decorate. A few stickers from an old Heidi Swapp collection just bring a few pops of color to the page.
To emphasize the butterfly theme on the background, i added a few cut out butterflies (created using a cut file from Handipaper) as well as small cluster at the bottom of the title. Here is the completed page:
I hope you join us at the Scrapbook Nerd Friends page on Facebook for some scrapbooking fun!
Remember to check all the materials used in the Scrapbook NErd shop and contact me if you have any questions on how this came together.
Scrapbook Layout created for Scrapbook Nerd - HELLO, THIS IS MY STORY -
Hi there!
It is tutorial time for the Scrapbook Nerd blog, and i took the chance to focus on using black paint in the background.
For this page, I used some Dina Wakley heavy body paint and combined it with Kaisercraft's Fleur collection to document a picture of myself, the following video will show you how this page was put together:
IN this layout, the black background creates a great canvas for all the layers and embellishments behind the picture.
The black background brings all the details on the papers and embellishment forward, as well as serves as an anchor for the picture in the page.
The beautiful and muted colors of the collection are a perfect complement to the messy look of the background which was created with just a small amount of paint. HEre is the completed layout:
Stop by Scrapbook Nerd to check the blog post and all the materials used to create this page. AS always let me know if you have questions on how this was put togethet.
Scrapbook Layout created for Scrapbook Nerd - SIMPLY AMAZING -
Hi there!
It is stamping week at Scrapbook Nerd. The DT was asked to create projects using stamps and stamping techniques. Well, I am kind of a stamp hoarder, so this was a super fun challenge to complete.
I started by creating the background for my flowers. For this i used Distress Oxides - I believe there are about 10 to 12 colors here - to create the watercolor look of the flowers. Once it was dried, I used both of Vicki Boutin's flower stamp and die set and black Archival ink to create all the flowers that will be used in this page.
To construct this page, I cut a piece of paper from the Fleur collection from Kaisercraft, as i wanted a neutral tone that was not white, and stitched it to the center of the page, Next I used a bit of Vicki Boutin Art Crayon to add color to the areas where the flowers will be clustered.
Using a combination of both stamp sets, I added the branches to the background using Distress Ink, and then proceeded to use foam adhesive to create dimension in the cluster of flowers.
I added the picture of my daughter (backed with vellum and a paper from the collection) to the center of the page. Here, i used a few stickers from the Fleur collection to add interest and break up the flower cluster a bit. A few stamped sentiments were also added using the Good Vibes collection stamp set and black ink.
To complete this page, i trimmed a bit of the bottom of the page, and added a border from the Fleur collection, and then created a cluster using the stamped flowers, and pieces from the collection. Here is the final page:
I love how this turned out, the flowers are the perfect complement to the picture of my smiling daughter. Remember to stop by Scrapbook Nerd to check for all the materials used in this layout. As always do not hesitate to contact me if you have questions on how this was put together.
Traveler's Notebook layout created for Scrapbook Nerd - MY PERSONAL JOURNAL -
Hi there,
My fascination with journaling and notebooks comes from an early age. I think I have been enamored with paper for as long as i can remember, and then there were the stamps... Be still my heart. So today, I want to share what is commonly used in my TN to document my every day, and used a combination of my favorite techniques to create this page for Scrapbook Nerd.
Since I wanted to document my kids's 1st day of school, I reached for some mixed media paper, and punched the edge to create the look of a notebook page. Then used the Tim Holtz stamping platform to create a graduating color stamp look. I used Distress Oxides, and Pinkfresh Studio's Lovely Borders 2 to create the page. The title for the page comes from a sticker from Pinkfresh Studio's Dream On Washi booklet.
To cover the other side of the page, I used Pinkfresh Studio's Dream On collection paper, and then matted the pictures on papers from the 6x6 paper pad from the Daydreamer collection from Kaisercraft. The pictures were glued to the page, and then i used the So Fancy Stamp from Pinkfresh Studio to add a small detail in between pictures.
The look of the layout before opening the flap.
Since I wanted to add lots of journaling about this day, I used some washi tape (Carpe Diem from Simple Stories) to attached the stamped paper to the page of the TN.
When you open the flap, there is a picture of my kids hard at work. I am a fan of Digital Stamps for documenting on my TN, so i used one of Ali Edwards stamps to add the sentiment to the picture, and then added some stickers from the Daydreamer collection from Kaisercraft. The journal was then created using a combination of digital stamps from Kerri Bradford Studio, and my typewriter. Here is the completed layout:
This page came together super easy and fast with the help of the digital stamps, and the stamping platform. Remember that all the supplies are available at Scrapbook Nerd ( not the digital stamps!), and I a comment away if you have questions on how this page came together.
See you all soon!
Materials Used: Kaisercraft - Daydreamer collection - 6x6 paper pad, Collection kit, and ephemera Pinkfresh Studio - Dream On collection - 12x12 papers, washi tape booklet - So Fancy stamp set - Lovely Borders 2 stamp set Tim Holtz - Small Chat word stickers Heidi Swapp - Memory Planner - Tabs Ranger - Distress Oxides - Black Soot, Faded Jeans, Broken China, Cracked Pistachio, Grape Preserves.
Traveler's Notebook Spread created for Clique Kits - MY PERSONAL JOURNAL -
Hello crafty friends!!
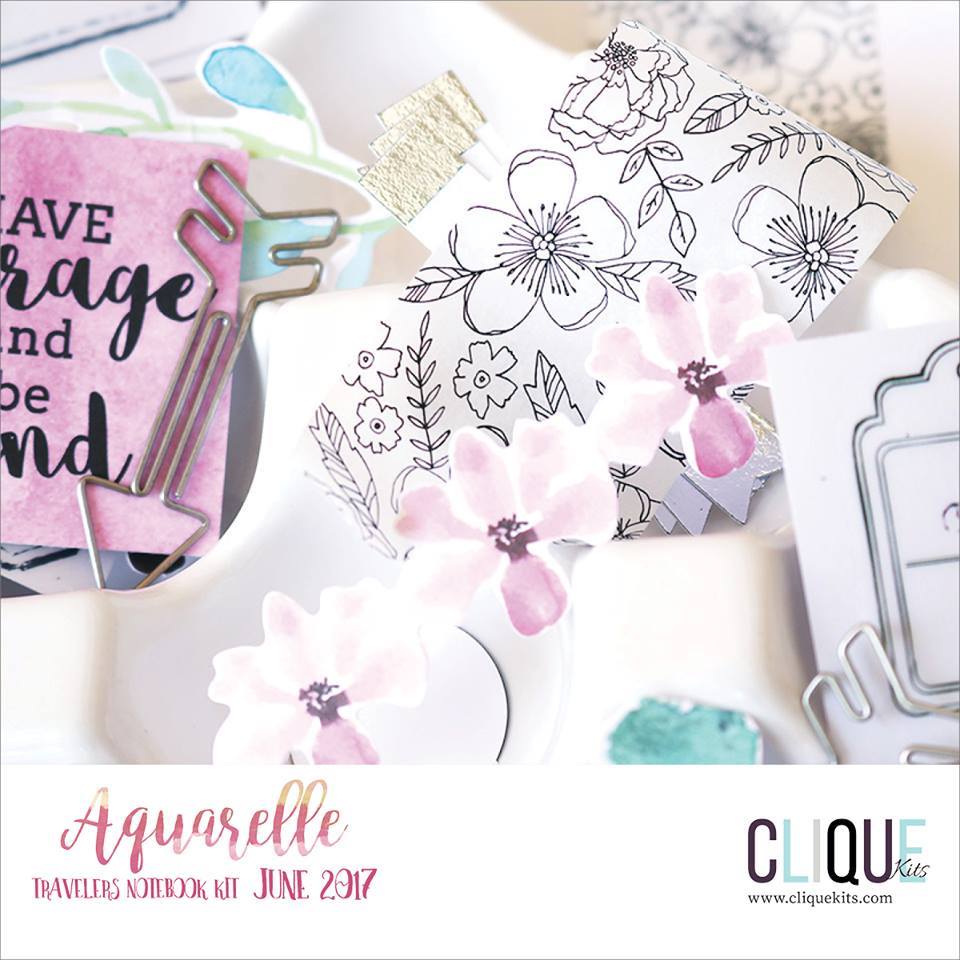
Nathalie here with some new entries on my personal journal -my TN- inspired by the beautiful Aquarelle kits (main and TN). This month's TN kit features the beautiful "Wildflower" collection from Kaisercraft, as well as plenty of embellishments, and exclusive printables that make memory keeping so easy and pleasurable.
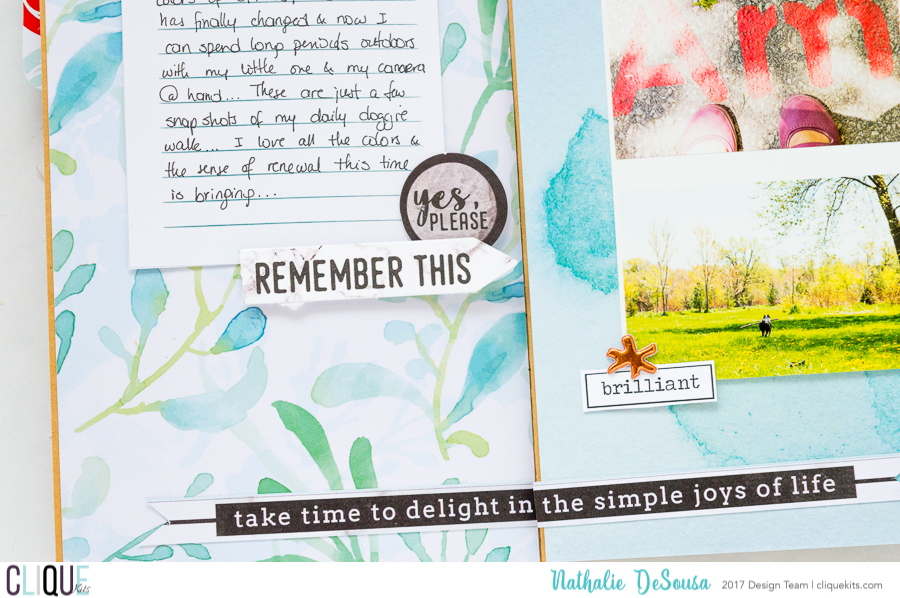
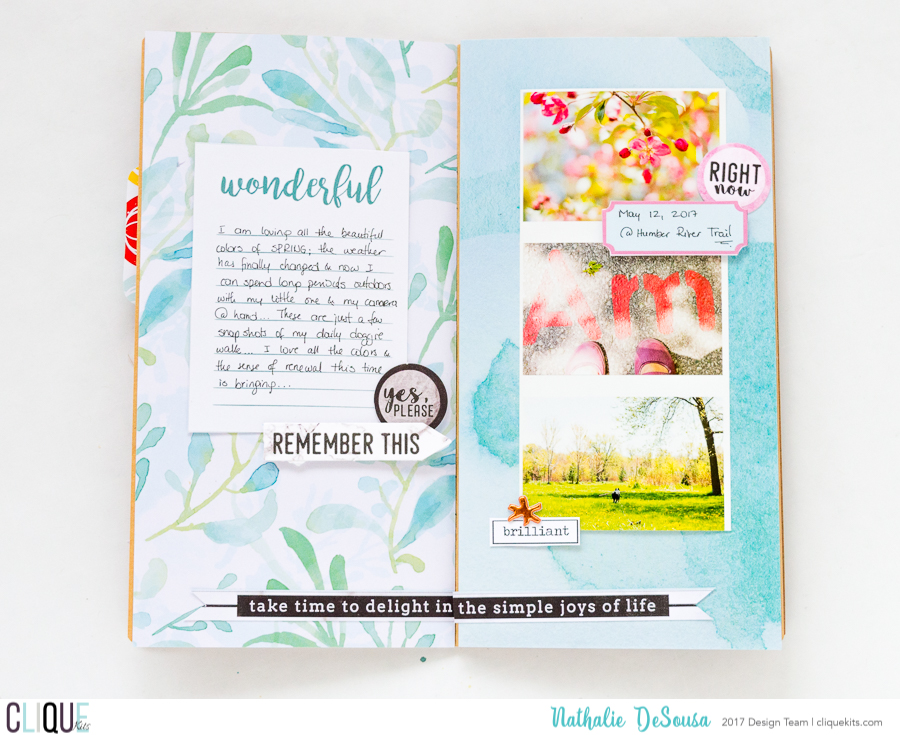
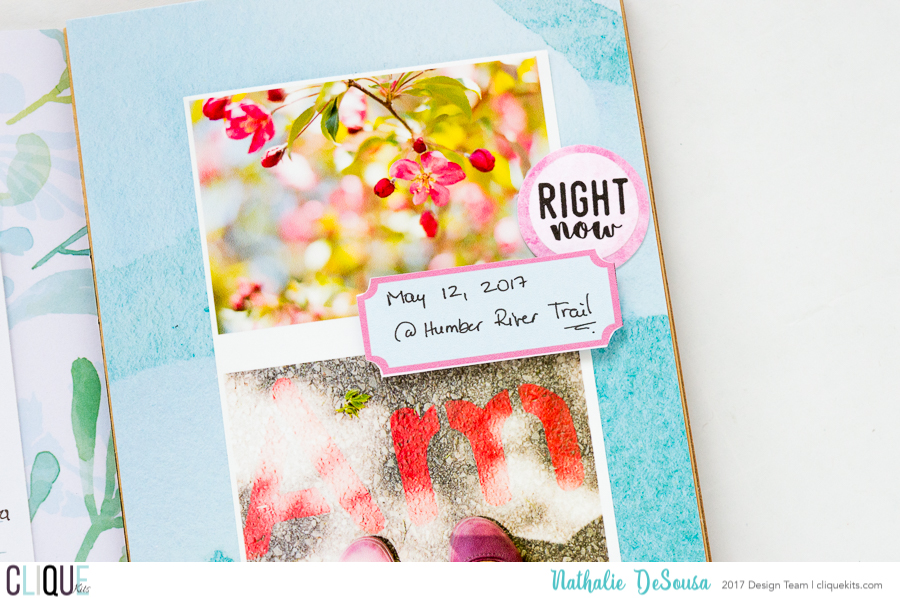
Since the weather is finally changing here in Toronto, I am taking advantage of long doggie walks around the Humber River path behind my house. The papers in the Aquarelle TN kit were perfect to document the beauty of Spring in the city. Here is a small video on how this page came together:
It took less than 10 minutes to put this page together. I picked one of the papers in the kit, and used both sides to cover both pages of the TN ( each page features a side of the paper).
I picked my 3 favorite pictures of the walk, and printed them in a film strip form using Lightroom. This was then glued to one of the pages of the TN -i chose the one with a less busy pattern on it-. Pieces from the Aquarelle TN Kit's die cuts and exclusives were used to decorate the page
The exclusive printables in this month's Aquarelle TN kit are perfect to add small details around the page. In this particular case, one of the cards houses all the details of my walk around the river path. Here is the final spread:
The color combination of the papers in the Aquarelle TN Kit was perfect to document all this Spring memories, and it took less than 10 minutes to complete the spread. It is that easy to work with this kit.
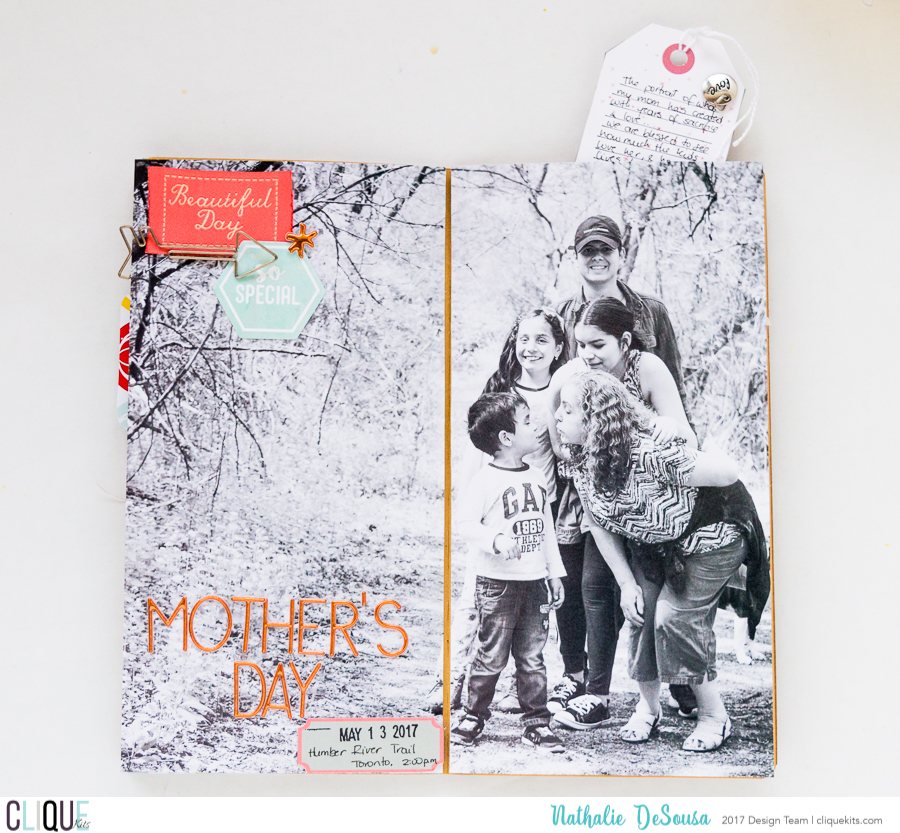
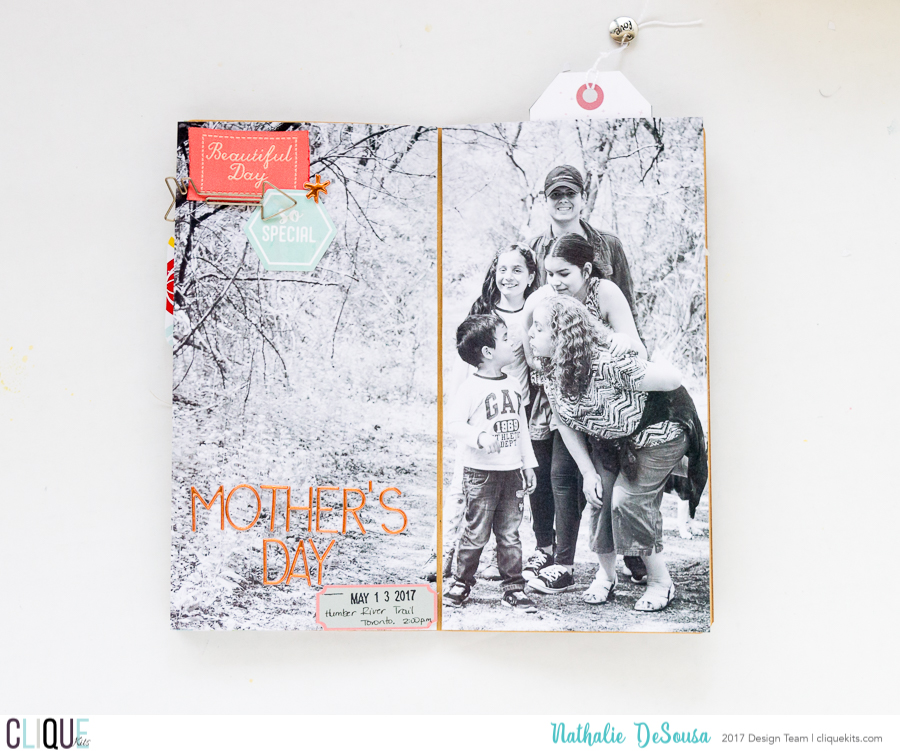
If you are a subscriber to both Main and TN kits, then this month's pizza box is going to be a dream for all memory keepers. Since you can easily incorporate bits and pieces from both kits in your projects. Here is an example of how I combined pieces of both kits to complete the spread of our favorite Mother's Day portrait, just sit down, and enjoy the video:
We love this picture, and i wanted it to be prominent on my memory keeping system, so I chose to enlarge the image to fit the entire TN spread. First i cut the picture in half so that i can easily glue to the TN.
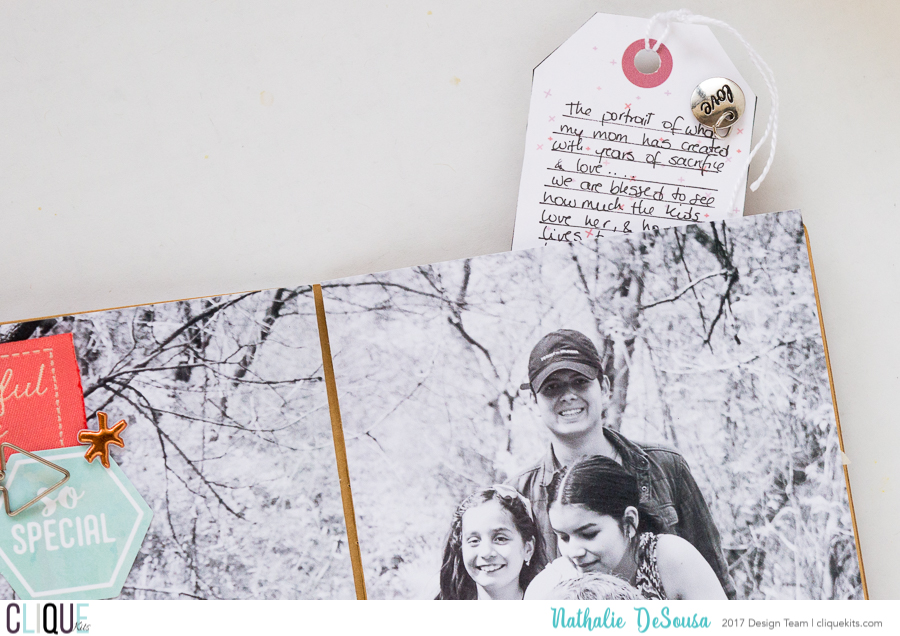
Before gluing the right side of the picture, a small pocket was created behind the picture, so that it can hold a tag (from the Aquarelle main kit exclusive printables) with all the journal lines about this memory.
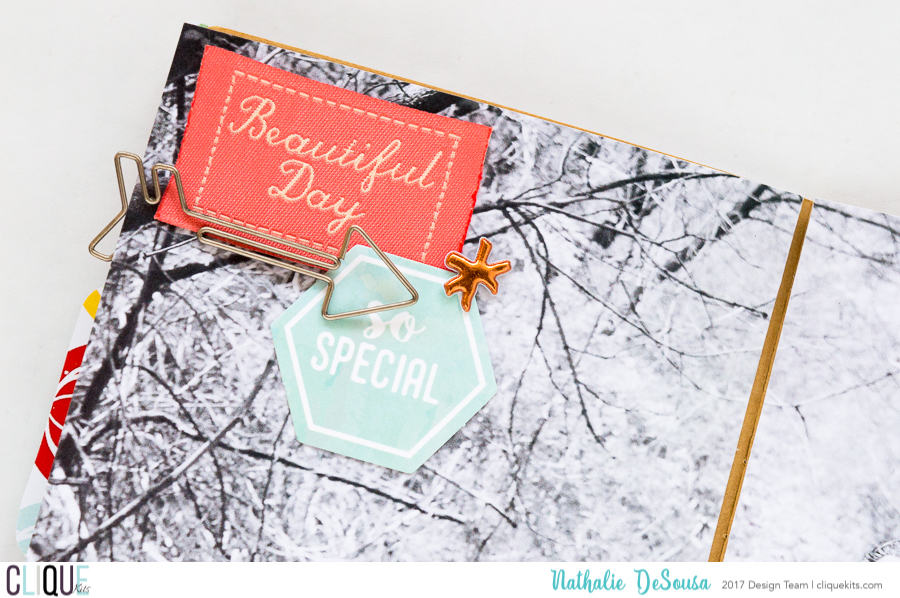
To complete embellishing this page, one of the fabric tags, included in the Aquarelle main kit, along with a die cut from the TN kit were glued to the top corner of the left side of the page. The arrow clip was then used to hold these pieces together, and a small asterisk from the main kit Alphas complete this cluster.
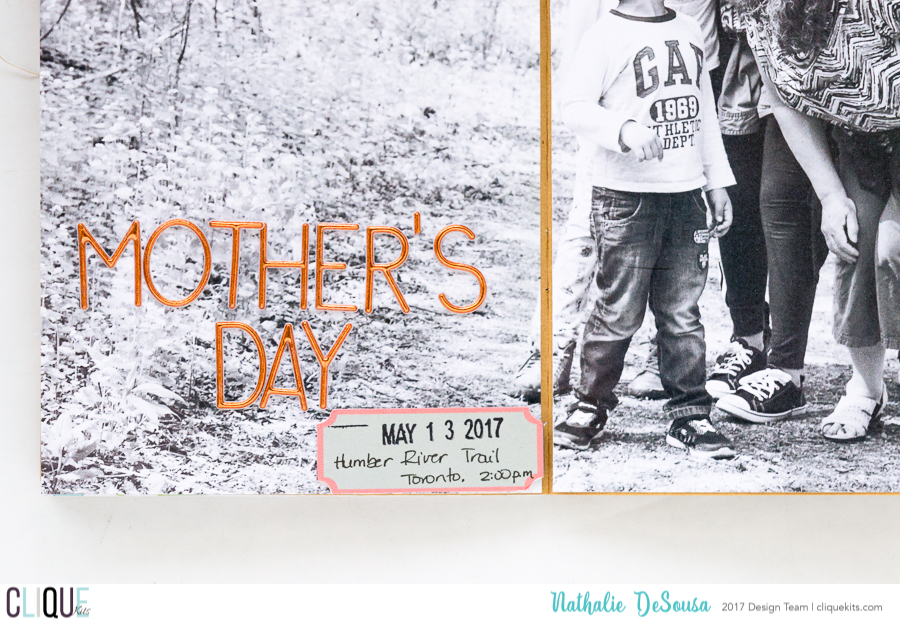
Finally one of the labels from the Aquarelle TN kit's exclusive printables was used to add the date and place of the picture. The copper Pinkfresh Studio alphas was then used to create the title of this page. Here is the complete spread:
This is by far one of my favorite spreads of the past 2 weeks in my spread. The texture from the different embellishments from both Aquarelle kits just adds the perfect touches to the picture. If you haven't checked the kits, there are still a few available at the Clique store, and you better rush to pick yours.
Remember i am a comment away if you have any questions on how these came together.
Scrapbook Layout created for Scrapbook Nerd - MOM -
Hello there!
It is the last day of my reveal week for Scrapbook Nerd, and in time to celebrate Mother's Day, I decided to use some of my doodles to create a cut file for this project. This cut file is available for free at Scrapbook Nerd store.
I cut the cut file from white cardstock, making sure that it would fit inside the floral paper from the Kaisercraft Wildfllower collection.
I used the watercolor flower paper to back the flower cluster from the cut file,and glued it to ring opposite to the title of the page. Foam adhesive was used to create the dimension on the page, this allows for the cut file to be distinguishable in the page.
Since the cluster is so busy, just a few pieces of embellishment was used around the page. I took advantage of the ring's perimeter to write my journal lines, and added a few splatters of gold ink, Here is the final layout:
I really like how this page came together, there is some satisfaction on creating your own designs especially for this page all about my mom. Remember you can get your free copy of the cut file at Scrapbook Nerd's store. Here is small video on how the page came together, enjoy!!
Remember I am a comment away if you have any questions on how this came together.
See you all soon!
Materials Used: Cut file - Nathalie DeSousa for Scrapbook Nerd
Paper Collection and ephemera - Wildflower - Kaisercraft




 I picked my 3 favorite pictures of the walk, and printed them in a film strip form using Lightroom. This was then glued to one of the pages of the TN -i chose the one with a less busy pattern on it-. Pieces from the