Showing posts with label design team project. Show all posts

Jul 18, 2019

A BIT OF OFFICE HOURS INPIRATION - Pinkfresh Studio


Hi there,
Nathalie with you today  sharing a bit of OFFICE HOURS inspiration.  I am so excited to be here as part of the Design Team and get to share some of my love (aka obsession) for Pinkfresh Studio products with all of you, so let's get started.
My first layout, Coffee Time, is all about my love affair with coffee.


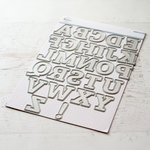
I fell in love with the B side of the Organize This paper, those ombre stripes gave the idea to create a vertical title using the Adore Alpha dies.  Once the word was cut, i set to create the background for this layout.


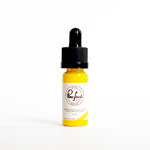
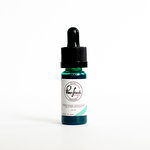
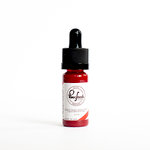
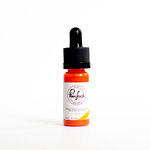
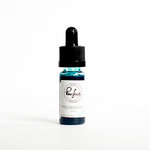
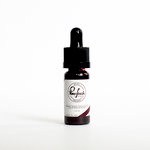
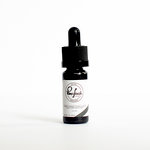
I love working with the Pinkfresh Studio Liquid watercolors, and this time i used a few of them to add splashes of color to the background.  To bring the coffee feel to the page, i used the rim of a coffee cup lid and the Espresso watercolor to create the coffee watermark/stains on the background, of course a few coffee splatters were added, too.


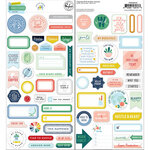
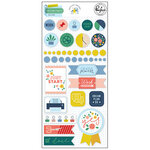
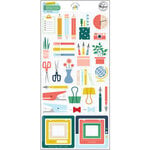
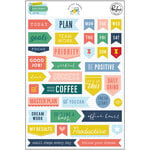
Once the background dried, i set the picture in place and then added clusters of embellishments around the page.  The Office Hours collection is packed with so many cute and versatile embellishments that it took no time to work them into the page.


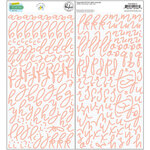
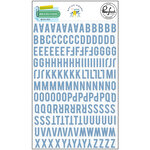
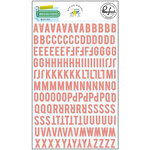
Lastly, I completed the title using the beautiful script font puffy stickers and a few enamel dots - all from the Office Hours collection-.   I hope you can see in the page how much i love coffee!.  The following process video will show you how the layout came together, enjoy:


For my second page, i decided to use the OFFICE HOURS collection to create a page about my kids' never ending school work assignments.


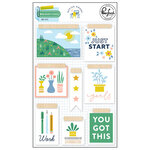
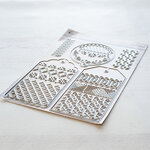
For this page i wanted a more structured look  -something that reminded me of school-, so i pulled the Essential Classic Tags with Fillable Elements to cut tags from different papers from the collection, and also the picture of my daughter.


The idea of structure was easily translated into the layout by creating a grid with the tags.  Once i had them in order, i used embellishments from the collection to decorate each of them.


In order to break a bit of the angular shape of the grid, i chose to place some of the embellishments a bit off side, this added movement and a touch of fun  to the page.


Being a mom of teenagers means to walk a fine line between being encouraging and sarcastic, so i decided to reflect this in the bottom row of tags.  The first has all the journal (the little clipboard piece was easy to fussy cut), then the middle tag contains the title -which just makes me smile every time i read it- created using the alphas from the collection, and then a bit of encouraging to end the page.


I love the structured look of the page, along with the fun colors and movement of the embellishments on the page.  The following video will show you how it all came together.


Just love how these two pages came together using one single collection.  I hope these have inspired you to use the OFFICE HOURS collection to document your memories.    Remember to share with us what you create with the collection!
XO,
Nathalie


Materials used ( the images contain Affiliate Links)
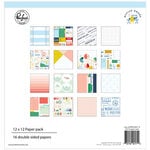

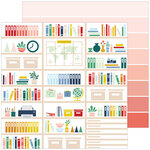
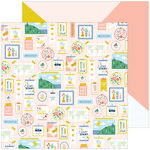
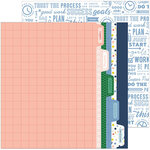
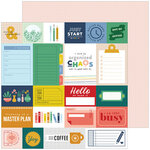
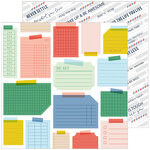
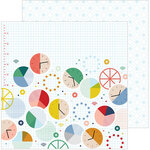
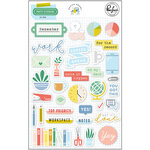
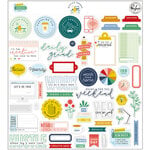
Pinkfresh Studio - Office Hours Collection - 12 x 12 Paper Pack Pinkfresh Studio - Office Hours Collection - 12 x 12 Double Sided Paper - Plan Pinkfresh Studio - Office Hours Collection - 12 x 12 Double Sided Paper - Organize Pinkfresh Studio - Office Hours Collection - 12 x 12 Double Sided Paper - Inspiration Pinkfresh Studio - Office Hours Collection - 12 x 12 Double Sided Paper - Prioritize Pinkfresh Studio - Office Hours Collection - 12 x 12 Double Sided Paper - Busy Pinkfresh Studio - Office Hours Collection - 12 x 12 Double Sided Paper - Hustle Pinkfresh Studio - Office Hours Collection - 12 x 12 Double Sided Paper - Hard Work Pinkfresh Studio - Office Hours Collection - Puffy Stickers Pinkfresh Studio - Office Hours Collection - Ephemera Pack Pinkfresh Studio - Office Hours Collection - Cardstock Phrase Stickers Pinkfresh Studio - Office Hours Collection - Stickers - Mixed Embellishments Pack Pinkfresh Studio - Office Hours Collection - Wood Accent Stickers Pinkfresh Studio - Office Hours Collection - Puffy Alpha Stickers Pinkfresh Studio - Office Hours Collection - Mini Puffy Alpha Stickers - Blue Pinkfresh Studio - Office Hours Collection - Mini Puffy Alpha Stickers - Coral Pinkfresh Studio - Office Hours Collection - Chipboard Stickers Pinkfresh Studio - Office Hours Collection - Fabric Ephemera Pack Pinkfresh Studio - Liquid Watercolors - Sunshine Pinkfresh Studio - Liquid Watercolors - Aquamarine Pinkfresh Studio - Liquid Watercolors - Candy Apple Pinkfresh Studio - Liquid Watercolors - Clementine Pinkfresh Studio - Liquid Watercolors - Sky Blue Pinkfresh Studio - Liquid Watercolors - Espresso Pinkfresh Studio - Liquid Watercolors - Licorice Pinkfresh Studio - Dies - Adore Alpha Pinkfresh Studio - Essentials Collection - Dies - Classic Tags with Fillable Elements

May 17, 2019

ALWAYS REMEMBER TODAY - JustNick Studio


Hi there!
Nathalie with you today with a new layout fit for our "word" challenge.  I love large titles, so this theme fits right up my alley, and with so many cut files available in the JustNick Studio store, this was just a dream to put together.


To start this page, i pulled together the Word 3, Love List and Word 2 cut files to create the title of the page, "ALWAYS REMEMBER THIS".   I simply pick a word of each file and weld them together so that they naturally create a space for the picture.


Once the words were welded, they were cut twice from white cardstock and once from a paper from the Pinkfresh Studio's Everyday Musings collection.   The white cut outs were glued together, and then the patterned paper cut out was attached to the white ones with a small offset so that it creates the illusion of dimension.


To add color to the background a bit of liquid watercolor (Pinkfresh Studio) was added so that it covered all the area where the word and picture would sit.  While the background dried, i pulled the new Butterfly cut file to cut a few outlines  and the shapes from white cardstock and patterned paper.


To assemble the page, first the title  was glued to the background, and then using a black fineliner  the outline was traced - this emphasizes the title-.  The butterflies were glued together, and then they were clustered on the layout based on the respective color in the background.


A few stickers and embellishments from the Everyday Musings collection were added around the layout.  A few lines of journal and gold ink splatters completes this page.
I hope this inspires you to check all the word files and other designs in the JustNick shop, the choices are infinite when it comes to mixing and matching designs to create a one-of-a-kind cut out for your project.  

XO


May 6, 2019

LIFE CRAFTED LAYOUTS - Citrus Twist Kits

Hi there!
Nathalie with you today!  Have you checked all the awesome stamps that have been released along with the Excursions kit; I mean, the Excursions kit is gorgeous, but the coordinating stamps are just the perfect complement to the papers, and embellishments.  Let me show you:


For this entry, i chose to stamp the outer border of backgrounds with the leaf patterns of the This is Life "Free Spirit" with Distress Oxide Inks in colors that coordinate to the ones in the kit.  The Monstera leaves were also stamped on a piece of white cardstock and fussy cut so that they could be used as embellishments for this page.


I used this month's Traveller's Notebook stamp to add the sentiments to the picture with Archival Ink, and then added a few of the papers from the Excursions kit as layers before placing  it on the background.


The stamped-then-fussy-cut leaves along with florals from this month's Floral Element cut apart are just the perfect touch to decorate the page.


To add my lines of journal and title, i used some of the cut apart elements and layered them along with the stamped-then-fussy-cut leaves as well as added more repetitive stamping using the This is Life and Traveler's Notebook stamp.   The following video will show you how it all came together:


Don't you just love the  colors and the feel of the kit, but  what i love most about the kits and stamps is how versatile they can be, so i set to build a second entry in my Life Crafted album  using the same stamps and an everyday picture.


This time i created a border for the layout using the This is Life "Free Spirit" stamp's sentiments in a repetitive way with black ink.   I just chose a sentiment and repeated it until the ink had worn out, and then switch to the next one until i had completed the border.


I pulled pieces from the kit, cut apart elements and the extra Subscriber PL cards to create  the clusters in the pictures.   Love how the colors combine easily when using pieces from the same kit.


For the title, i added a cluster of embellishments and added a stamped sentiment using the This is Life "Free Spirit" as the title.   You can see  a step-by-step tutorial on how this page came together in today's Citrus Twist Kits Intagram stories feed.


It is always a joy to work with the Life Crafted kits, but this month's Excursions kit and add on stamps is probably one of my most favorite, and i am sure it will be yours, too!

If you have questions on how this came together, please contact me, and don't forget to check the kits and  all the add ons ( they are quickly selling out!)

XO