Showing posts with label pebbles. Show all posts

Dec 12, 2019

COZY & BRIGHT - Scrapbook Nerd


Hi there!

It is almost here!  and i am yet to do my Christmas shopping!!!  Instead, I have spent time putting some of my Christmas passed memories into pages for my albums.   Today, i want to share this page all about my baby, and his love for the tree and blankets.


A few weeks ago, I purchased the Nuvo Shimmer Powders from Scrapbooknerd, and finally broke them out to use in this page.  It is no secret I love mixed media, so this colors made the perfect background for the page.


I first added a bit of texture paste through a the Poinsettia Pattern stencil from Echo Park, and then used  Cherry Bomb, Red Scarlett and the green powder to add the color on the page.  I finished the background with a bit of gold ink.


while the background dried, i cut papers from both the Merry Little Christmas from Pebbles and Snowflake from Crate Paper to back the pictures of my baby.  Then attached them to the background with  some foam adhesive.


I kept the embellishments very simple, by creating a few clusters of stickers and embellishments from the collections ( plus some FALALA from Crate Paper) around the pictures and in a soft diagonal line on the page.


The last step was to add a title (alphas from Pink Paislee's Ivy  collection) and then a few strips of papers on the sides of the page.   I love how this turned out, and how quickly it came together.  The colors of the powders are just to die for, too.


Remember to stop by Scrapbook Nerd to check all the materials i used in this page, and please do not hesitate to contact me with any questions.

XO

Nov 18, 2019

CHRISTMAS CUTIE - Scrapbook Nerd


Hi there!

It is sketch week at Scrapbook Nerd.  Since we are so close to Christmas, i decided to use the sketch to document a picture of my goddaughter from last year's festivities.  But before i show you what i have created, let me share with you the sketch:


Sketches are a great source of inspiration and a map-of-sorts when it comes to creating layouts.   This week's sketch is a perfect way to combine many manufacturers and techniques in one page.


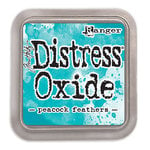
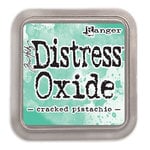
I added a bit of diluted Distress Oxide (Cracked Pistachio and Peacock Feather) in  the background of the page.  While it dried, i started to work on the paper strips for the page.


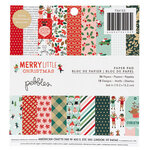
I cut random triangular strips of paper from one of the specialty papers from Maggie Holmes Heritage collection, as well as papers from the 6x6 paper pad from Pebbles.  I diluted VIcki Boutin Gold glaze and splattered it on white cardstock to create a texture paper for the layout.


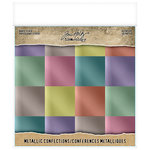
To continue the clear look of the acetate paper, i chose to die cut stars from Metallic Kraft paper using the Altenew Bundle of Joy die set,  The stars were glued onto strips of acetate, then trimmed to fit inside the strip.


I clustered the papers to follow the look of the sketch,but not covered the entire page with the strips.  Instead, i chose to just cover half of the page, and used the empty space to add my title using a combination of alphas from Pebbles and Pink Paislee.   The embellishment phrases come from the Simple Stories Say Cheese Christmas collection.


I love how this turned out, and how nicely the paper strips bring the focus of the page to the picture of my goddaughter.

Remember to stop by Scrapbook Nerd to check all the materials used in this page.  If you have questions on how it came together,please do not forget to contact me!

XO


Materials used:

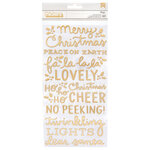
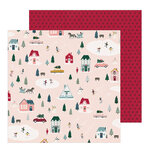
Pebbles - Merry Little Christmas Collection - Thickers - Puffy with Foil Accents Pebbles - Merry Little Christmas Collection - 6 x 6 Paper Pad with Foil Accents Crate Paper - Heritage Collection - 12 x 12 Specialty Paper - Gratitude with Gold Glitter Accents Idea-ology - Tim Holtz - 8 x 8 Kraft Stock - Metallic - Confections Altenew - Dies - Bundle Of Joy Lawn Fawn - 8.5 x 11 - Specialty Clear Acetate - 5 Pack Simple Stories - Say Cheese Christmas - Combo Sticker Pink Paislee - Indigo and Ivy Collection - Puffy Vinyl Stickers with Foil Accents - Alpha American Crafts - All The Good Things Collection - Mediums - Glaze - Gold Ranger Ink - Tim Holtz - Distress Oxides Ink Pads - Peacock Feathers Ranger Ink - Tim Holtz - Distress Oxides Ink Pads - Cracked Pistachio Crate Paper - Snowflake Collection - 12 x 12 Double Sided Paper - Village

Oct 4, 2019

OUR STORY - JustNick Studio


Hi there!
Nathalie with you today with a new project that is all about my family.  Once in a while  I like to create covers for my albums, and the newest word cut files from JustNick studio were perfect to create a new cover.


I wanted to frame the cover page, so i used the Floral Corner cut file to create the floral frame for the page.  I copy and rotated the file so that i had a piece on each corner and weld them all together. 


I cut the frame out of smooth white cardstock and attached it to the background using a bit of foam adhesive so that it gives dimension to the page.


To create the title of the page i used the Story cut file to create the "Our Story" cut out from white cardstock.  Each letter was then backed with papers from the new Pebbles' This is Family collection.


Once i set the title on the page, i added a picture of my family and added a few clusters of ephemera and stickers around the title and picture.  To finish the page, i cut two of the smaller images from the Beautiful Butterflies cut file, glue them together and pop them at the bottom of the page.


I love how this project turned out, and it was so easy to put together using the beautiful Just Nick Studio cut files; so make sure to check them all out.  Remember to contact me with any questions on how this came together.


Jan 15, 2019

Selfie Time


Scrapbook Layout created for Scrapbook Nerd  - SELFIE TIME -


Hi there!
 Nathalie with you today with a new layout that showcases the new "Along The Way" collection from Pebbles.   I  am a confirmed paper lover, but nothing makes me happier than finding collections that can be used in everyday documenting. This collection has rich colors, and many designs that can be used at any season or time of the year.


    What better way to showcase a collection while documenting a picture than to detail backing a cut file.  For this layout, i chose a cut file from Handipaper, Floral Photo Camera to create one of the focus points of  this page.


   This cut out is rather simple in design with intricate details, so i was careful backing each of the small areas of the cut to make sure that the small details come forward.


 All the patterned paper in the collection made it so easy to bring the camera to live for this page.  The following video will show you a more in-depth look on how the page was put together:


 The placement of the picture in the page, along with the detailed camera are the focus of this page.   However all the fussy cut floral motif from the patterned paper, ephemera and stickers bring softness to this page.


     To avoid taking the focus away from the picture and cut out, a simple title was created using alphas from the Whimsical collection from Pink Paislee, and accenting it with a sticker from the Along The Way collection.


      I hope this has inspired you to stop by the Scrapbook Nerd store to check all the materials used in this page.   Remember there are always new goodies arriving at the store! As always, if you have questions on how this came together, please just leave me a comment here.


 XO

Nov 22, 2018

Christmas Cards in Minutes

Christmas Cards in Minutes  for Scrapbook Nerd


Hi there!

let the Christmas season oficially start! YAY!!!

This week we have been asked to create a Christmas cards for our weekly inspiration post for Scrapbook Nerd, and since it has been a super busy week for me, I decided to create this set of cards using cut files and pre made embellishments.  I don't know about you, but somedays simple is better.


This first card was created using a cut file from the Silhouette Store.  I purchased a wide range of color cardstock from Scrapbook Nerd a while ago, and this time, i pulled the navy one to create the base of the card.  Next I added a frame of white gold cardstock using a bit of foam adhesive for dimension, and then added the cut out using a thicker foam adhesive so that it is higher than the frame.  To finish I added a sentiment from the Pinkfrsh Studio Oh Joy collection, and a few star sequin to the tree.


For this card, I decided to cut a wreath file from Paige Evans on white cardstock and white gold cardstock and layered then on top of craft stock.  Then propped the sentiment -from the new Pebbles Bright and Cozy collection- with some foam adhesive on top of the wreath.  A few drops of white ink complete this card.


This last card was created using white gold cardstock to cut the snowflake from a Handipaper cut file,  then I created the vellum sleeve to fit a paper from the Bright and cozy collection from Pebbles.  Next I used some glue dots to attach the glitter heart from Prima Marketing's Santa Baby collection, and then the sentiment from the Pinkfresh Studio's Oh Joy collection.

In total, with cutting time included, the set  took me less than 30 minutes to put together.  Easy, peasy!

You can check all the materials at Scrapbook Nerd, there is  a huge sale going on now, so make sure to stop by!

Let the Holiday season begin!

XO
Oct 30, 2018

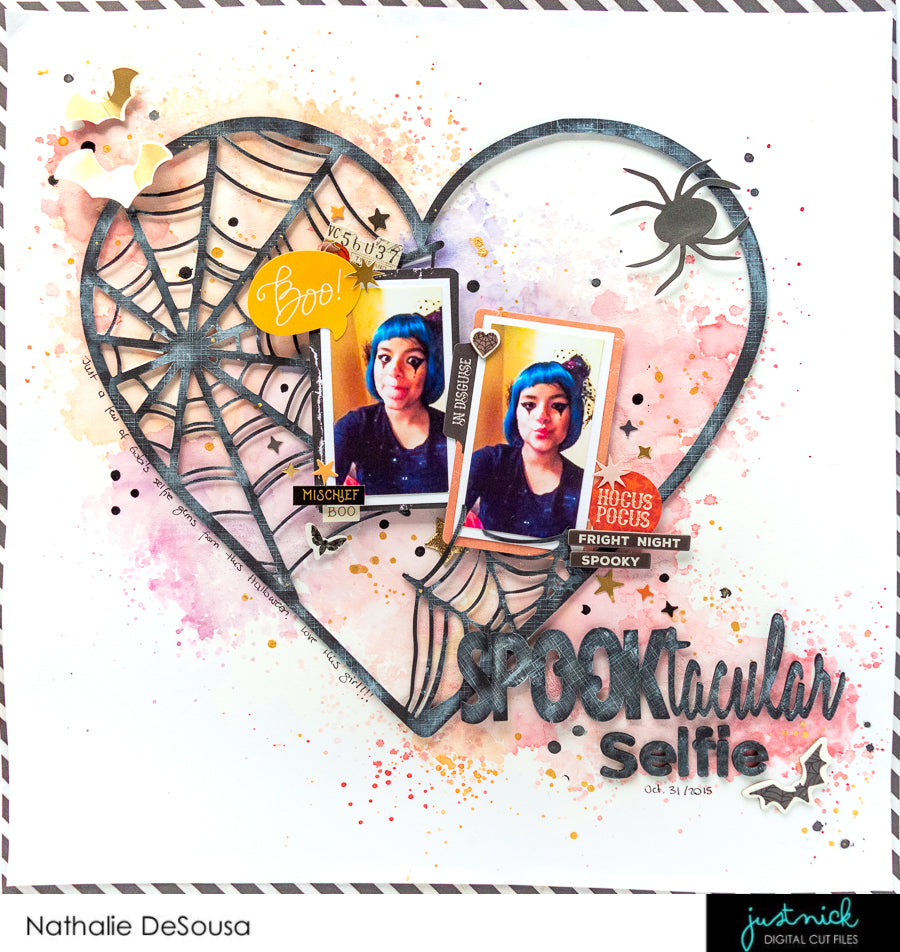
Spooktacular Selfie

Hi there!

Happy Halloween everyone!   Oh, how i miss the day my kids would dress up for the day, all the preparations, the make up and all the candy afterwards (well, there is still candy!!);  now that they are teenagers all I am left with are sweet memories of Halloween's past.  So, i pulled a few pictures from a couple years ago to create this page using some of the new JustNick Studio cut files.

JustNick Studio_SPOOKTACULAR SELFIE_Nathalie DeSousa

There are so many cut files to chose from, and it was so hard to pick one, that i decided to mix four cut files in one page.


I combined one of the Basic Heart cut file  images with the Spiderweb 2 background and Web cut files to create the cut out for this page.  I chose to cut it from black cardstock, so that it would stand out from the mixed media background (created with Jane Davenports Mermaid Markers).


Before setting the cut out on the page, a bit of white acrylic paint was rubbed on the cardstock, this gives the cut out that worn/antique look you see in the layout.


The pictures were sized so that they fit in between the two spiderwebs inside the heart, and then i used stickers and embellishments from a few Halloween collections (Simple Vintage Halloween from Simple Stories,  Pink Paislee's Spellcast and Pebbles' Midnight Haunting) to add some small details around the page.


For the title of this page, I chose the new Happy Halloween cut file to create the "SPOOKTACULAR" part of the title.  It was cut from black cardstock and then treated to a white acrylic paint wash.


Now it is time to go and set all the candy in bowls for us to share (well a bit of it, at least!).  Remember to stop by the JustNick Studio store to check all the cut files used here and all other beautiful designs.  You can always contact me if you have questions on how this all came together!
Have a safe and  Happy Halloween!!


Oct 14, 2016

Welcome Fall


Scrapbook layout created for Scrapbook Nerd  -  WELCOME FALL -


Hello!


Today, is the last reveal day at Scrapbook Nerd, and since the ladies are running a weekend long on-line crop, this layout will also be one of the challenges for the crop.    Since the crop's theme is Fall, I created a project that documents our walks during this glorious season.  Here is a small video on how the layout came together:


I hope you enjoyed the video!.  now i will show you a few close-ups of the page.   I am using Pebbles chipboard leaves to create the banner in the page, along with some Simple Stories and Kaisercraft ephemera pieces.  The title was composed using large word stickers and die cuts.


I balance the page with a strip of paper and a lose leaf with a few journal lines around it>


Here is the final layout:


I hope you join us at Scrapbook Nerd Facebook page or forums on this weekend long on-line crop.

As always let me know if you have any questions about the layout.

See you all soon!


Materials Used:
White cardstock -American Crafts
Gesso -Liquitex
Watercolor palettes :  Decadent Pies, Pastel Dreams, the Classics - Prima
Patterned paper - Sn@p basics - Chestnut/White - Simple Stories
Chipboard leaves, and Large word foil sticker - Jen Hadfield collection - Pebbles
Color shine - gold, cherry, mustard - Heidi Swapp
twine
Gold camera paper clip, Deatails - American Crafts
Die cut word - Flea Market collection - Odds and Ends - Doodlebug designs
Sticker sheet - Posh collection, Life in Color collection - Simple Stories
Ephemera - Life in Color collection - Simple Stories
Ephemera - Boho Dreams collection - Kaisercraft
Cork Heart sticker - Cest la Vie collection - Pink Paislee
clear word sticker - Cest La VIe collection - Pink Paislee
Ephemera - Bloom collection - Crate Paper