Showing posts with label Christmas. Show all posts

Dec 16, 2021

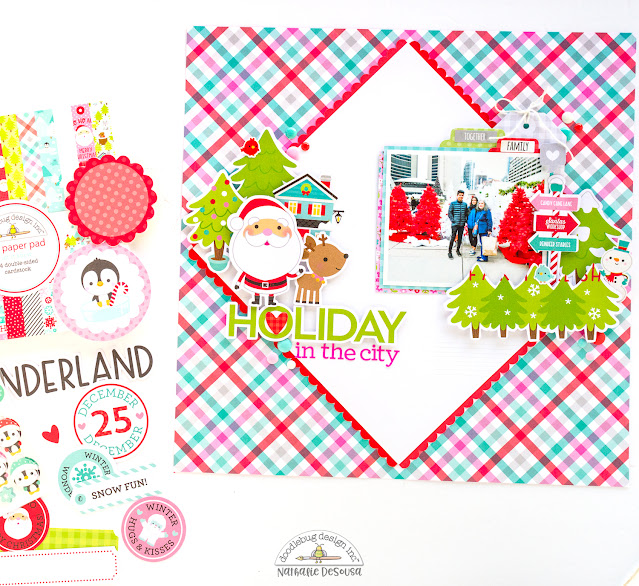
HOLIDAY in the CITY - Let It Snow collection | Doodlebug Design

 And we are counting down the days until we can all gather to enjoy some time together whether at home or somewhere in the city, the Holidays are always better spent together.  The new Let It Snow collection was just perfect to document one of our past Holiday traditions...
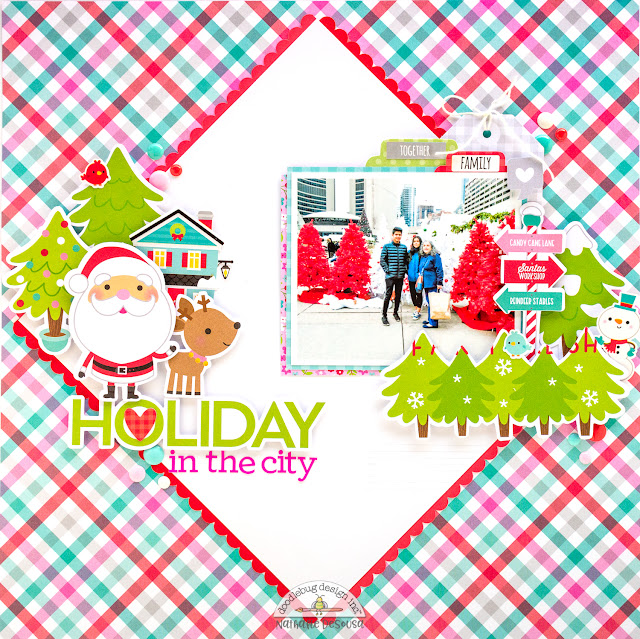


The design in the Heartwarming paper was the inspiration for the page. I simply attached pieces of Paper Frills to an 8" square of cardstock, and attached it to the center of the page.
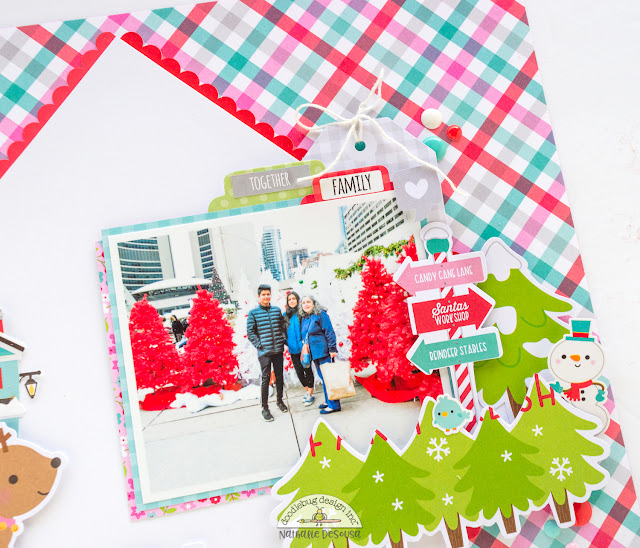


I backed my photo with papers from the 6x6 paper pad.  There are so many cute embellishments in this collection, it was so easy to cluster them together next to the photo,
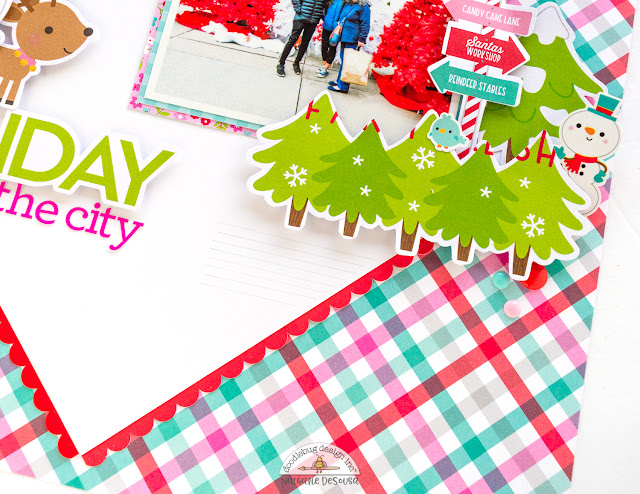


I am a huge make-the-paper-work-for-you promoter, that means not being afraid to trim pieces off the embellishments to fit in your pages.  You will be surprised at how your scrapbooking mojo will fly if you just do so!  Just check the row of trees, I trimmed the sentiments out of it, and added it on my cluster.
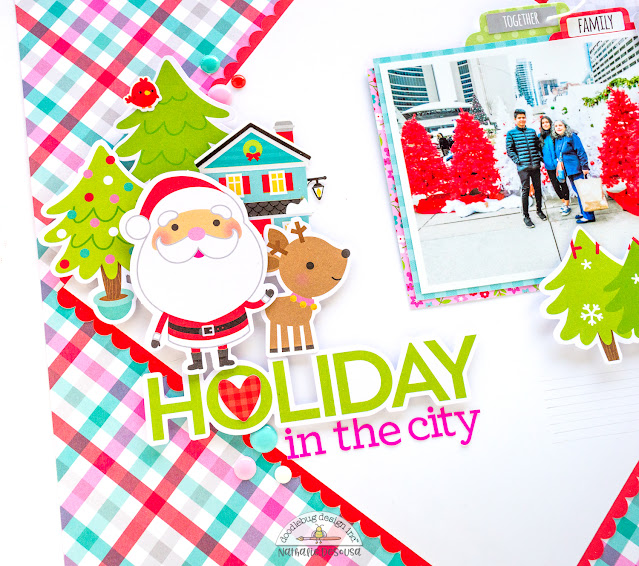


I chose to create a large cluster of ephemera opposite the photo placement.  This helps to balance the page and create the perfect placement for a title.


I am loving the new Let It Snow collection, there are so many directions you can  take with it to help you document your memories.  Remember to check it out!


XOXO


Instagram | Blog | YouTube 

SUPPLIES:

Let It Snow collection

Paper Frills - Ladybug

MyType Alpha Stickers - bubblegun

Sprinkles

Dec 12, 2019

COZY & BRIGHT - Scrapbook Nerd


Hi there!

It is almost here!  and i am yet to do my Christmas shopping!!!  Instead, I have spent time putting some of my Christmas passed memories into pages for my albums.   Today, i want to share this page all about my baby, and his love for the tree and blankets.


A few weeks ago, I purchased the Nuvo Shimmer Powders from Scrapbooknerd, and finally broke them out to use in this page.  It is no secret I love mixed media, so this colors made the perfect background for the page.


I first added a bit of texture paste through a the Poinsettia Pattern stencil from Echo Park, and then used  Cherry Bomb, Red Scarlett and the green powder to add the color on the page.  I finished the background with a bit of gold ink.


while the background dried, i cut papers from both the Merry Little Christmas from Pebbles and Snowflake from Crate Paper to back the pictures of my baby.  Then attached them to the background with  some foam adhesive.


I kept the embellishments very simple, by creating a few clusters of stickers and embellishments from the collections ( plus some FALALA from Crate Paper) around the pictures and in a soft diagonal line on the page.


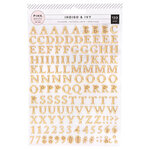
The last step was to add a title (alphas from Pink Paislee's Ivy  collection) and then a few strips of papers on the sides of the page.   I love how this turned out, and how quickly it came together.  The colors of the powders are just to die for, too.


Remember to stop by Scrapbook Nerd to check all the materials i used in this page, and please do not hesitate to contact me with any questions.

XO

Dec 2, 2019

BELIEVE - Simple Stories


Hi there!  Nathalie with you today to share with you a new layout about documenting the Magic of Christmas using the beautiful Country Christmas.   I love the vintage, classic designs of this collection, and  it was perfect to bring the sentiment of the season to this page.


I wanted to showcase the papers in this collection, so i started by trimming  and distressing the edges of the O Christmas Tree paper, and adhere to the b-side of the Glad Tidings paper.   The color combination of these papers makes the page so festive.


To make the papers shine, i chose a simple design for the page.  First, one of the papers from the 6x8 paper pad was glued to the background ( i picked the paper to match the Glad Tidings paper).  To bring the snow details in the background, i used a cut file from Handipaper to create the snowflake cut out, and then attached it along the left side of the 6x8 paper.


The Sn@p cards are perfect to create layers, and i used one of the 4x6 and 3x4 ones behind the picture.  Then used  the Simple Basic paper pack to create a small pocket that is also layered behind the picture.  Once i attached this to the page, i used a few embellishments from the collection to bring color and fun to the page.


To finish the page, I used the large "Believe" sticker from the combo sheet and  then a small chipboard stickers.   I  chose to handwrite my journal, but finished the paragraph with a few stamped images from the coordinating stamp set.


I love how this turned out, a simple page made perfect by all the papers and embellishments from the beautiful COUNTRY CHRISTMAS collection.   Remember to check the collection, you will love how it can easily bring the magic of Christmas to your pages.

XO


Nov 25, 2019

HOLIDAY TRADITIONS - Scrapbook Nerd


Hi!  it is time for some inspiration for Scrapbook Nerd, and it is also time to pull all the festive goodies and document Christmas!!!   Well, i am all about playing with paper and glue, but when it comes to Christmas, there is just a little extra incentive to get creative.


For this page, i mixed a few different things that i am loving lately.  One is the papers in the This is Family collection from Pebbles, the colors and designs in the Merry Little Christmas also from Pebbles and circles.


I started by punching circles from the 6x6 paper pad from Pebbles and the 6x8 paper pad from Crate Paper's Snowflake collection.  I punched a hole at the top of each circle so i can form a banner with the circles, and wrapped the cord around a piece of 8.5x11 cardstock.


Once the banner was set in place (foam adhesive and glue dots are holding the circles in place) i glued the letter size cardstock to a paper from the THis is Family collection, and then added the picture so it sits between the two pieces of paper.


i used embellishments from Pebbles, Simple Stories, Crate Paper to bring the Christmas sentiment to the page.  Lots of pops of red, gold, green and teal bring the festive look to the  page.


All that was left to do was add a title ( Crate Paper and Pinkfresh Studio alphas) and some lines of journal.  The gold stamped elements were created with a stamp set from Citrus Twist Kits.

Just love how it turned out, and all the space i still have to write my lines of journal!!!  I hope this inspire you to pull some of your favorite things and mixed them up on your next page, and make sure you check Scrapbook Nerd for all the materials (there are so many new collections and good ol' staples),

XO

Nov 18, 2019

CHRISTMAS CUTIE - Scrapbook Nerd


Hi there!

It is sketch week at Scrapbook Nerd.  Since we are so close to Christmas, i decided to use the sketch to document a picture of my goddaughter from last year's festivities.  But before i show you what i have created, let me share with you the sketch:


Sketches are a great source of inspiration and a map-of-sorts when it comes to creating layouts.   This week's sketch is a perfect way to combine many manufacturers and techniques in one page.


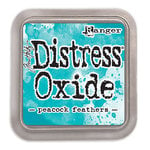
I added a bit of diluted Distress Oxide (Cracked Pistachio and Peacock Feather) in  the background of the page.  While it dried, i started to work on the paper strips for the page.


I cut random triangular strips of paper from one of the specialty papers from Maggie Holmes Heritage collection, as well as papers from the 6x6 paper pad from Pebbles.  I diluted VIcki Boutin Gold glaze and splattered it on white cardstock to create a texture paper for the layout.


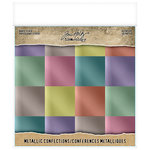
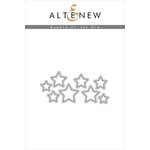
To continue the clear look of the acetate paper, i chose to die cut stars from Metallic Kraft paper using the Altenew Bundle of Joy die set,  The stars were glued onto strips of acetate, then trimmed to fit inside the strip.


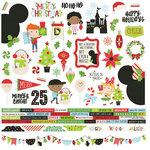
I clustered the papers to follow the look of the sketch,but not covered the entire page with the strips.  Instead, i chose to just cover half of the page, and used the empty space to add my title using a combination of alphas from Pebbles and Pink Paislee.   The embellishment phrases come from the Simple Stories Say Cheese Christmas collection.


I love how this turned out, and how nicely the paper strips bring the focus of the page to the picture of my goddaughter.

Remember to stop by Scrapbook Nerd to check all the materials used in this page.  If you have questions on how it came together,please do not forget to contact me!

XO


Materials used:

Pebbles - Merry Little Christmas Collection - Thickers - Puffy with Foil Accents Pebbles - Merry Little Christmas Collection - 6 x 6 Paper Pad with Foil Accents Crate Paper - Heritage Collection - 12 x 12 Specialty Paper - Gratitude with Gold Glitter Accents Idea-ology - Tim Holtz - 8 x 8 Kraft Stock - Metallic - Confections Altenew - Dies - Bundle Of Joy Lawn Fawn - 8.5 x 11 - Specialty Clear Acetate - 5 Pack Simple Stories - Say Cheese Christmas - Combo Sticker Pink Paislee - Indigo and Ivy Collection - Puffy Vinyl Stickers with Foil Accents - Alpha American Crafts - All The Good Things Collection - Mediums - Glaze - Gold Ranger Ink - Tim Holtz - Distress Oxides Ink Pads - Peacock Feathers Ranger Ink - Tim Holtz - Distress Oxides Ink Pads - Cracked Pistachio Crate Paper - Snowflake Collection - 12 x 12 Double Sided Paper - Village

Nov 11, 2019

MERRY & BRIGHT - Simple Stories


Hi there Simple Stories friends!

 Nathalie with you today with a new project that brings the joy of the Christmas season to a layout.  When i saw the new  Simple Stories Say Cheese Christmas, I knew that the colorful designs and papers will be perfect to document this picture of our Goddaughter as an elf last Christmas.


I started by creating a fun title for the page. I chose an alphabet from the Silhouette store, and cut each  letter from different papers from the Say Cheese Christmas collection.  In addition, i arranged the letters in order -for the title- and created an offset around the words.  I cut this offset from white cardstock and used it as a base to handstitch the letters of the title together.


For the background of the page, i chose the Sn@p Basics Hickory/Cream grid paper .  I chose to fussy cut a few florals form the Making Spirits Bright paper and attached them around the  outer edge of the background using foam adhesive


Once the title was glued to the background, the layout came together quickly,  First i used a few of the papers to frame the picture and add layers behind it.   I tucked the picture under the title, and started to add small embellishments around it,


All the cute and festive stickers and ephemera pieces were perfect to add sentiment to this page.   Plus they are so easy to combine that it makes this page come together in just a few minutes.


I hope this has inspired you to check the new Simple Stories Say Cheese collection.  You are going to fall in love with the designs, colorful images and how versatile it can be.

Til'next time


Oct 8, 2019

CHRISTMAS CHEER - Simple Stories


Hi there!

Nathalie with you today with a new layout that is all about those magical Christmas days.  I wanted to use the new Holly Jolly collection to document this happy memory of my nephew enjoying Christmas carols.   This new collection is just amazing, the colors, designs were ideal to document this happy memory.


My idea was to bring a colorful background that will use the beautiful designs of the collection, so i picked a cut file from Handipaper to create a cluster of Christmas trees on the page.


To add dimension to the page, i cut the trees three times from white cardstock and stacked them together, then backed each one of the trees with the beautiful papers from the collection.  I just love the colors and designs in the papers.


The papers in the  Simple Basics Kit are perfect to create backgrounds, so i picked the soft Blush/Dots serve as the frame for my page.   Once, i glued the trees to the page, i used the Journaling Bits and Pieces to add the stars at the top of the tallest trees.


  Then backed the picture with the Home for the Holidays paper , nestled it in the background, and then added a cluster of stickers to  frame the picture.


To create the title of the page, first i added an extra Christmas tree (to help frame the title) and then used the alphas on the sticker tablet and a piece of ephemera to complete the title of the layout.


I created a small cluster of embellishments using stickers from the Sticker tablet and sticker combo sheet as well as ephemera from the journal bits and pieces.   To finish the page, i added a few lines of journal and enamel dots.


The new Simple Stories Holly Jolly collection is so beautiful and filled with amazing designs that it makes is so easy to document your memories.  Be sure to check it out.  You are going to love this new collection.