Hi there!
Nathalie with you today bringing you a project all about those beautiful Fall colors. I love the Fall, and all the new designs that Nicole has been adding to the JustNick store make it so easy to bring our ideas to life.
As soon as i saw the new Geometric Frames 2 cut file, i knew that one of them will be perfect to create a wreath for one of my pages.
I used a bit of Vicki Boutin watercolor markers to add a color to the area where the picture and clusters would be placed.
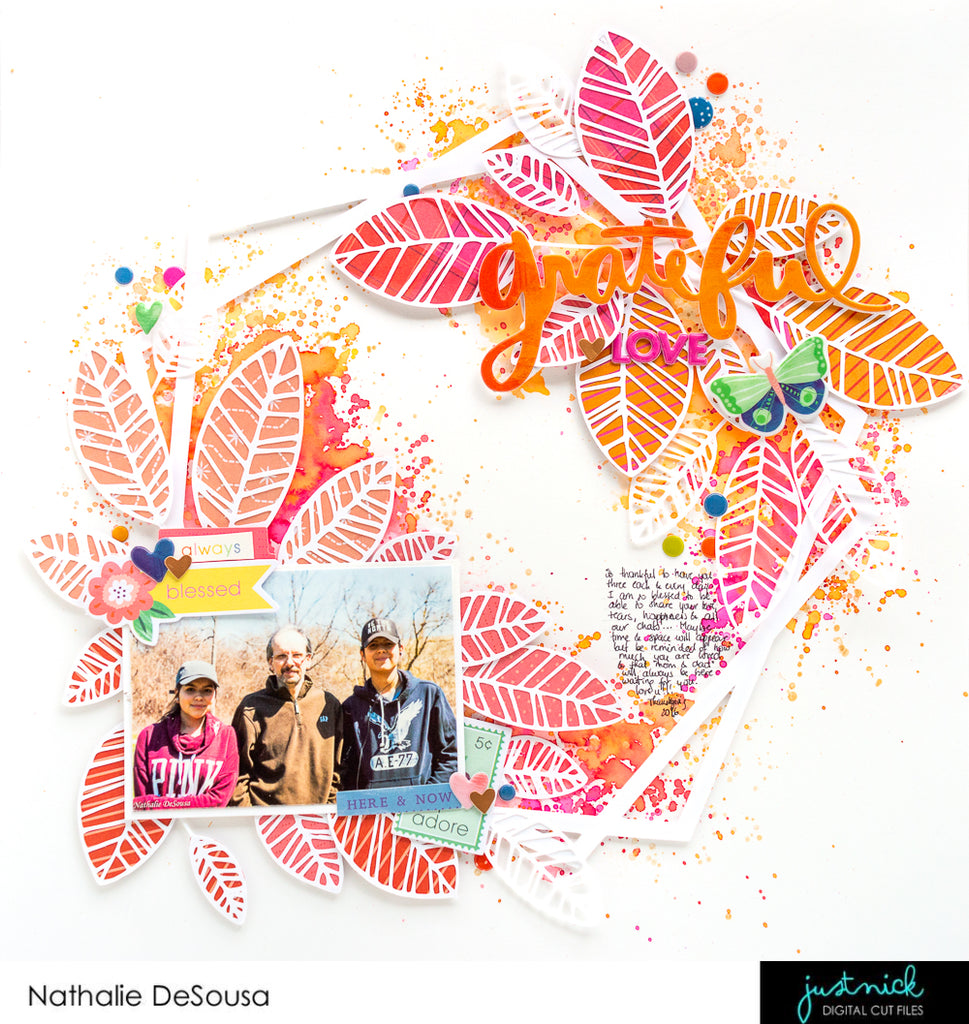
Once i set the frame on top of the watercolor background, i pulled the new Leaf Cluster 2 and cut a few of the clusters from white cardstock. Some of the clusters were also backed with papers from Paige Evan's Truly Grateful collection.
I weaved the clusters of leaves so that they read as a large cluster on the page. I even added a few extra leaves to bulk the cluster.
I added small embellishments throughout the page so that they pick up the colors of the photo and add small details throughout the page.
I hope this has inspired you to check the new cut files available at the JustNick Studio shop. Remember you can contact me with any questions,
xo
Hi there Simple Stories Friends! Nathalie with you today with a new layout that brings a not-so frightful approach to Halloween memories. When i saw the Happy Kids Bits and Pieces of the new Say Cheese Halloween collection from Simple Stories, i did a small inner cheer as i had the perfect picture for it.
I wanted to bring color and playfulness to this page, so i opted to use lots of the patterned papers, and what better way than to create a large title for the page. I chose a few cut files from the Silhouette store to cut the words from some of the collection's papers. A chose to cut an offset of the words out of the Say Cheese 4 Basics papers and then hand stitched the words to the black cut out.
Before building the page, i chose to trim and distress the edges of the Frankly Frightful paper, then stitched it to the Hey Pumpkin paper. A few sticker details were added to the distressed edges, followed by drops of black and white ink around the page.
The title was glued on a bit of a slant, then i nestled the pictures atop the title, and started adding embellishments around them. I chose to complete my title with one of the phrase stickers from the ephemera pack
To finish the page,i added a few lines of journal to the side of the title,followed by a pair of the Happy Kids Bits and Pieces that match closely their costumes. Just love these little pieces of joy.
I LOVE how this turned out! The new Say Cheese Halloween from Simple Stories is one of the cutest and not-so frightful collections around, you are going to fall in love with it!
Hello everyone!
Nathalie with you today and so excited to continue for another term as part of the JustNick studio DT and get to work with Nicole's beautiful designs. I was born and raised in Ecuador, but call Toronto home for over half my life. My biggest blessing are my husband, two teenagers and our Boston Terrier baby. My love for paper crafting was grown along with me, and i am so happy i get to share a part of it with you all. Now, let me show you what i have created for today:
It all started with a bit of mixed media, some Vicki Boutin Rose Gold glaze pushed through a Kaisercraft stencil, on one of the new papers from the Indigo and Ivy collection from Pink Paislee.
While the background dried, i used the soon-to-be-released Leafy Florals cut file to cut a few of the images out of white cardstock. These would be used as accents and layers behind the picture and paper layers.
For the title of this page, i chose the Let Your Light Shine cut file. This was cut twice from white cardstock, the cut outs were then attached to each other with a bit of foam adhesive in between, then glued to the background. A few embellishments from the Indigo & Ivy collection were added to the page, as well as a few lines of journal.
I hope this has inspired you to check all the designs at the JustNick studio shop. There are always new designs being added to the store. If you have questions on how this came together, please do not hesitate to contact me!
Scrapbook Layout created for Simple Stories - WINTER WONDERFUL -
Hi there! Nathalie with you today with a new project that celebrates all the fun, cold and so very wonderful memories that Winter brings with it. The new Simple Stories Freezin' Season with its vibrant colors and cute designs is just perfect to document all those winter memories in a fun and colorful page.
To create this page all about this year's first snow fall in Toronto, I pulled a few cut files from the Silhouette store and Just Nick Studio. My idea was to bring snowflakes and a large title to tell the story of the day
I chose to cut the stars from white cardstock and back them with papers from the Freezin' Season collection. I also decided to hand stitched the title -cut from the Frosty Friends paper- to a white cardstock offset, so that it would stand out on the page.
Before starting to handstitch the title, i added a bit of white acrylic paint to the Snuggle up paper so that it would white/lighten a bit of the background, and let it dry while i completed the title work.
Once it all ready, I used some foam adhesive to adhere everything to the background. Then it was all about embellishing! First i added a few stickers at the bottom corner of the title, and then added a few snowflakes also cut from the Frosty Friends paper.
SInce the picture is nestle between the title and star, i just added a cluster made up of stickers and die cuts to the top right corner of the picture. I will be adding the lines of journal to the bottom of the layout in a later date.
I really hope this inspires you to pick the new Simple Stories Freezin' Season collection, it is colorful and so versatile, too. I cannot wait to see all your projects created with it.
Scrapbook Layout created for Scrapbook Nerd - LOVE TO CRAFT -
Hi there!
It is a new week, and we are getting close to the end of February. The month of love is almost over, but before we close it up, i want to share with you all a new layout created for Scrapbook Nerd using the I Rather Be Crafting collection by Echo Park.
I started by creating a watercolor background using a few of my Prima Marketing watercolor palettes. The shape was given based on the cut file ( by Paige Evans Silhouette collection) that will be placed on top of the watercolor.
I chose to only back small places in the cut file, as I wanted the background to serve as the color behind the cut.
There are so many stickers and small little details in the collection that work perfectly bundled as clusters at the corners of the picture. The collection's stamp is perfect to add some sentiment to the page.
To create the title of the page, some of the letters were cut from one of the collection cut apart cards, and combine with the collection stickers. A bit of foam adhesive just adds a bit of dimension and movement to this part of the page. After a few lines of journal, and some ink splatters, here is the final page:
Just love how this page came together. All the colors in the background shine through the cut out, but bring the picture forward!
Remember to check Scrapbook Nerd to find all the materials used in this page! As always, i am around in case you have questions on how this came together.
I love Fall!!, and i got the chance to show how much i truly love the season in this week's Guest Designer Spot at Pink Paislee Blog for their Fall Week theme. I know!! I am still pinching myself about being in their blog !!! I gotta thank Paige Evans for asking to join in this week, and for the gorgeous Turn the Page collection, which I got to work with. Let me show you a quick review of what i created for the spot:
HERE'S TO NEW ADVENTURES
This page uses one of my favorite cut files, "Leaf It To Me" from the Cut Shoppe. A bit of handstitching adds dimension and texture to the most iconic sign of Autumn, 'Falling Leaves'.
The colors of the papers, combined with all the fun embellishments is perfect to highlight a picture of the first signs of fall showing around my place.
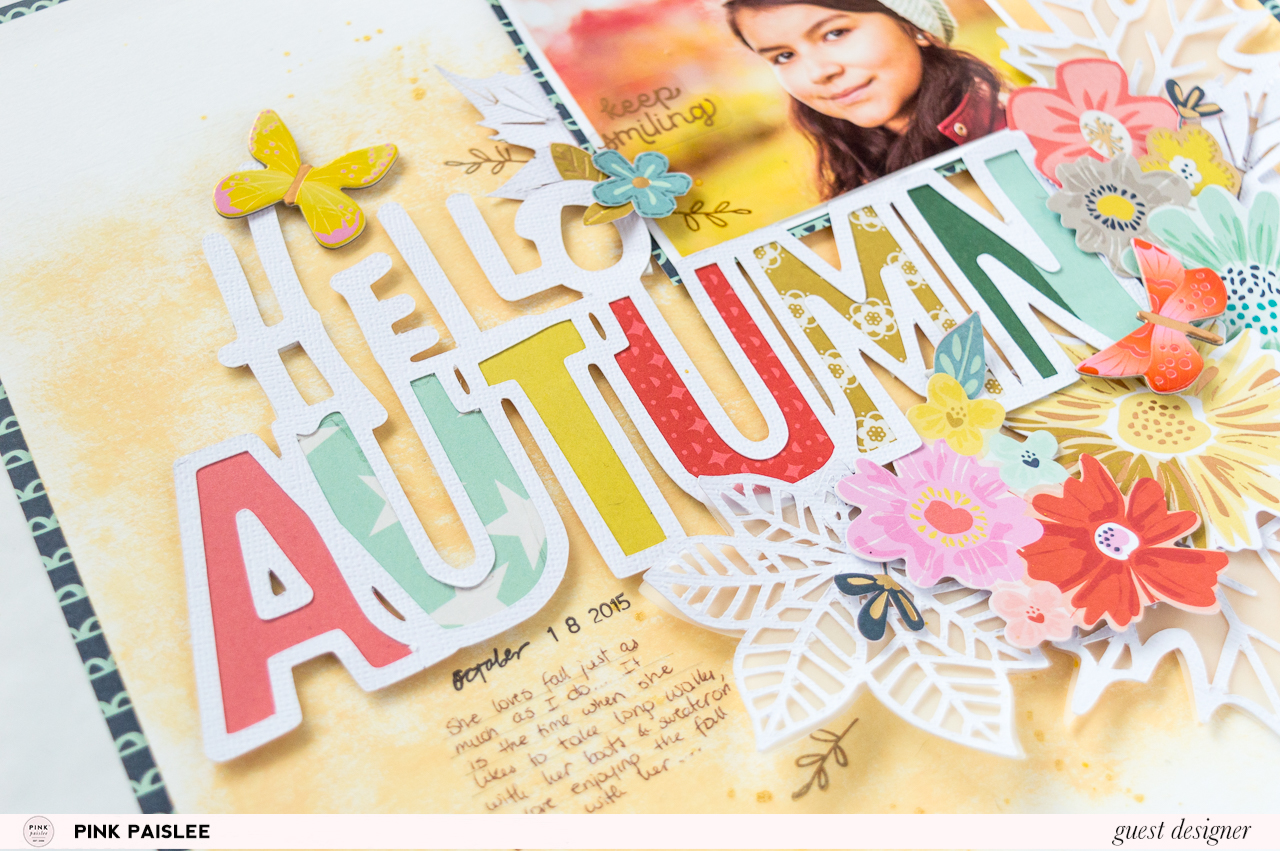
HELLO AUTUMN
All the floral motifs in the Turn the Page collection are just too beautiful to pass up. So what better way to use all those fussy cut flowers, than by creating a bouquet that frames a large title in the page (the title cut file is a free file from Scrapbook Nerd, the leaves are from the Silhouette store).
A bit of gold acrylic paint is all that was needed to add that fall feeling to the page. All the detail in the leaves is best shown with a layer of vellum behind it, which in turn brings all the flowers to focus.
CARD:
Fall is a time for change; this card uses the large chipboard icons, and a modified version of one of Paige Evans' cut files to create the background of the card. Having the frame/window card allows for the illusion of a cascade of falling leaves on the card.
HARVEST FUN
Once again, the combination of cut files with the colorful papers in the collection complete the feeling in the picture of my kids jumping around the apple orchard after eating too many apples (while harvesting them!).
The "Flock of Feathers" cut file from the Cut Shoppe was modified to create the illusion of feathers floating along the page (just like my kids are suspended in the air in this picture). A bit of shimmery watercolor adds the magical feel of Fall.
TRAVELER'S NOTEBOOK
For years now, a Traveler's Notebook has been my to-go memory keeping choice. It combines my love of pretty paper and journal at once. So when asked to create a mini book, or altered project, the choice was to look at the past 3 years of TNs to pick the most documented stories and condensed them into this homemade TN ( the entire notebook from cover to insert was created at home with the Turn the Page colleection!). Here is walk through the notebook:
I am so grateful to Paige Evans for asking me to share some of my love of Scrapbooking and Memory keeping in the Pink Paislee blog, and I hope you visit the blog to see more details of the projects. Dreams do come true!