Scrapbook layout created for Clique Kits - THE OCEAN IS CALLING -

Hi Clique Kits fans!!
I am up on the Clique Kits blog with a new project using the beautiful MALIBU TN kit, what can I say, the Pink Paislee's Summer Lights collection is gorgeous, and all the add ons are perfect to document summer, and those special beach adventures. I love this kit, and it is ideal to document some of the pictures from our beach adventures down in Ecuador. Here is a small video on how this page came together, so sit down and enjoy!:
The starting point for this layout were the exclusive cut files from last year's summer and August kits. Once I had cut them on white cardstock, i wanted to add color to the page, something very summery and bright.

Using a combination of heavy acrylic paint, i dragged the paint across white cardstock, and soften the look of the streaks with a large brush, and a baby wipe. Then stitched the page to one of the Elle's Studio papers from last month's POOL PARTY KIT.

The ring cut out also was sewn to the page, and then i used the Pink Paislee papers from the Malibu TN kit to back the flower cut out. I love the rich colors in the papers, and how they contrast beautifully against the bright background. The flowers were then attached to the background using a bit of foam adhesive. I positioned them so that they were framed by the long leaves from the ring cut out.

I added the long leaves from the Fancy Pants Hello Sunshine ephemera pack included in this month's kit. The title for this page comes from Pink Paislee's Summer Lights ephemera pack -which can be found in the Malibu Main Kit -.

The picture of my daughter admiring the sunset over the Pacific Ocean fit into this page seamlessly. A few of the embellishments from the kit, and the sticker sheet available at the Clique Store create the cluster on the page. After a few sprinkles of gold ink, the page was completed:

I love this page, the colors of the papers in the Malibu TN kit matched the bright green color of the background, and bring the eye to the subject of the page. It was so easy to complete the page using the kit, and a few of the exclusive cut files available at the Digital Store. There is a lot of goodies available at the store, so take some time to visit it to check them all out.
Remember to contact me, if you have a question about how this page came together.
See you all soon!


 Hello there!
I hope you are enjoying all the projects that the beautiful April kit, "JELLYBEAN", and that they are inspiring you to use every single piece included in the kit. The papers, embellishments, and the exclusive printables are so versatile, and perfect to use in all kinds of paper projects.
Hello there!
I hope you are enjoying all the projects that the beautiful April kit, "JELLYBEAN", and that they are inspiring you to use every single piece included in the kit. The papers, embellishments, and the exclusive printables are so versatile, and perfect to use in all kinds of paper projects.

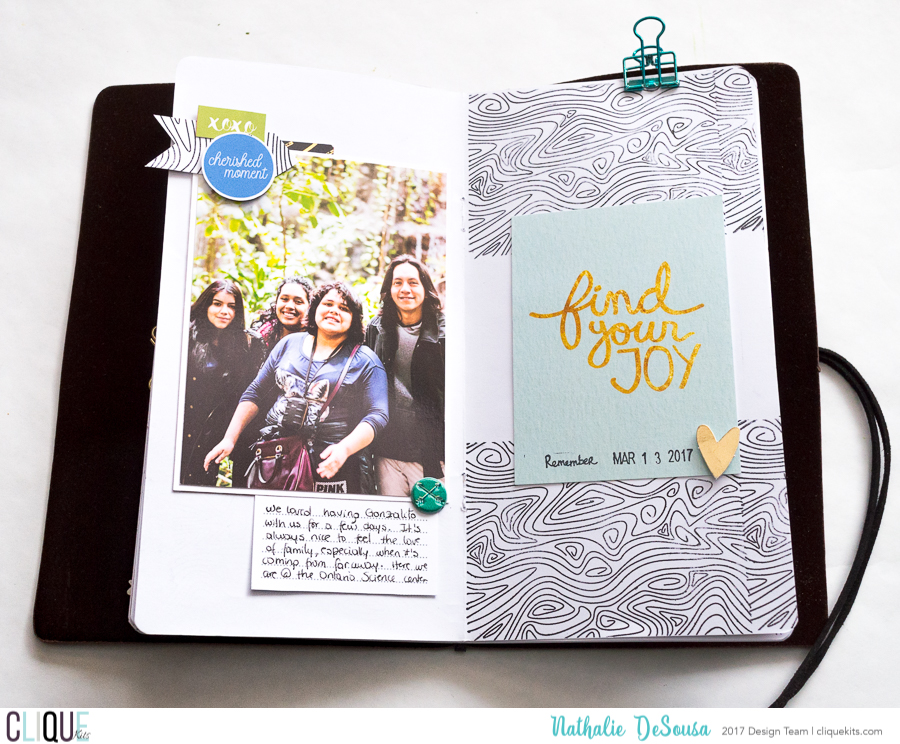 This month's challenge sponsor is Latina Crafter; their stamps are just gorgeous. I was lucky to receive this beautiful wood veneer stamp, which i used to create the background on one of my TN entries. Using archival ink, I stamped the image at opposite edges of the TN's page, and a small piece of white card stock. Once I placed the picture on the opposite page, I used the stamp card stock to create a small arrow that tied the two pages together. The PL cards included in the kit, and the exclusive printables are just perfect when documenting in this format.
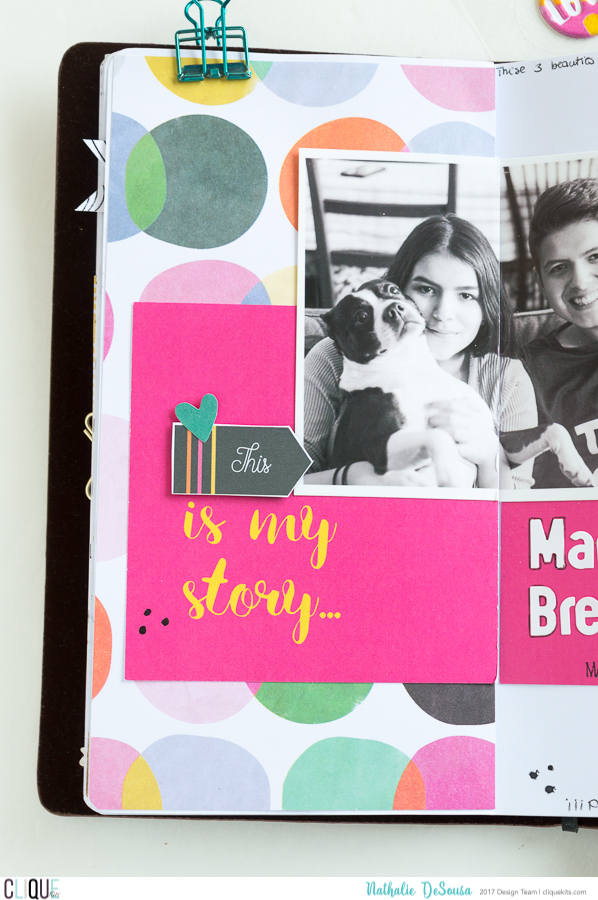
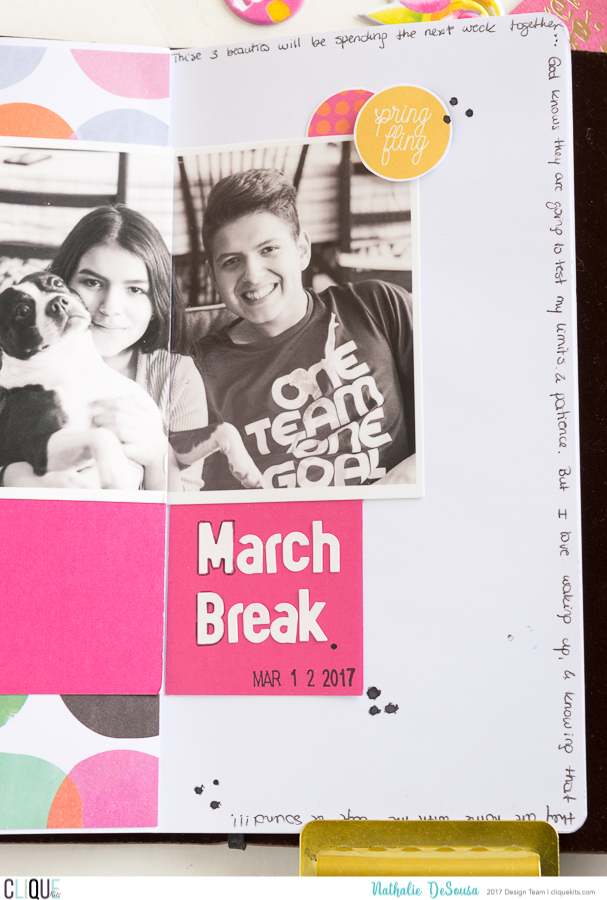
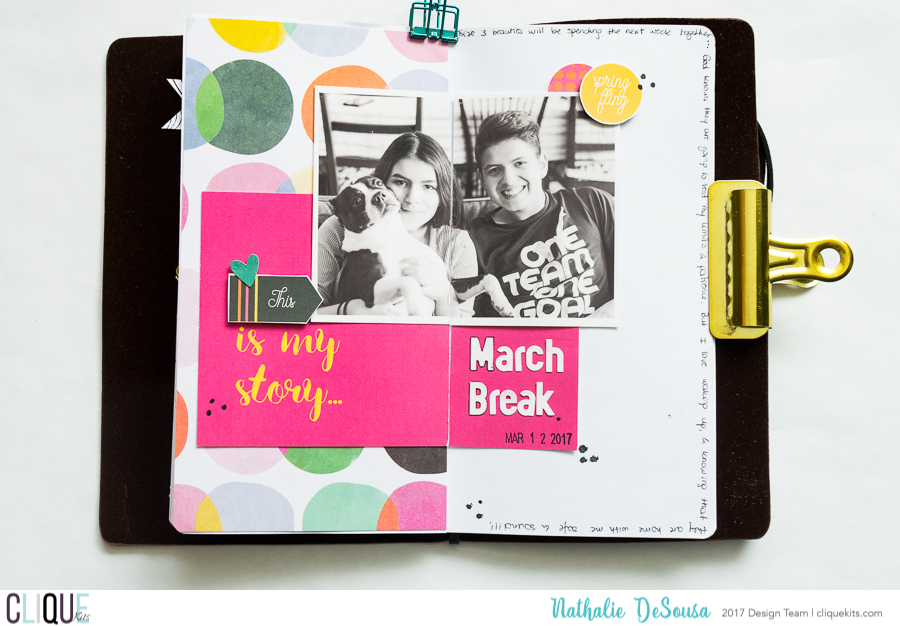 My next entry is all about my kid's first day of Spring Break ( we survived!!). For this entry, I used the small scraps of the Oh My Heart paper # to cover one side of the page. The large PL card, included in the Jellybean kit, was then glued across both sides of the TN - I simply cut the card with the paper trimmer, and glued it to the TN-