Showing posts with label handstitched. Show all posts

Aug 2, 2020

YOUR SMILE - Pinkfresh Studio Challenge


Hi there!  
It is a new month! which means it is time for a new monthly challenge for Pinkfresh Studio, and this month, it is all about the florals and the beautiful warm palette.


I reached for the new Celebrate collection ( this is a collaboration with Altenew) for this layout.   I just love the colors and florals in the collection.


I started by stamping the Floral Diamond Cling Rubber stamp with Misty Coast ink  to a piece of the Progress paper.  This was then attached to a larger piece of the This Day paper, and then to the background.   Using a paper piercing tool, i created a stitching guide using the corners and lines from the stamp image, and  hand stitched it all with white embroidery thread!


Once i finished ( it took a little while to stitch!), i fussy cut flowers from the Everyday Moments paper to create the floral cluster on the page.


I used the bottom edged of the stitched paper to add my cluster of florals, and nested the picture of my daughter along the flowers.


To follow the color palette, i added embellishments from the Let's Stay Home, and My Favorite Story collection along the cluster of flowers.  I used the fabric bow to tie the two clusters together.


I created a small cluster at the top of the stitched paper and added the title of the page using a combination of alphas from My Favorite Story and Let's Stay Home collections.


just love how this turned out.  You can always join in the challenge in the Pinkfresh Studio blog and have the chance to win a $50 gift certificate to the shop!

XO!!!

Nov 11, 2019

MERRY & BRIGHT - Simple Stories


Hi there Simple Stories friends!

 Nathalie with you today with a new project that brings the joy of the Christmas season to a layout.  When i saw the new  Simple Stories Say Cheese Christmas, I knew that the colorful designs and papers will be perfect to document this picture of our Goddaughter as an elf last Christmas.


I started by creating a fun title for the page. I chose an alphabet from the Silhouette store, and cut each  letter from different papers from the Say Cheese Christmas collection.  In addition, i arranged the letters in order -for the title- and created an offset around the words.  I cut this offset from white cardstock and used it as a base to handstitch the letters of the title together.


For the background of the page, i chose the Sn@p Basics Hickory/Cream grid paper .  I chose to fussy cut a few florals form the Making Spirits Bright paper and attached them around the  outer edge of the background using foam adhesive


Once the title was glued to the background, the layout came together quickly,  First i used a few of the papers to frame the picture and add layers behind it.   I tucked the picture under the title, and started to add small embellishments around it,


All the cute and festive stickers and ephemera pieces were perfect to add sentiment to this page.   Plus they are so easy to combine that it makes this page come together in just a few minutes.


I hope this has inspired you to check the new Simple Stories Say Cheese collection.  You are going to fall in love with the designs, colorful images and how versatile it can be.

Til'next time


Sep 6, 2019

FALL BLESSINGS - Simple Stories

Hi there!
Nathalie with you today with a new project that marks the beginning of the most wonderful time of the year,  FALL!!  I love Autumn, it is my favorite season and the new Fall Farmhouse collection from Simple Stories is just perfect to document some of our Fall traditions, Apple Picking.


As soon as i saw the collection, the idea for this page formed in my mind as i wanted to use many of the designs in one page. So what better way to bring the farm feel to the page than a simple quilt design.


First i  used the Leaf It To Me cut file from JustNick studio to create the large leaf from white cardstock.   Then cut 2"squares from various Fall Farmhouse collection to create the design.  I used the leaf to mark the area on the Peach Dots paper (Basic set) and then covered the area with the squares leaving about a 0.25" frame around the page.  I stitched each square and then ruffle the edges of the paper a bit.


To assemble the page, first i stitched around the perimeter of the leaf image (using the negative part of the cut out) and then used foam adhesive to attach it on top of the quilted papers.


I used stickers, bits and pieces, chipboard from the Fall Farmhouse collection to embellish the layout by creating little clusters inside the leaf. A large cluster was placed behind the picture.


To finish this page, I mixed some of the embellishments to create the title of this page.  A bit of gold ink splatters and a few lines of journal complete it all.


   I LOVE how this turned out, though it took a bit of time to construct, it is the perfect way to document this family tradition.   I hope this inspires you to check the Fall Farmhouse collection, you are going to love it!!!

Til next time!


Materials Used (images contain Affiliate Links)


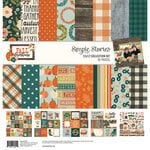
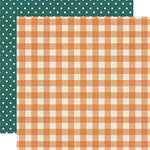
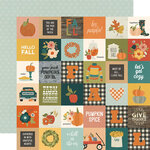
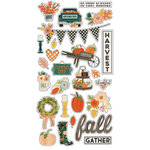
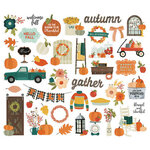
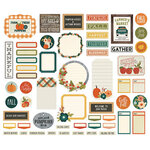
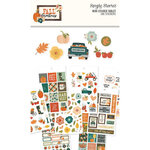
Simple Stories - Fall Farmhouse Collection - 12 x 12 Collection Kit Simple Stories - Fall Farmhouse Collection - 12 x 12 Combo Sticker Simple Stories - Fall Farmhouse Collection - 12 x 12 Double Sided Paper - Simply Thankful Simple Stories - Fall Farmhouse Collection - 12 x 12 Double Sided Paper - Gather Together Simple Stories - Fall Farmhouse Collection - 12 x 12 Double Sided Paper - Pumpkin Spice Simple Stories - Fall Farmhouse Collection - 12 x 12 Double Sided Paper - 2 x 2 Elements Simple Stories - Fall Farmhouse Collection - 12 x 12 Simple Basics Kit Simple Stories - Fall Farmhouse Collection - 6 x 8 Paper Pad Simple Stories - Fall Farmhouse Collection - Chipboard Stickers Simple Stories - Fall Farmhouse Collection - Bits and Pieces Simple Stories - Fall Farmhouse Collection - Journal Bits and Pieces Simple Stories - Fall Farmhouse Collection - Mini Sticker Tablet Simple Stories - Fall Farmhouse Collection - 12 x 12 Double Sided Paper - Peach Dots

Jan 3, 2019

2019 Affirmation

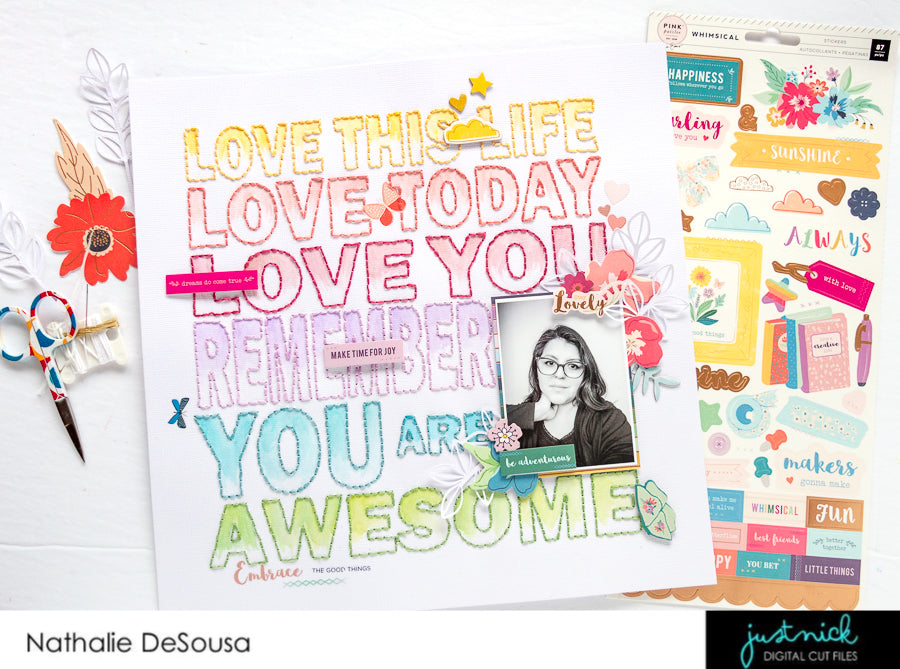
Scrapbook Layout created for Just Nick Studio  - 2019 AFFIRMATION -


Hi there!
Happy New Year to you all!  Nathalie with you today with a rather special project that is all about self-encouragement.  As the new year starts, I wanted to take the time to create a page that will serve as a daily reminder of the awesome-complex-simple gift we are.  So, I pulled a few cut files from the Just Nick Studio Shop to create this page.


I chose to alter a bit of the Everyday Words Background to create the background for this page.   The words where rearranged so that they increase in size as the large title progresses.


I wanted to combine a few of my favorite things in one page, so first i had the Silhouette draw the large title, this way i could create the stitching guide by using a paper piercer.


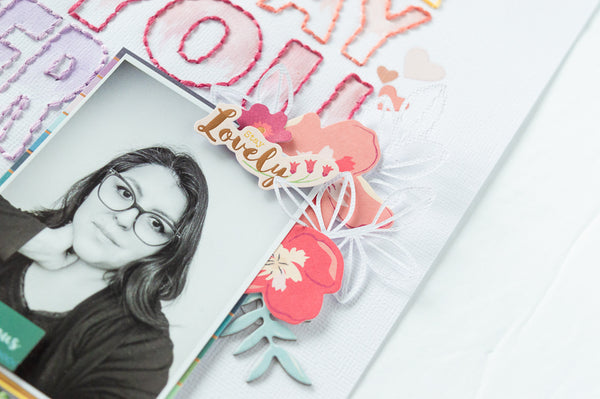
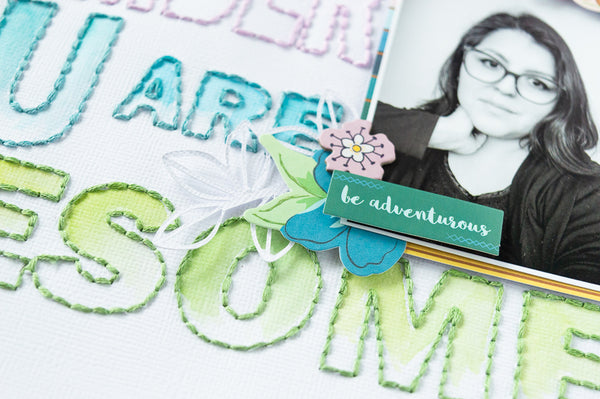
Next I used color embroidery ( a rainbow) to stitch the title -thank God for the small trips and breaks during the Holiday get togethers-.  Once it was all completed, I added a bit of mixed media (Vicki Boutin Art Crayons) to the letters to create an ombre effect for each row.


To complete this page, I pulled Pink Paislee's Whimsical collection to embellish the layout -i color blocked the embellishments-, but chose to also cut a few stems from white cardstock using the Stems 5 cut file.  These were layered behind the picture, and to help create the color clusters around the picture.


I love how this turned out, and now sits as a display in my workspace.   I hope this has inspired you to create a page about you and your goals or -like in this case- some affirmation.

Remember to stop by the Just Nick Studio Shop to check the cut files i used in this page, and all the designs available.   If you have questions on how this was put together, you can always contact me.
XO,

Dec 23, 2018

Winter Wonderful

 Scrapbook Layout created for  Simple Stories  -  WINTER WONDERFUL  -


Hi there!  Nathalie with you today with a new project that celebrates all the fun, cold and so very wonderful memories that Winter brings with it.   The new Simple Stories Freezin' Season  with its vibrant colors and cute designs is just perfect to document all those winter memories in a fun and colorful page.


To create this page all about this year's first snow fall in Toronto, I pulled a few cut files from the Silhouette store and Just Nick Studio.   My idea was to bring snowflakes and a large title to tell the story of the day


I chose to cut the stars from white cardstock and back them with papers from the Freezin' Season collection.  I also decided to hand stitched the title -cut from the Frosty Friends paper- to a white cardstock offset, so that it would stand out on the page.


Before starting to handstitch the title, i added a bit of white acrylic paint to the Snuggle up paper so that it would white/lighten a bit of the background, and let it dry while i completed the title work.


Once it all ready, I used some foam adhesive to adhere everything to the background.  Then it was all about embellishing!  First i added a few stickers at the bottom corner of the title, and then added a few snowflakes also cut  from the Frosty Friends paper.


SInce the picture is nestle between the title and star, i just added a cluster made up of stickers and die cuts to the top right corner of the picture.  I will be adding the lines of journal to the bottom of the layout in a later date.

I really hope this inspires you to pick the new Simple Stories Freezin' Season collection, it is colorful and so versatile, too.  I cannot wait to see all your projects created with it.

Have  a Blessed Christmas and a Happy New Year!


May 28, 2017

LOL


Scrapbook Layout created for Simple Stories  - LOL -


 Hi!

Double duty day!  Here is the second project for Simple Stories ( There is more to come later on!!)

This project is all about the super fun Emoji Love collection, and one of the funniest pictures of my 3 kids.   Sometimes the stars align, and you get that lucky shot, this is exactly how this picture came to be, and  the best way to document it was using all the icons in the collection.


The idea for this layout came after sharing this picture with my family overseas.   It all started from a camera snapshot, followed by the picture going to our family group, and then the reactions  are still coming in.  So, I started by re creating the camera icon in this collection.  I drew the image on trace paper, and used it to build the icon from papers from the 6x8 paper pad and some hand stitching.   This took a bit of time, as I wanted to add details, and texture to this element.


To make the colors of this layout shine, I opted to use white cardstock as the base.  I cut two wide strips of  "YAY" paper, and glued it to the sides of the cardstock; next  two strips of the "Too Cool" paper were cut ( narrower than the previous strips), and glued on top of the previous strips.   The finished camera element was then glued to the bottom of the page, and I used Chipboard stickers, die cut pieces, the combo sticker sheet , and brads to add the cluster on the camera.


To recreate the posting, I cut a speech bubble out of cardstock, and used it to frame the picture of my kids. It was then glued above the camera element, and lots of icons were then glued around it.  Since there is so many icons, speech bubbles and emojis in the collection,


 I pulled pieces from all the embellishments in the collection to create the clusters around the picture.  I even used the LOL chipboard sticker as the title for this piece.  Here is final layout:


OMG, this layout is just the perfect representation of  this social media post.   I love it!.   The emoji collection is by far one of the funnest collections to date.

I hope the two projects  here inspire you to document those fun family moments. The new Simple Stories collection are so diverse, fun, innovative that you can easily scrap from outdoor hikes to the common social media post.  The possibilities are infinite with the new Simple Stories collections.  I cannot wait to see what you create with them.

Thanks for stopping by today!


Materials Used:
Simple Stories - Emoji Love collection - paper collection, 6x8 pad, brads, chipboard stickers, cardstock stickers, paper pieces, clear stickers.