Today, Altenew is hosting a new and fun blog hop that focuses on the new and amazing Mixed Media Inks. These inks are so versatile, as they create crisp impression on most porous surfaces. They react beautifully with water, are perfect for embossing, and the bet feature they become permanent once you heat them up. I have created a few projects with them on canvas and cardstock, so today i wanted to show you how these inks can transform your mixed media and memory keeping world.
This new layout started with white cardstock and the idea of showcasing the inks in a series of techniques that will help you transform your projects.
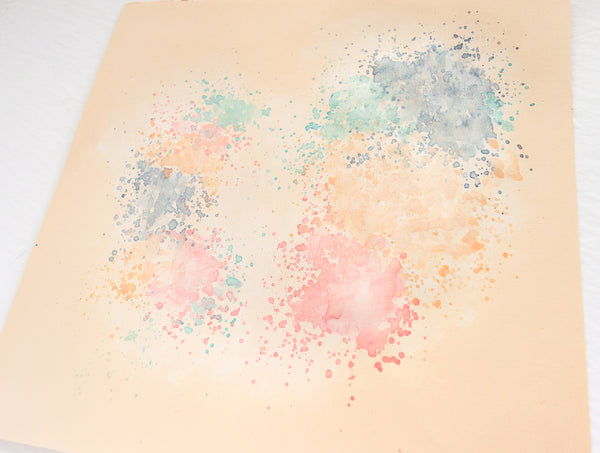
My first choice was to add a bit of Frayed Leaf mixed media ink to the background as a watercolor wash. I simply diluted the ink with water and applied it with a brayer. I let it dry and then softly heat the ink in place. I used the Dare to Dream Stamp Set to stamp the designs on the top of the watercolor application with the same color ink.
Next, i used Forest Glades Mixed Media ink to create a second layer of stamping on the background. Here, i added a bit of Crystal Clear Embossing powder to the impression, and used my heat gun to create the embossed texture on the page.
While the background set in place. I used the new Beauty Within stamp set/die/coloring stencil and the two sets of Mixed Media inks to create the flowers and leaves for the page. The new stencil makes creating the florals a breeze, all i needed was an ink blending tool. The inks are so crisp and rich that produce these awesome results.
Just love how easy this came together, and how much fun it was to put together using the new Mixed Media inks and other Altenew goodies!
To celebrate the Mixed Media Ink Lovers Blog Hop, Altenew is offering a free class with every order of the Mixed Media Ink Bundle.
Of course no celebration is complete without a GIVEAWAY:
Altenew is giving away a $30 gift certificate to 5 lucky winners! Please leave a comment on the Altenew Card Blog by 8/18/2020 for a chance to win.
We’ll also draw a winner to receive a $15 gift certificate from the comments left on each designer’s blog on the blog hop list below. All winners will be announced on theAltenew Winners Page on 08/21/2020.
Now, it is time to continue checking all this awesome projects, your next stop is Laura Jane. Remember you can always hop onto the Altenew Card Blog to start this hop. Here is a list of all the participants for your convenience:
Today, Altenew is releasing a new set of goodies that you are going to love, there is even paper packs and inks!!! As usual, i had so much dun working with some of these, so let me show you what i created, starting with a few simple cards:
Sending Blessings:
I used the new PYSANKA stamp set to create this card - perfect for Easter-. I love the intricate design in each of the images, and how easy it is to piece it together. So, i pulled a few inks (Sweet Dreams, Sea Shore, Pocketful of Sunshine mini ink sets) to build the inside of the design. Then heat embossed the outline of the image (Enchanted Gold ink and Crystal Clear embossing powder)
Once i cut the images, i used navy cardstock to create the card panel. I trimmed a strip of paper from the A LOVE of STRIPES set A paper pack, and set it at the bottom of the card followed by a piece of 1in Gold Foil washi tape. I heat embossed one of the sentiments on navy cardstock, and glued it to the card, then used foam adhesive to attach the images. A few gems complete the card. I love the colors of the eggs, and how easy it came together.
Love you:
The new TREBLE LOVE DIE SET is one that i think i will go back to regularly. I love the music element of the die, and decided to keep the card simple. I started by creating the card front by running washi tape ( Sweet Dreams) leaving a small gap between the strips.
I cut a small card panel from white cardstock, and then used metallic papers and the Treble Love die to cut all the elements. I used a bit of foam adhesive behind the pieces to create a bit dimension in this simple card. A few crystal drops complete this card. Just love the CAS design!
Let's now look at some Scrapbooking and memory keeping
Joyful Today:
I just love the design of the new SWEET NOTHINGS stamp set. These flowers are large and the perfect size to embellish a Scrapbook Layout. I stamped the images with Obsidian ink , and detailed them with the new Artist Watercolor Palette set. While the flowers and leaves dried, i used some handstitching to form the heart in the background of the page.
I used a bit of the watercolor to add a bit of color to the background, so that it peeks from behind the picture. Here i used papers from the Fuchsia Soiree and Cheerful Meadow Paper packs to back the picture and set it on a page surrounded by the colorful blooms and leaves. I added a few stamped sentiments from the Pysanka stamp set around the page to complete it!
This layout is ready for Spring! all the warm tones in the SWEET NOTHING flowers paired with the new papers is just magical.
Happy 19 Birthday:
The new HAPPY BIRTHDAY TO YOU stamp set was a favorite since the first moment the new catalogue was shared with us. I love how versatile it is and how much it will be used in cardmaking and memory keeping. I paired it up with Obsidian ink to create the background stamping, and then added a bit of watercolor to the layout.
I used the new FOR THE LOVE OF STRIPES set A and CHEERFUL MEADOW to back the picture and also cut the numbers for the title work using the bold numeral die set. This page came together so easily, and you can watch the process video in the following video:
Stay Strong:
The new paper packs are amazing. The florals in the FUCHSIA SOIRE PAPER PACK was the perfect complement to the flowery pair of pants she is wearing in this picture, so i pulled my scissors and cut away one of the larger images, so i can embellish the picture part of this layout.
I pulled the yellow grid paper from the CHEERFUL MEADOW PAPER PACK to back the picture and also create the title card for the pocket page. I used the ALL THINGS ORANGE to stamp the title on the card.
To bring more of the flowers to the page, i used one of the papers to add my lines of journal then trimmed it to fit in the pocket of the layout. Love how easy this came together with just the paper packs a little stamping.
Thank You for Being You:
The next two layouts follow the same design, but here is why I love Altenew in my memory keeping, as their products are so versatile than you can get totally different pages by just changing the stamp set.
I covered a piece of cardstock with the Gold Peach Washi tape, and then used the new LINE ART stamp set to frame the journaling part of the page. The simple design of the stamp shows nicely on the watercolor background. The title comes from the SWEET NOTHINGS stamp set and the butterfly comes from the ALL THINGS ORANGE Stamp set.
I enlarged the picture and set it on a large tag. All it needed was a gold embossed image of the LINE ART stamp set to complete the layout, but let me show you the other design and how a simple stamp changes completely the look of the page.
Stay Strong:
I used the b side of the previous tag to add my lines of journal this time. But instead of stamping the images onto the paper, i chose to stamp the FABULOUS FLORETS stamp set onto papers from the FUCHSIA SOIRE Paper Pack and fussy cut the images. A bit of white gel pen help to define the centers of all the flowers.
I wanted to add lots of movement to the flowers, so i used the WILDFLOWER DOODLES STAMP SET and Obsidian ink to add a few branches and leaves to the background, thus setting the placement for the flowers. This time, i used a small picture and added more stamped flowers around it.
Hope these have inspired you to check all the new ALTENEW products, but before i go, it is time for a GIVEAWAY.
To celebrate this release, Altenew is giving away a $50 gift certificate to 6 lucky winners! Please leave a comment on the Altenew Card Blog and/or Altenew Scrapbook Blog by 3/22/2020 for a chance to win.
We’ll also draw a winner to receive a $20 gift certificate from the comments left on each designer’s blog on the blog hop list below. All winners will be announced on the Altenew blogs on 3/24/2020.
That is it for me! now it is time to hop onto Therese's blog to check all her inspiration. Remember you can return to the Altenew Card Blog or Altenew Scrapbook Blog to start the hop.. A list of all the participants is available for your convenience:
Hi there!
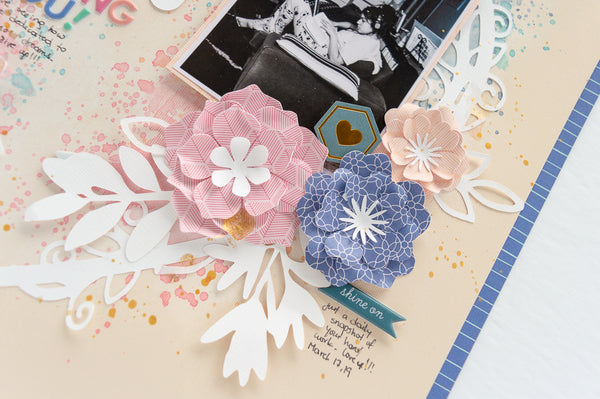
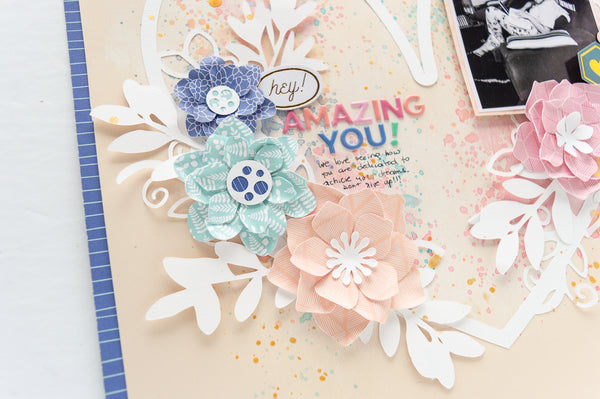
Nathalie with you today bringing you a new project that fits this week's theme, Flowers. There are so many new beautiful cut files available in the JustNick Studio shop, so, I picked a few of them to create this fresh flowery page.
I started this page by adding a bit of mixed media to the background using acrylic white paint and Distress inks. While the background dried, i cut from white cardstock the Henna Heart cut file as well as a few stems using the Stems 2 cut file.
I ruffled the edges of the flowers using a bone folder and then build them together. I replace the flowers in the heart cut out with these flowers, and added the stems behind them so that they create clusters around the page.
A few embellishments from the Joyful Day collection complete the clusters and title in the page. A few lines of journal and gold ink droplets are the final touches added.
I hope this has inspired you to mix a few of the JustNick Studio designs in your next project. Nicole has added lots of beautiful designs to the store lately, it is hard to just choose one.
Remember you can always contact me if you have questions on how this came together.
Hi there!
Nathalie with you today, and it has been a long and cold winter here in Canada,and Spring is slowly showing up. So, instead of waiting around for Spring to finally catch up, i decided to pull a few memories from last year's season to create this page using a few of the beautiful JustNick Studio cut files.
I wanted something really light and airy for this layout, so i started with the Type It Alpha cut file to create the large vertical title. I welded the letters together, and cut them out of white cardstock.
To back the title, i chose to use the negative part of the cut out, and vellum for every other letter. A bit of foam adhesive helps to create the dimension on the letters, and make them stand out.
I used a ball tool to curl the edges of the flowers a bit, and then used a pencil to help me start the rolling process for this flowers, and then took out the pencil and continue rolling them together. A bit of hot glue at the center of the flower holds the rolled flower together. I added a matching enamel dot to the center of the flower to hide the hot glue.
I glued the flowers around the picture and title of this page, but added a few leaves made from the Stems cut file from white cardstock. A few extra embellishments -all from the SCT Spring Fling kit- complete this page.
I hope this inspires you to jumpstart your Spring documenting. There are so many new cut files in the JustNick Studio shop that will help you bring a bit of Spring to your projects.
Scrapbook Layout created for JustNick Studio - BEAUTIFUL MEMORIES -
Hi there! Nathalie with you today with a new layout about one of my favorite people in the world, my aunt, Pamela!. She and I are the same age, and have grown up together, but now live in different hemispheres. So i wanted to use some of the new (and upcoming) cut files to document a picture of the 2 of us, while we were visiting my native Ecuador.
To create the background of this page, i welded a few images of the Floral Background 2 (which will be available starting tomorrow), and then combined it with one of the hearts in the Hearts 2 cut file to obtain the background for this page
I backed just a few of the flowers with papers from Cocoa Vanilla Studio's Bohemian Dreams collection ( i love all the purple tones in the papers, so I had to use them in this layout).
Next, the Flowers cut file was used to create just the silhouette of the floral motifs from the heart - i sized the images so that they matched the ones used in the heart background). These flowers were then backed with white vellum, and then attached with pop dots to the background. Just loved the softness of the flowers, so there was no need to add much embellishments to the page, just a few pieces from the collection were enough to complete this page.
I hope this inspires you to mix and fuse some of the stores cut files to create a one-of-a-kind project. There are so many beautiful designs available (and coming to) in the JustNick Studio store; stop by, and check them out!!!
Remember I am always a comment away if you have questions on how this came together.