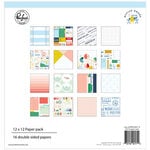
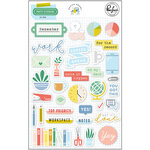
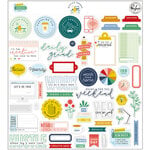
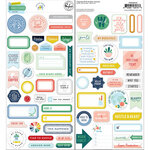
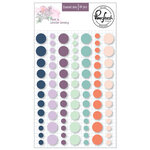
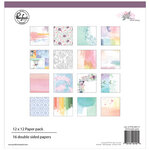
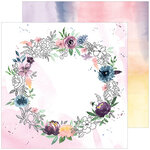
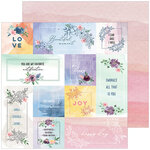
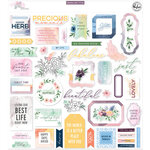
It is time for a new challenge for Pinkfresh Studio, and this month is all about circles and the colors in the beautiful Office Hours collection.
I love the collection so much, and was inspired on the colors of the circles to create this layout using one of the new cut files (Book Shelf) for this layout.
First i created the cut file to fit a large portion of the background, and used papers from the Office Hours and Just a Little Lovely collection to back each one of the books in the cut out. A bit of foam adhesive was used to attach the cut out to the page.
Once i set the cut out, I fussy cut flowers from the Just a Little Lovely collection to decorate the page by adding clusters around the page. Here is where i started adding circles as embellishments.
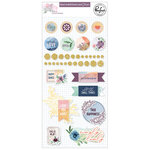
There are so many beautiful embellishments in the collections that it was so easy to find circle embellishments that would compliment the page.
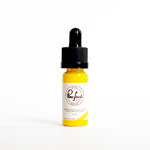
All that was left to do was add a title - a mix of alphas from both collections, complementing enamel dots and a few splatters of black Liquid watercolor complete this page.
Remember to stop by the Pinkfresh Studio Fans page on Facebook to join in the challenge and have a chance to win gift certificates to the Pinkfresh Studio shop. As always do not hesitate to contact me if you have questions on how this came together.
Hi there!
Nathalie with you today with a few projects all about documenting the everyday moments and those sweet special moments using the beautiful and versatile Office Hours collection. I have journal my entire life and adding photos to the written lines led me to Traveler's Notebooks and scrapbooking, and now i want to share with you how i used the Office Hours collection in my pages. Let's get started...
For my first TN entry, i chose to document one of my daily coffee breaks. I reached for a pocket page to house my journal lines and picture.
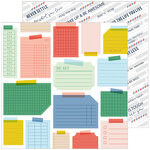
I love the Busy paper as it gives you perfect 3"x4" cards and journaling spots that can easily be used. I cut the small clipboard card and added my lines of journal followed by a fussy cut cup of coffee. To contrast and complement the color, i chose to add accents of blue to the pockets.
To create my title page, i created the word "coffee" using the Adore Alpha Die set and the Organize paper. The letters were glued to the center of the page followed by the blue mini alphas and a few embellishments from the collection and those beautiful phrase stickers from the Just a Little Lovely collection. To finish the page, i used the Espresso liquid watercolor and an empty plastic cup to create the coffee rings on the page. Easy peasy!
Now let me show you what i did with the other side of the pocket page. My kids are getting ready to go back to school which means lots of reading and work being done ahead of time. I chose to go with a grid design for this page, and set the pictures on opposite sides of the layout.
I created my journal card by cutting a piece of the Hard work paper and adding stickers to create the title for it.
For my title card, i used pieces of ephemera and chipboard to add dimension to the card. So simple and easy to put together with the Office Hours collection.
If you are a messy creative like me, then i am sure you have a few pictures of your craftermath! This time i decided to enlarge the picture to fit the page and added a few embellishments from the Office Hours collection on it.
For the other side of the page, i chose to carefully cut the tabs of the Prioritize paper so i can lift them up. I used a piece of the packaging to add my lines of journal and then glued it to the Fussy cut tabs.
Once again, i reached for the ephemera pack to add my title. Just love how these came together, and you can see how they were built in the following video:
For my second project, i chose to use one of the new cut files (available soon) to create scrapbook page about my kids first day of school.
I chose to separate the floral part of the cut file so i can move it around on the page, and then just used the inside of the note cut file to cut a few notes from the Busy, Plan, and Hard Work papers.
I scattered the notes on the background (Dreams paper) and then worked on backing all the cut files images using pieces of paper from the entire Office Hours collection.
I added my babies picture to the bottom note,and then used the florals die cuts to embellish each note.
To create my title, i used a combination of the collection's alphas and then added embellishments throughout the page. The following video will show you how this page came together:
I hope these inspire you to use the Office Hours collection to document your everyday memories in any format of your choice. You will love the results!
XO
Nathalie with you with a new project for Pinkfresh Studio. It is the beginning of the month which means time for a new challenge, and this month it is all about Watercolor/Mixed Media and the newest collections: Office Hours and Just A Little Lovely.
I was so inspired by the color combo of this challenge, so set out to find a way to mix them all in a page which led me to one of the Pinkfresh Studio cut files (available soon).
Once i cut the image, i used a pencil to lightly trace the outside edge on the background, and then loosely replicate the images using the Pinkfresh Studio liquid Watercolors.
While the background dried, i used a combination of both collections to back the cut out ( all the flowers are made from Just A Little Lovely, while some of the leaves and the banner are backed with papers from Office Hours).
I used a bit of foam adhesive to attach the cut file to the background. Then the picture was added, and all was left to do was embellish.
I used stickers from both collections to create clusters around the picture. A few enamel dots and phrase stickers were scattered through out the page.
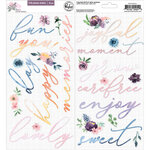
To complete the page, i added the word puffy stickers from the Just A Little Lovely collection to complete the page.
I hope this inspires you to join in this month's challenge. You can check the Pinkfresh Studio Fans Page on Facebook to see lots of inspiration and a few more projects created for the challenge.
As always, please do not hesitate to contact me with any questions on how this came together.