Jan 9, 2019

Love You Already


Scrapbook Layout created for Scrapbook Nerd  - LOVE YOU ALREADY -


Hello there!

Finally getting back into the groove of memory keeping.   The teens are back to school, the house has been cleaned, and now there is plenty of time to work on creating some pages for my scrapbooks. Since this week we were asked to create projects about new beginnings or changes, I right away pulled this picture of my cousin -she is like my little sister, as i am the eldest of the family and she grew up with us-, who would be having her second girl (my goddaughter #2 from her) in a couple weeks.


Since she is wearing the vibrant blue in the picture, i went with colors that would complement the picture, so i pulled PinkFresh Studio's Indigo Hills 2 to create this page.  I even used a non-white background for it!


First off, i fussy cut the florals from the 6x6 paper pad and the 12x12 paper -Glen- from the collection.  I pulled a few cut outs ( these were available in my stash) of leaves so that i can help layer them behind the flowers.


The picture was sized to fit behind the large chipboard frame, and glued to the page, then the florals were attached so that they create two large clusters flowing from behind the picture.   I used the empty space from one of the clusters to add my title using a combination of embellishments and alphas from the collection.   A few lines of journal and enamel dots complete the page:


Love how the picture is the star of the page complemented with those gorgeous florals from the PinkFresh Studio Indigo Hills 2 collection.   Now it is just a few days before we meet our new niece even when they are miles away in Ecuador.

Remember to stop by Scrapbook Nerd to check all the materials used in this page, and lots of new goodies arriving!
As always, do not hesitate to contact me if you have questions on how this was put together.

XO

Jan 7, 2019

Beautiful Girls


Scrapbook Layout created for Vicki Boutin DT  - BEAUTIFUL GIRLS -


VB_BEAUTIFUL GIRLS_Nathalie DeSousa


Hi there!

Nathalie with you today with a new project using Vicki's products.   We are used to adding mixed media to create backgrounds for our pictures, however  this time around i used a bit of Vicki's Magic to create patterned paper to back a cutout.

VB_BEAUTIFUL GIRLS_Nathalie DeSousa-2

To create the paper that backs the cut out, i started with a gessoed foundation paper, and then used diluted art crayons and a mister bottle to add color to the paper.   The color combination was chosen to bring the color of the jacket my niece is wearing. 

VB_BEAUTIFUL GIRLS_Nathalie DeSousa_close ups-2

Once the watercolor was dried, the flower impression was created using gesso, a stencil brush and the flower stencil from the All The Good Things collection.   The secret to create the soft impression without texture is to spread a bit of the gesso on a mat using a palette knife, and then pick a bit of it with the stencil brush, and then use it to create the flower impression through a stencil.

VB_BEAUTIFUL GIRLS_Nathalie DeSousa-3

While the background dried, the cut out was created by tracing with a pencil a piece of a heart at the edge of the cardstock.  Once the shape is cut, a bit of hand stitching was added -this is  an optional step, that can be omitted or replaced with machine stitching).  Then the piece was glued to the mixed media patterned paper created; a bit of fun foam helps to avoid having the page dip  due to the dimension added with the stitching.

VB_BEAUTIFUL GIRLS_Nathalie DeSousa-4

To mimic the patterned paper, two clusters were created at diagonal points of the picture.  Here i combined ephemera pieces, chipboard stickers, clear  and watercolor stickers. Gotta love all the flowers die cuts from the Field Notes collection.

VB_BEAUTIFUL GIRLS_Nathalie DeSousa_close ups


The title for this page was placed  inside the cut out using a combination of puffy word stickers and chipboard alpha.   A few drops of diluted gold glaze, enamel dots and a few lines of journal complete this page.    I have created a  video showing you how this all came together, enjoy!:


I hope this inspires you to check Vicki's products and to use them in your next project.  Remember you can always contact me if you have questions on how this all came together.
Have a great weekend!

VB signature

Jan 3, 2019

2019 Affirmation

Scrapbook Layout created for Just Nick Studio  - 2019 AFFIRMATION -


Hi there!
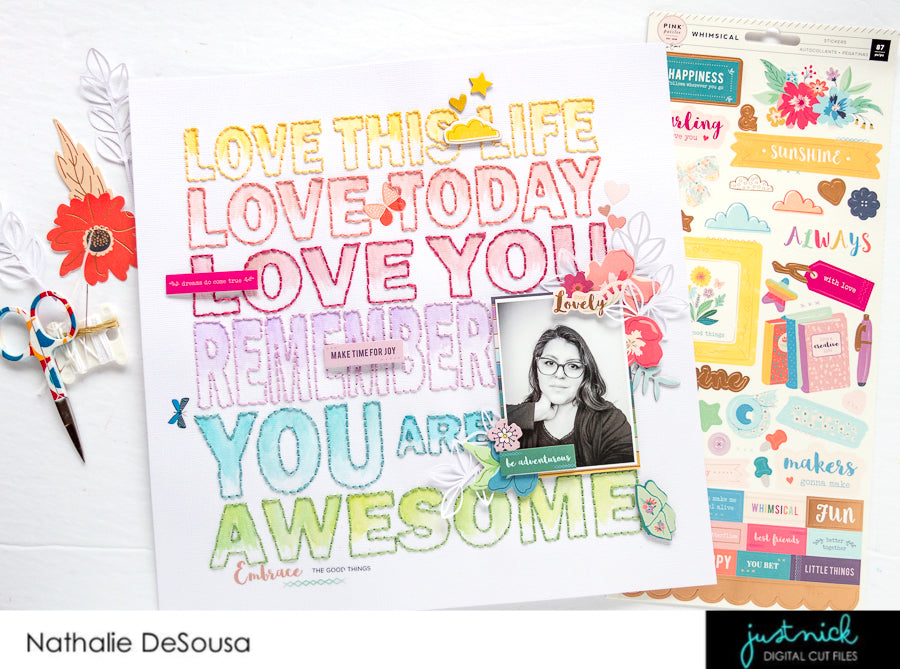
Happy New Year to you all!  Nathalie with you today with a rather special project that is all about self-encouragement.  As the new year starts, I wanted to take the time to create a page that will serve as a daily reminder of the awesome-complex-simple gift we are.  So, I pulled a few cut files from the Just Nick Studio Shop to create this page.


I chose to alter a bit of the Everyday Words Background to create the background for this page.   The words where rearranged so that they increase in size as the large title progresses.


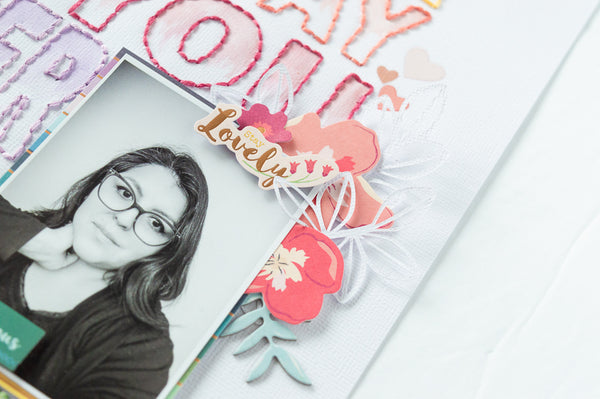
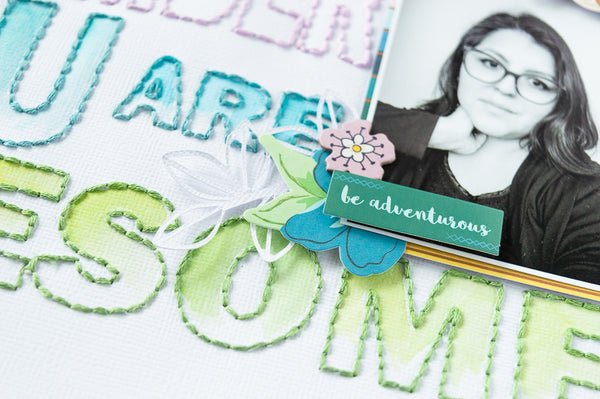
I wanted to combine a few of my favorite things in one page, so first i had the Silhouette draw the large title, this way i could create the stitching guide by using a paper piercer.


Next I used color embroidery ( a rainbow) to stitch the title -thank God for the small trips and breaks during the Holiday get togethers-.  Once it was all completed, I added a bit of mixed media (Vicki Boutin Art Crayons) to the letters to create an ombre effect for each row.


To complete this page, I pulled Pink Paislee's Whimsical collection to embellish the layout -i color blocked the embellishments-, but chose to also cut a few stems from white cardstock using the Stems 5 cut file.  These were layered behind the picture, and to help create the color clusters around the picture.


I love how this turned out, and now sits as a display in my workspace.   I hope this has inspired you to create a page about you and your goals or -like in this case- some affirmation.

Remember to stop by the Just Nick Studio Shop to check the cut files i used in this page, and all the designs available.   If you have questions on how this was put together, you can always contact me.
XO,