Jun 8, 2017

Roam In The City


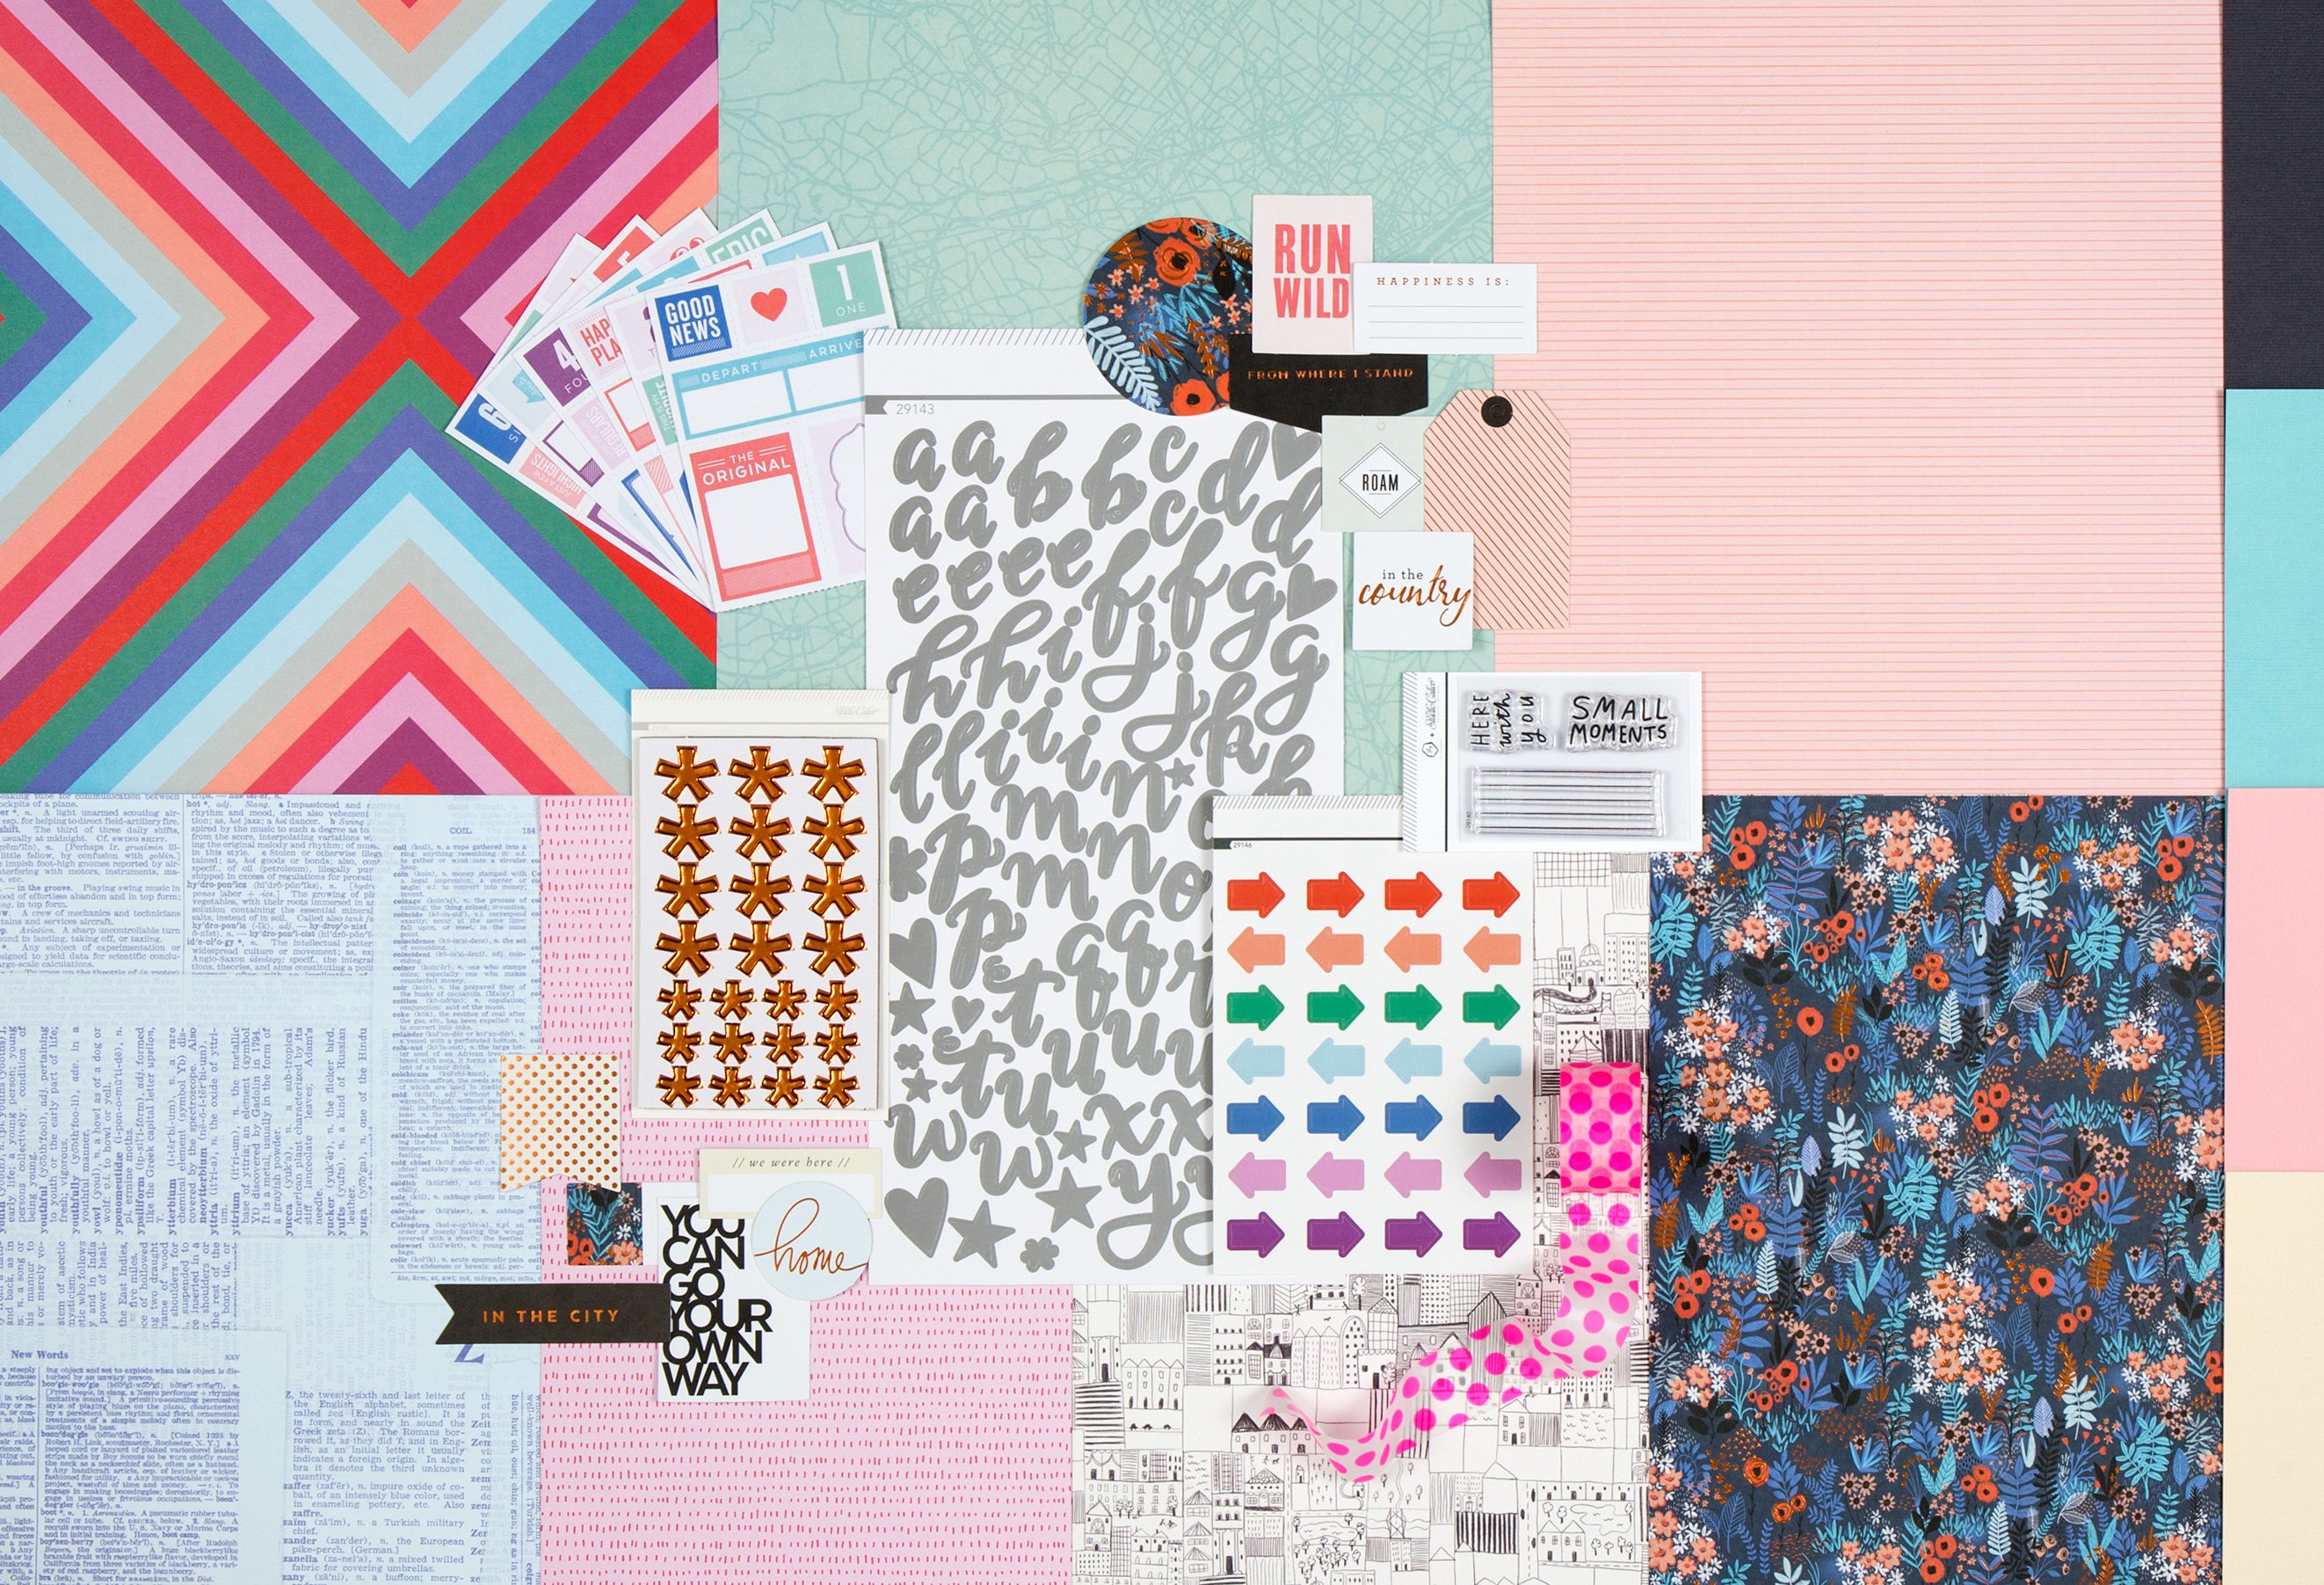
Scrapbook Layout created for Studio Calico  -   ROAM  IN THE CITY  -


Hello there,

I am so excited to share that this month, I am one of the June workshop contributors over at Studio Calico.   It was so exciting to create with the Been and Gone kit, especially when you are asked to create without the use of die cuts or cut files.   So I revert to my original scrapbooking technique, hand cutting.


The kit is beautiful, the papers in the collection -personally- evoke feelings of trips and travels.   I was drawn to the small ephemera piece that read, "In The City", so i build the page based on this piece.


The picture of my loves walking downtown Toronto, is full of graphic motives, so I enlarged it to fit a 9x11 format.  Using a bold font, i printed the word ROAM on cardstock, and cut the letters separately.  I traced each of the letters on some of the papers in the collection, and used an exacto knife to cut all the details.


  Both cardstock and  patterned paper letters were glued together with a small offset as to create dimension, and then attached to the bottom of the picture using foam  dots.   The small ephemera piece completes the title.


Next I used some of the papers to create a frame around the picture, and then attached it to the center of a 12x12 white cardstock sheet.   To create a visual triangle, I used some of the ephemera pieces, and the small ticket booklet from One Little Bird.


To complete the visual triangle, i repeated some of the same elements on a cluster at the top right corner of the picture.   Each of the corners of the visual triangle has a copper asterisk to tie in the design.   After adding the lines of journal in the picture, here is the final page:


The final look of this layout is just a perfect combination of the graphics of the picture with the beautiful papers.   I have also created another page which is showcased in the  Studio Calico's Been and Gone workshop; you are welcomed to join workshop  to see what some very talented designers have created, and to join Jen Schow on some of the lessons included in the workshop.

As always you can  contact me with any  questions on this layout.

Thanks for stopping by!


Materials used:
Studio Calico - Been and Gone collection -

Jun 5, 2017

My Personal Journal

Traveler's Notebook Spread created for Clique Kits  - MY PERSONAL JOURNAL -


Hello crafty friends!!


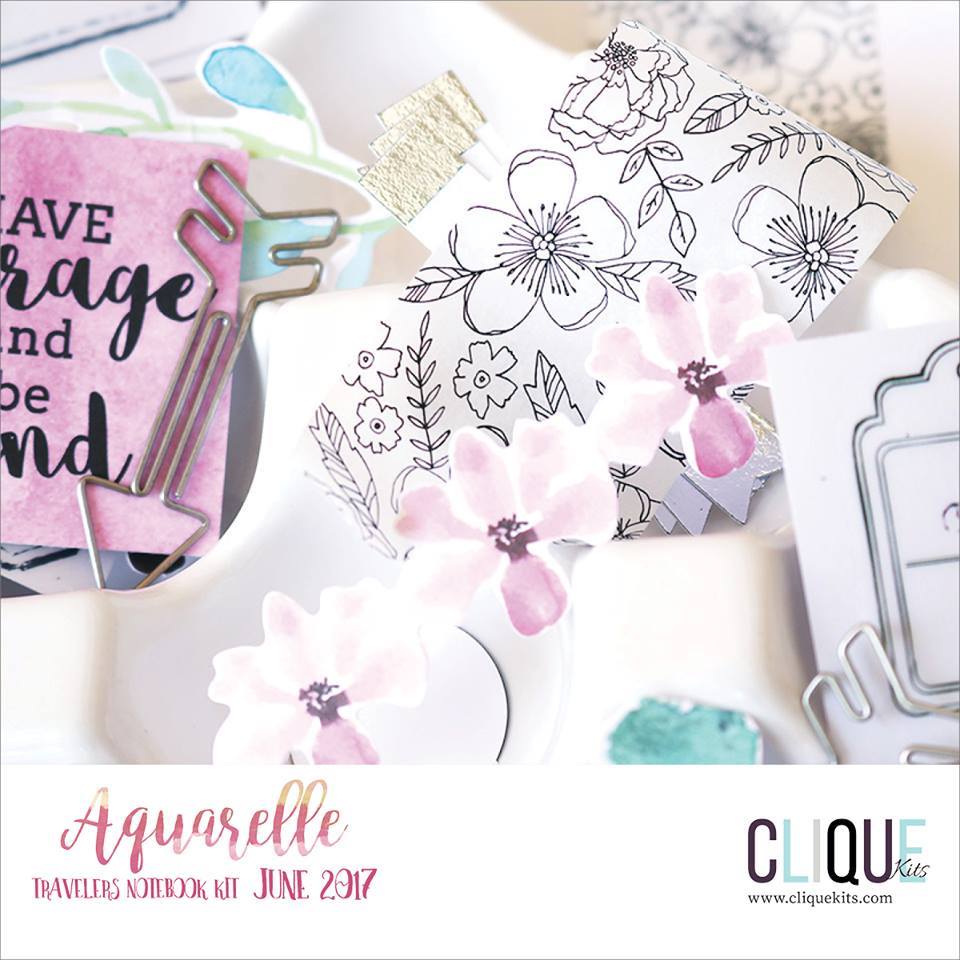
 Nathalie here with  some new entries on my personal journal -my TN- inspired by the beautiful Aquarelle kits (main and TN).   This month's TN kit features the beautiful "Wildflower" collection from Kaisercraft, as well as plenty of embellishments, and exclusive printables that make memory keeping so easy and pleasurable.  


Aquarelle TN


   Since the weather is finally changing here in Toronto, I am taking advantage of long doggie walks around the Humber River path behind my house.  The papers in the Aquarelle TN kit were perfect to document the beauty of Spring in the city.  Here is a small video on how this page came together:


   It took less than 10 minutes to put this page together.   I picked one of the papers in the kit, and used both sides to cover both pages of the TN ( each page features a side of the paper).


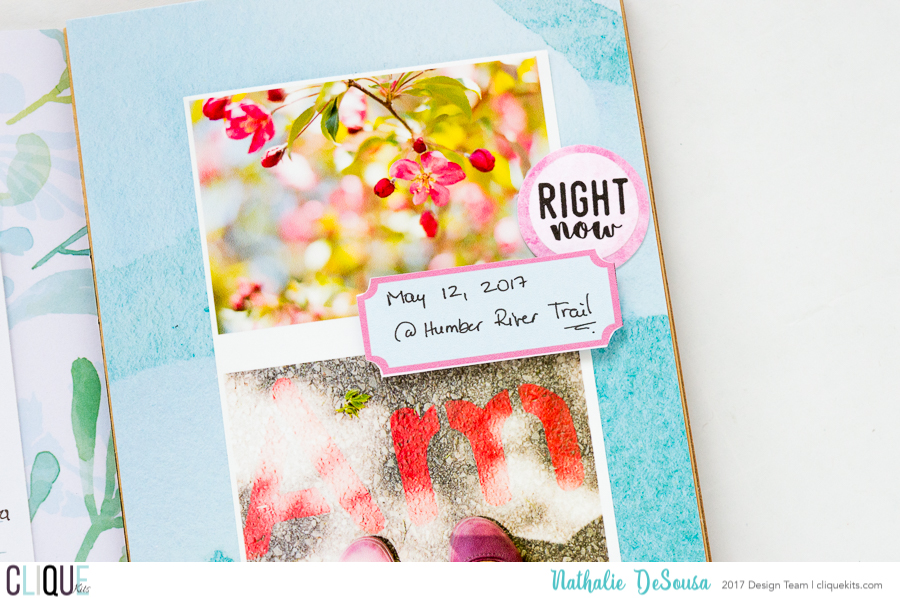
  CK_NATHALIE DESOUSA_JUNE2017_MY PERSONAL JOURNAL-4  I picked my 3 favorite pictures of the walk, and printed them in a film strip form using Lightroom.  This was then glued to one of the pages of the TN -i chose the one with a less busy pattern on it-.   Pieces from the Aquarelle TN Kit's die cuts and exclusives were used to decorate the page   CK_NATHALIE DESOUSA_JUNE2017_MY PERSONAL JOURNAL-3
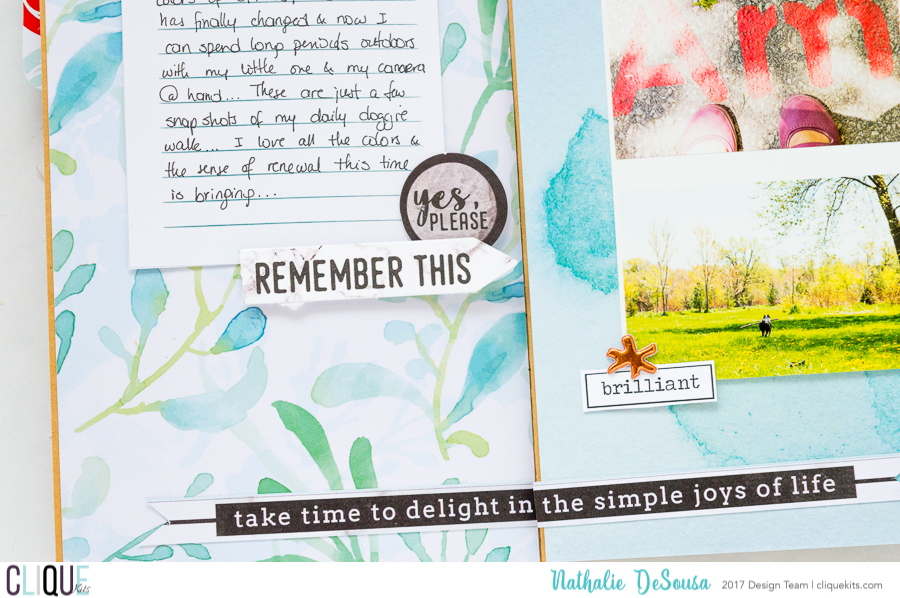
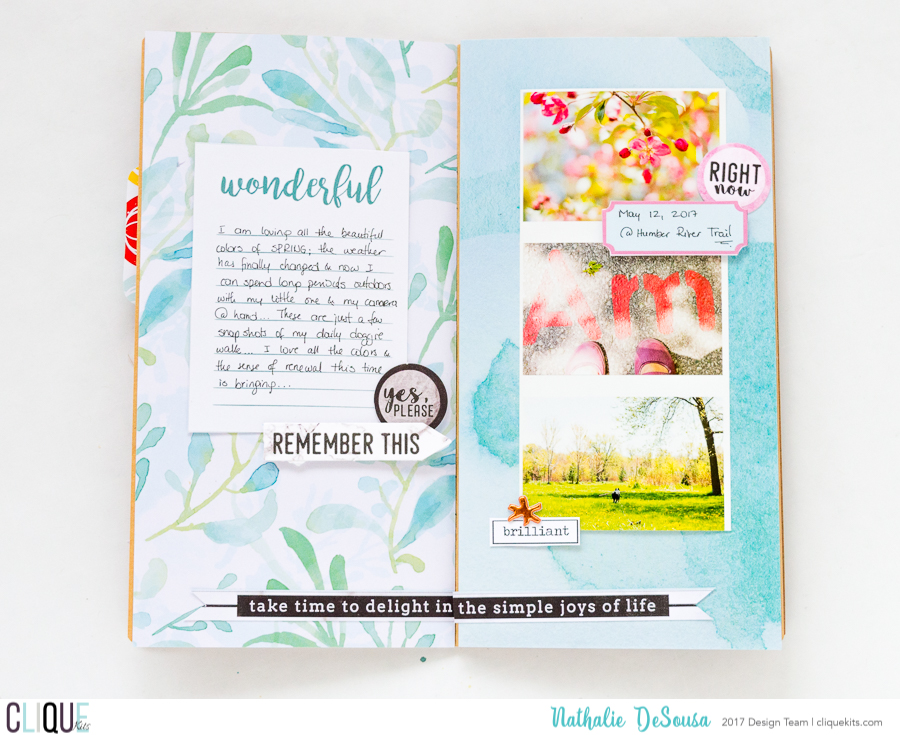
 The exclusive printables in this month's Aquarelle TN kit  are perfect to add small details around the page.  In this particular case,  one of the cards houses all the details of my walk around the river path.  Here is the final spread:

  CK_NATHALIE DESOUSA_JUNE2017_MY PERSONAL JOURNAL-2


 The color combination of the papers in the Aquarelle TN Kit was perfect to document all this Spring memories, and it took less than 10 minutes to complete the spread.  It is that easy to work with this kit.  


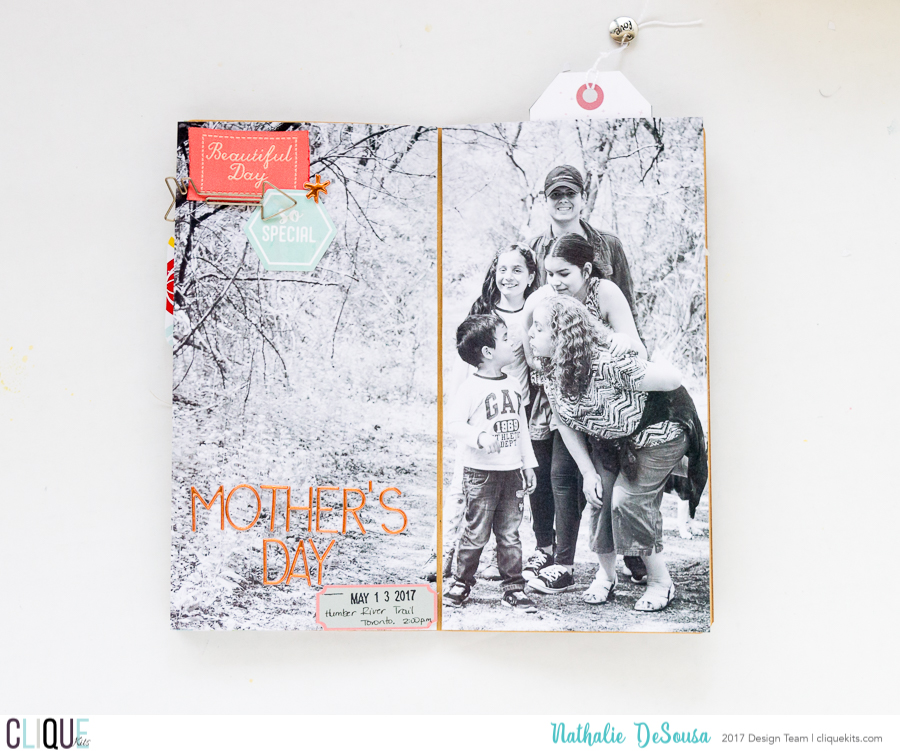
 If you are a subscriber to both  Main and TN kits, then this month's pizza box  is going to be a dream for all memory keepers. Since you can easily incorporate bits and pieces from both kits in your projects.    Here is an example of how I combined pieces of both kits to complete the spread of our favorite Mother's Day portrait, just sit down, and enjoy the video:  


      We love this picture, and i  wanted it to be prominent on my memory keeping system, so I chose to enlarge the image to fit the entire TN spread.    First i cut the picture in half so that i can easily glue to the TN.

  CK_NATHALIE DESOUSA_JUNE2017_MY PERSONAL JOURNAL-11 


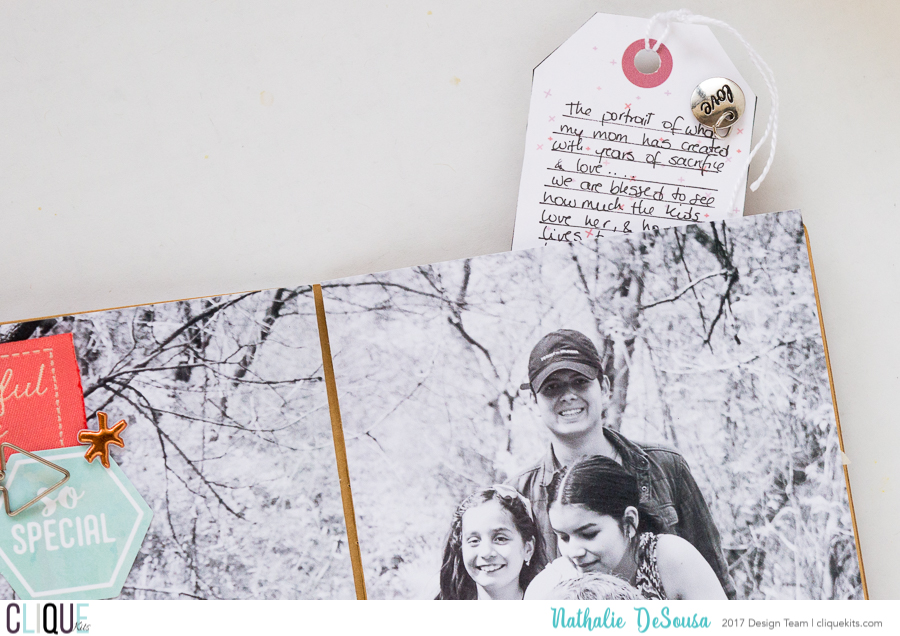
 Before gluing the right side of the picture, a small pocket was created behind the picture, so that it can hold a tag  (from the Aquarelle main kit exclusive printables) with all the journal lines about this memory.


  CK_NATHALIE DESOUSA_JUNE2017_MY PERSONAL JOURNAL-10


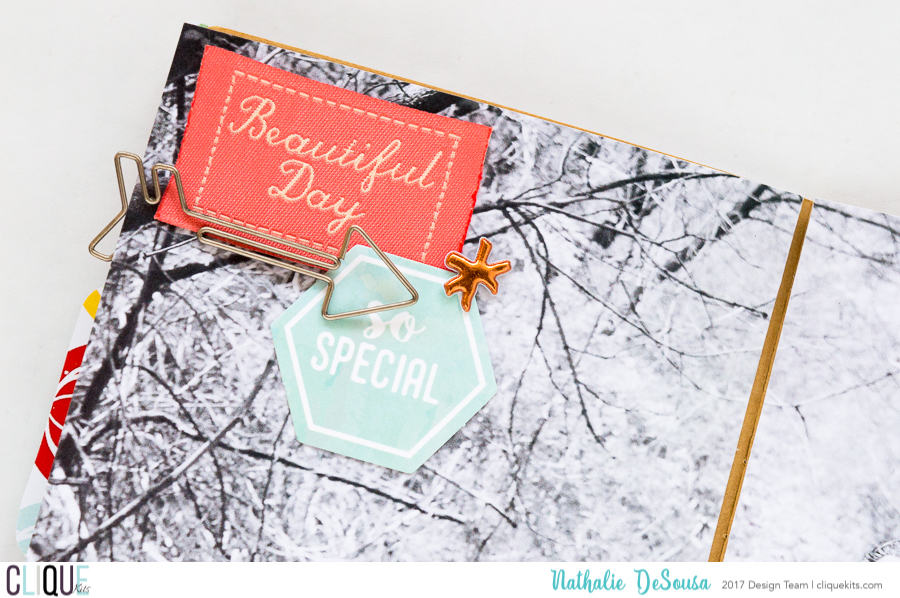
 To complete embellishing this page, one of the fabric tags, included in the Aquarelle main kit, along with a die cut from the TN kit were glued to the top corner of the left side of the page.  The arrow clip was then used to hold these pieces together,  and a small asterisk from the main kit Alphas complete this cluster.


  CK_NATHALIE DESOUSA_JUNE2017_MY PERSONAL JOURNAL-9    CK_NATHALIE DESOUSA_JUNE2017_MY PERSONAL JOURNAL-8  


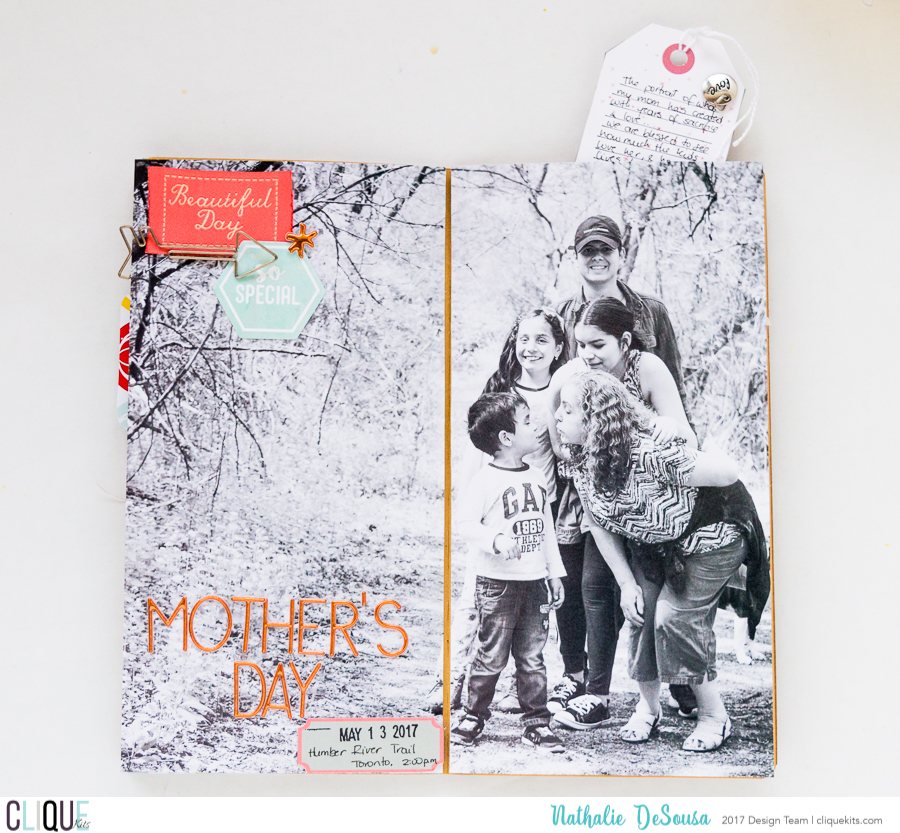
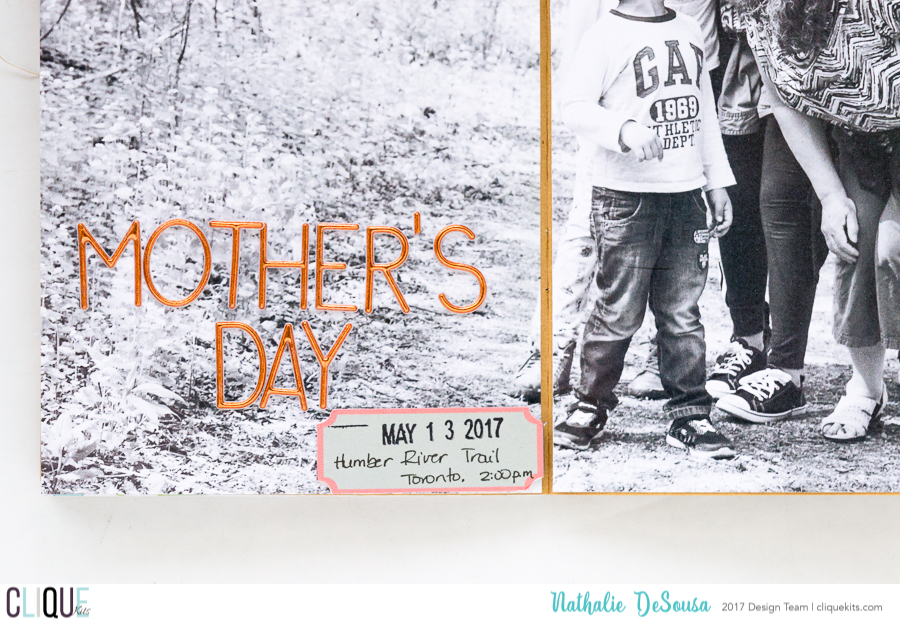
 Finally one of the labels from the Aquarelle TN kit's exclusive printables was used to add the date and place of the picture.  The copper Pinkfresh Studio alphas was then used to create the title of this page.  Here is the complete spread:


  CK_NATHALIE DESOUSA_JUNE2017_MY PERSONAL JOURNAL-7


 This is by far one of my favorite spreads of the past 2 weeks in my spread.  The texture from the different embellishments from both Aquarelle kits just adds the perfect touches to the picture.  If you haven't checked the kits, there are still a few available at the Clique store, and you better rush to pick yours.

 Remember i am a comment away if you have any questions on how these came together.


   Thanks for stopping by!

Jun 2, 2017

My Girls


Scrapbook Layout created for Clique Kits  -  MY GIRLS  -


Hello there!

Today, I am up on the Clique Kits blog with a new project featuring the gorgeous Aquarelle kit that features Cocoa Vanilla Studio's Wild at Heart collection.  I am in  love with all the watercolor floral designs in the papers, and though I shed tears over fussy cutting the paper, I just had to work a project with them.  Here is a small video on how the page came together:


I hope you enjoyed the video!!.   It took some time to detail all the flower cuts, so I gave you the condensed fast forward version of the process.  


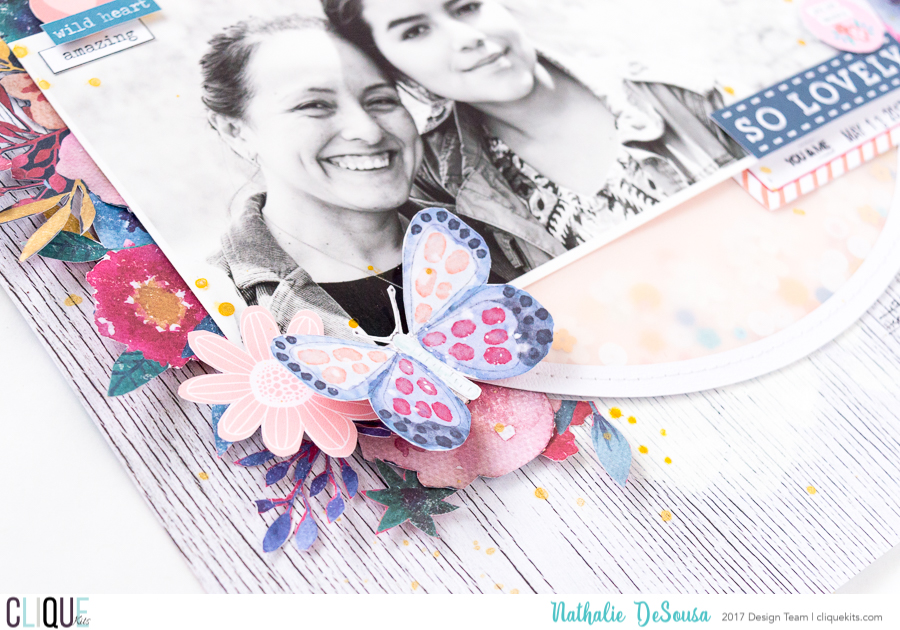
It all started with the creation of the shaker element for this page.   Two same size circles of light coral/pink cardstock and vellum, as well as the outline of the circumference (cut from white cardstock) were stitched together.  Before closing the pocket, some of the Clique Kits' Sorbet Kit Special Sequin Mix was added to the inside of the pocket.


Before attaching the shaker element to the mat, I used a bit of white acrylic paint to mute the design a bit, so that all the florals, and embellishments will not get lost with the background.   After gluing the shaker pocket, and picture, I used a large number of fussy cut flowers to frame the circle and picture in the layout.


The exclusive printables from the kit, as well as the " Fussy Cut" page from the collection were used to create the clusters around the picture.  The title for this page comes from the thin Pinkfresh Studio alphas (which are also included in the Aquarelle kit).  After adding a few journal lines, and some gold ink drops, the layout was finished,  here it is:


Love, love, love the final look of this layout.  The colors on the florals are rich, and plain beautiful;  plus the  exclusive printables, and sequins from Clique Kits just complement this project. I hope you are inspired to create a shaker element for your pages!   Remember I am comment away if you have questions on how this came together.

Thanks for stopping by!


Materials Used:
Clique Kits - Aquarelle Kit

White Acrylic paint
sequin mix - Sorbet kit - Clique Kits