Showing posts with label Freckled Fawn. Show all posts

Dec 28, 2019

BEHIND THE PERFECT MASK - Freckled Fawn


Hi there,

The December 2019 Freckled Fawn kit is amazing, and i just had to pull one of many pictures of my daughter to create this page.


I started by using an exacto knife to cut around the hearts in the paper, then trimmed it down and glued it to the another paper from the kit.   I added a piece of washi under the cut hearts and slide the picture in place.


I repeated the cluster of washi tapes under the picture and then used a few of the label stickers to create a second cluster at the corner of the picture.  Then started working on the title for the  page.


To continue the diagonal design, i used a mix of the alpha stickers and chipboard stickers to complete the title and then added a small cluster at the bottom of the  page.


I love how easy this page came together following the diagonal design and using just the Freckled Fawn kit for this. Remember to check it out.


XO

Dec 9, 2019

CAPTURED - Freckled Fawn


Hi there!
It is that time of the year when everything is so busy and colorful, but my little heart always goes back to black and white (my favorite color combo ever), so when i got this month's Freckled Fawn kit, i think i squealed a bit!


My first choice is always mixed media, large titles and handstitching... So i played with my Vicki Boutin Art Crayons and create an ombre background for my page.   While that set,  i used my Cameo to cut the title from one of the papers and handstiched the letter using matching thread to the one on the background.


I wished the kit came with a collection of these wooden frames.  I wrapped some embroidery thread (coordinating color) around the edges of the frame and glued a picture of our baby behind it. 


The chipboard stickers in the kit are fabulous, so i used a few of them to frame the picture.  I added a few of the past kits god enamel dots so it helps to warm up the page a bit.  Then added my journal line about our beautiful boy under the picture.


To complete the page,  i added two clusters of labels , washi tape and enamel dots at diagonally opposite sides of the page to help balance the page and create a focal point in our page.


Just love how this turned out, and how fun it was to put together.  I am so in love with the Freckled Fawn 6x8 December kit that i am thinking about purchasing a new one!!  remember to check it out.

As always please contact me with any questions about this page!

XO

Mar 4, 2016

Happy Happy Happy


Scrapbook Layout - Happy Happy Happy -


Hello!,

I have started creating layouts for all my nephew's birthday party pictures.  Here  is the first of many to come.


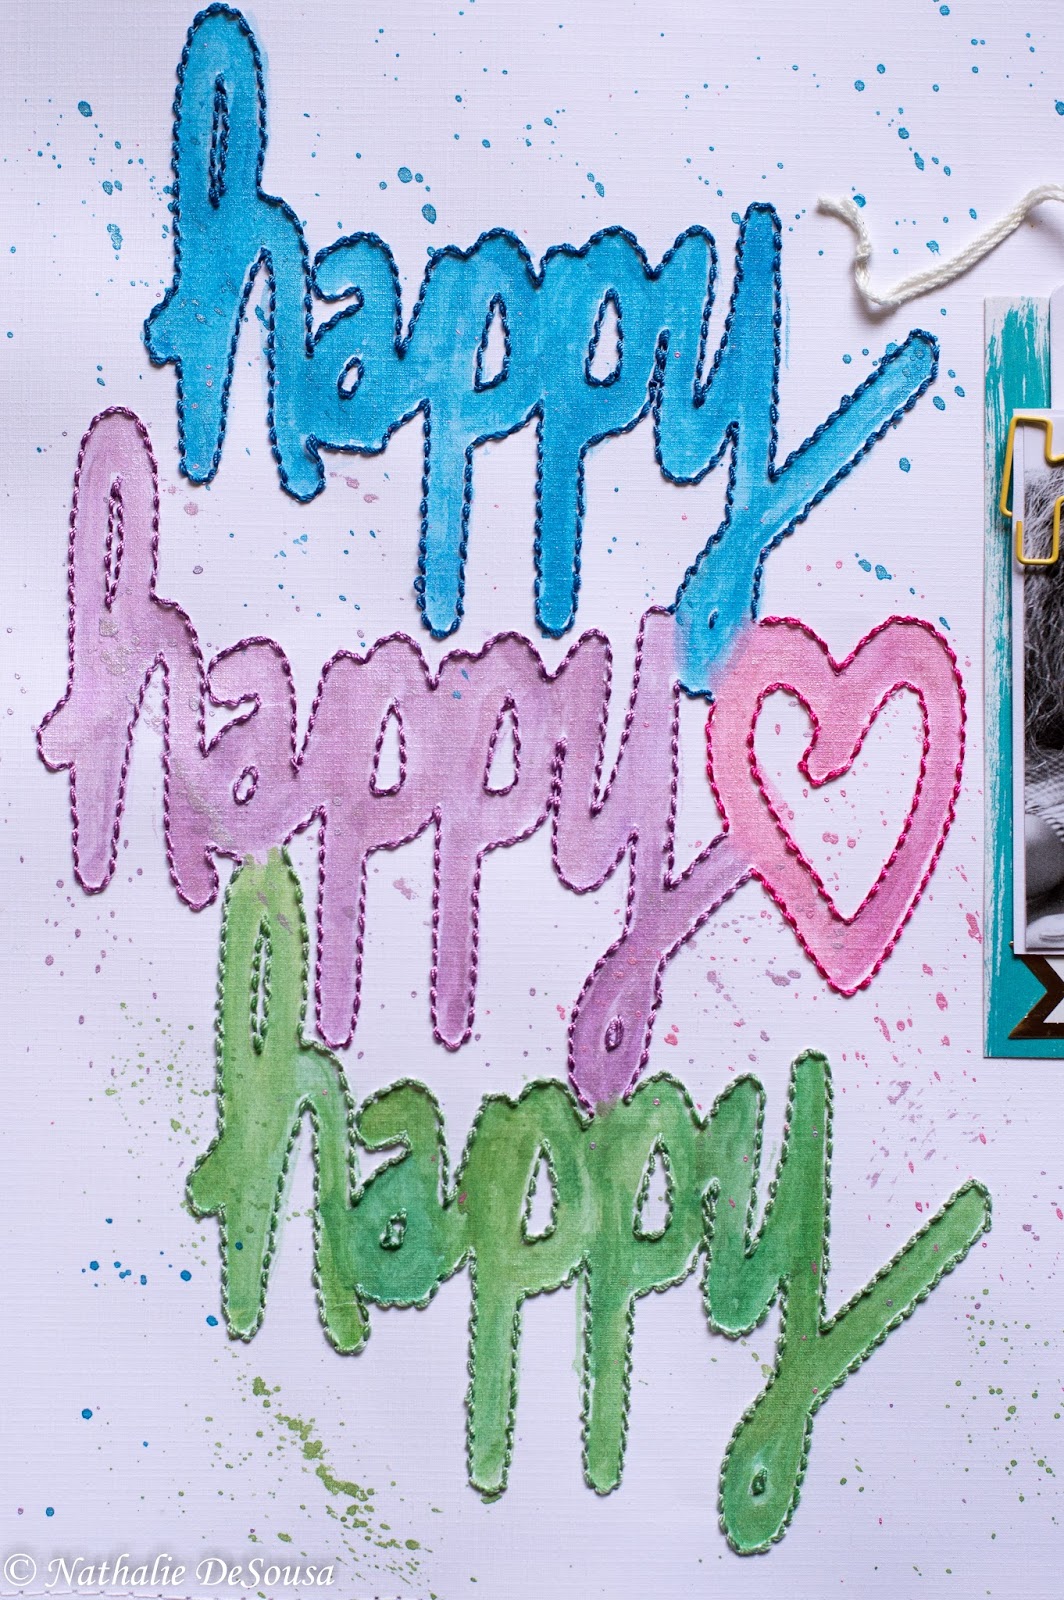
Lots of hand embroidery and shimmering watercolor on the layout


We all love this picture of my mom and my nephew on his birthday.  It just shows the bond my mom has with each of her grandkids.  So to capture the feeling, i pulled an Ashley Horton  cut file design for Hip Kit club (free download) and enlarge it so that it cover half of my layout.   Once i had sized it, i set the Silhouette Cameo to perforate the edges, instead of cutting them, and i get the perfect spaced dots to stitch.


I picked happy colors for the script.  It took a few hours of
work -I usually do it while watching tv-


Once I finished the stitching (it took me a few nights),  I went ahead and color inside the edges of the script using shimmering watercolors from Michaels.  At first I was not sure of  how it was looking, so I threw a second coat of the same shimmery watercolor, and voila!, the effect was incredible.


I added splatters of the watercolors along each respective edge.


I chose to print the picture in black and white to make sure it popped next to the script.  I simple mat and just a layer of paper from MME's Jubilee collection that matched the colors of the script.  I wanted to highlight the picture, so i used a small amount of embelishments.  A few tags (one of my faves), and some cut outs were enough to finish the page.


A close up of the picture


Finally I trimmed a half inch across all edges of the white cardstock, and attached it, using the sewing machine, to a  striped white and black paper mat ( i usually just cut an edge mat about 1.5 inches wider than needed) A few lined of journaling for future reference, and it was done.  I love the finished result, it makes me Happy.

I hope you like it too.


The finished layout


Materials Used:
  • White Cardstock, American Crafts, white
  • Cut File, Hip Kit Club Downloads, Ashley Horton Design
  • Mat for layout,  Documentary collection, Dear Lizzy
  • Patterned paper, picture mat and layer,  Jubilee Collection, My Mind's Eye
  • Paper clip -hi-,  Freckled Fawn
  • Tags, banners, cut outs - Recollections, Michael's
  • Phrase sticker, Teresa Collins Designs, Our Daily Stories collection
  • Photo tabs, Pebbles
  • Shimmer watercolor, Artist Loft collection, Michael's