Mar 4, 2016

Happy Happy Happy


Scrapbook Layout - Happy Happy Happy -


Hello!,

I have started creating layouts for all my nephew's birthday party pictures.  Here  is the first of many to come.


Lots of hand embroidery and shimmering watercolor on the layout


We all love this picture of my mom and my nephew on his birthday.  It just shows the bond my mom has with each of her grandkids.  So to capture the feeling, i pulled an Ashley Horton  cut file design for Hip Kit club (free download) and enlarge it so that it cover half of my layout.   Once i had sized it, i set the Silhouette Cameo to perforate the edges, instead of cutting them, and i get the perfect spaced dots to stitch.


I picked happy colors for the script.  It took a few hours of
work -I usually do it while watching tv-


Once I finished the stitching (it took me a few nights),  I went ahead and color inside the edges of the script using shimmering watercolors from Michaels.  At first I was not sure of  how it was looking, so I threw a second coat of the same shimmery watercolor, and voila!, the effect was incredible.
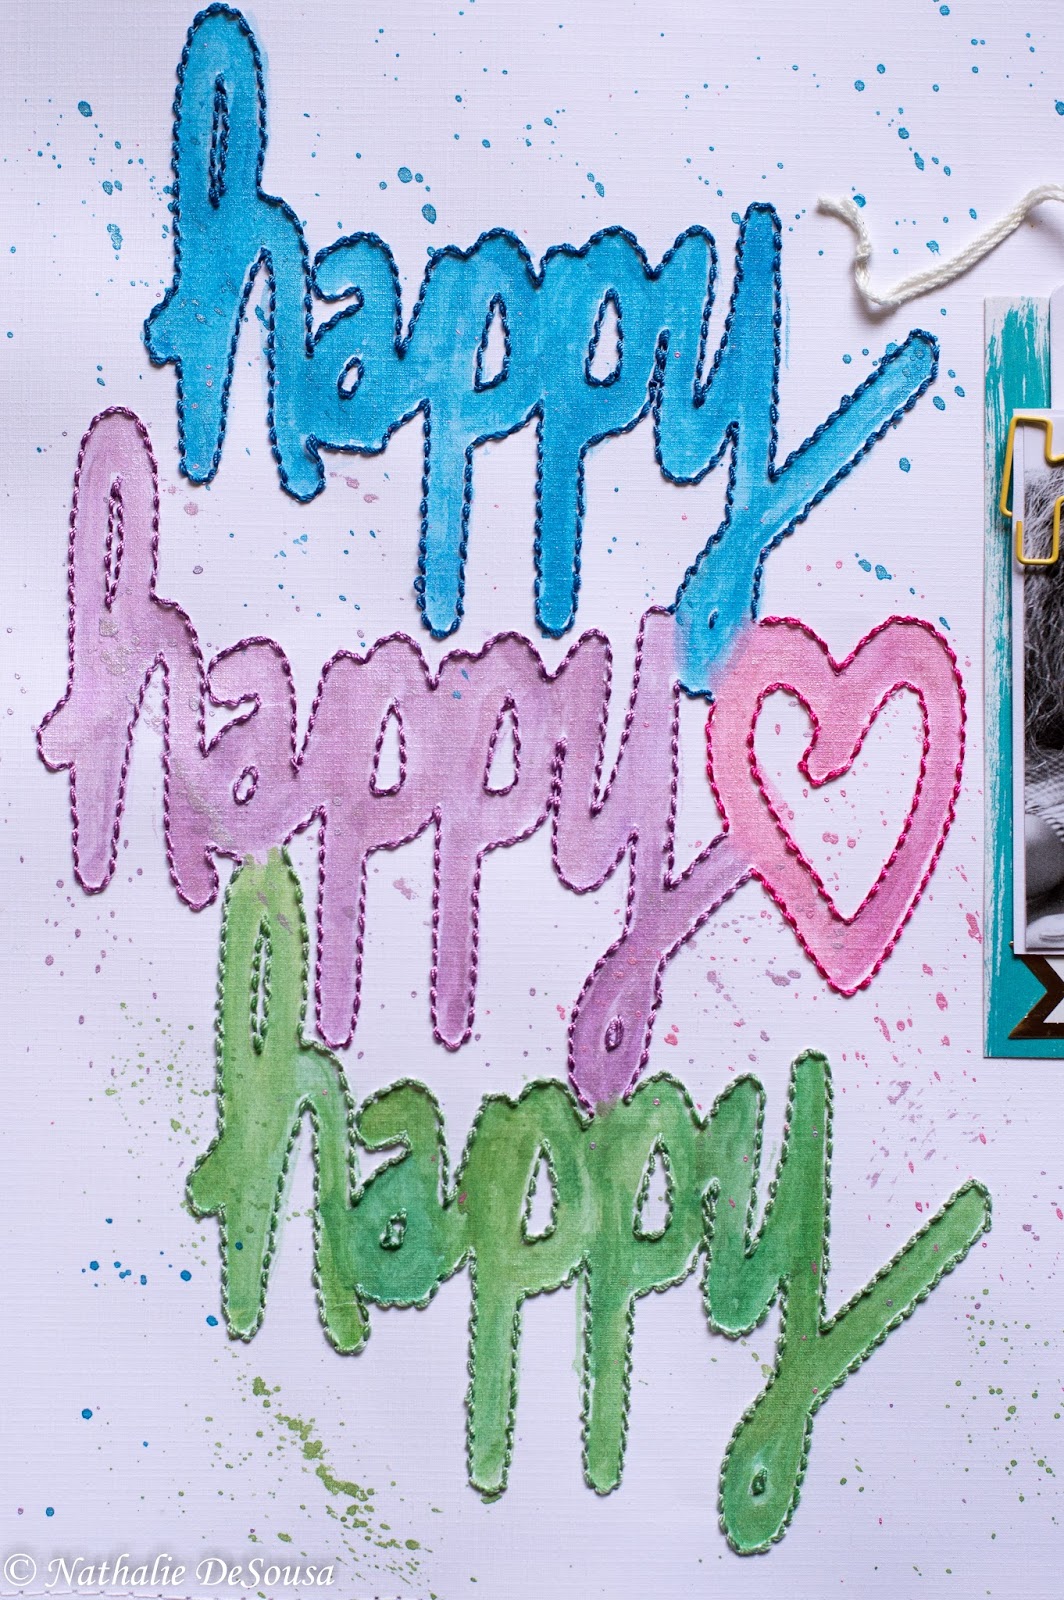


I added splatters of the watercolors along each respective edge.


I chose to print the picture in black and white to make sure it popped next to the script.  I simple mat and just a layer of paper from MME's Jubilee collection that matched the colors of the script.  I wanted to highlight the picture, so i used a small amount of embelishments.  A few tags (one of my faves), and some cut outs were enough to finish the page.


A close up of the picture


Finally I trimmed a half inch across all edges of the white cardstock, and attached it, using the sewing machine, to a  striped white and black paper mat ( i usually just cut an edge mat about 1.5 inches wider than needed) A few lined of journaling for future reference, and it was done.  I love the finished result, it makes me Happy.

I hope you like it too.


The finished layout


Materials Used:
  • White Cardstock, American Crafts, white
  • Cut File, Hip Kit Club Downloads, Ashley Horton Design
  • Mat for layout,  Documentary collection, Dear Lizzy
  • Patterned paper, picture mat and layer,  Jubilee Collection, My Mind's Eye
  • Paper clip -hi-,  Freckled Fawn
  • Tags, banners, cut outs - Recollections, Michael's
  • Phrase sticker, Teresa Collins Designs, Our Daily Stories collection
  • Photo tabs, Pebbles
  • Shimmer watercolor, Artist Loft collection, Michael's


Mar 2, 2016

#ScreenCrushing


Scrapbook Layout - #ScreenCrushing -


The layout was created for the upcoming Scrapbook Nerd on-line crop


Hello everyone,


I have been asked to lend a hand in an on-line crop for Scrapbook Nerd.  The theme is Back to Basics, so I decided to use leading lines as my subject for my layout and challenge.  

First i picked three pictures of my teen son "taking care" of his cousin, these are a few of a series i took of them and it depicts how my son went from iPad surfing to watching the Minions movie within minutes, hence the title #Screen crushing.

The papers used come from Dear Lizzy's Serendipity collection.  Since i wanted to use leading lines to highlight the pictures, i went ahead and cut around one of the papers that had this intersecting lines.   I placed them  pointing towards the center of the page, and attached them on the layout paper using some back hand-stitching.


I tried to use matching embroidery floss to attach the chevron/arrow pieces to the layout


Next I matted and layer the pictures using papers from the same collection, and in the same color combination of the leading lines.    Before gluing down the pictures, I went ahead and added rub-on stickers (Heidi Swapp collection)  between the two vertices of the chevron lines.


I tried to keep all the colors within a determined palette.


Since i did not want to take away from the leading lines and the pictures, a small cluster of ephemera was added to the last picture.


I used the stitched hearts to continue with the stitched look of the leading lines.


The title was formed using Heidi Swapp thickers and a large phrase sticker from one of her collections.  In order to balance the piece i added the title on the opposite side of the ephemera cluster.


By splitting the title into two words I can balance the layout.


Finally i added the journal lines between the space created by the chevron lines.

I hope you are inspired to use leading lines in your next project.

See you soon.

The completed layout


Materials Used:
  • Patterned papers,   Serendipity collection, Dear Lizzy
  • Title,  Heidi Swapp thickers, and phrase stickers in gold
  • Rub-on stickers, Heidi Swapp collection
  • Stickers and chipboard stickers,  Soft Spoken Collection, Me and My Big Ideas
  • stitche heart cutout,  Recollections, Michaels


Mar 1, 2016

Project Life Layout Week #8


PL  Week 8


Sunday nights are Project Life night in my house.  I like to go through all the week worth of pictures, and chose the most relevant to our family and our little piece of the world.   I am still new to Project Life, but i enjoy having a way to document our every day.  The layouts are not as nice as my scrapbook ones, but i love the fact that i can have all the pictures displayed in one album with the story of why, who, where and when next to it.


Firsr page of this week's spread.


Still trying to continue with the red accents in all the  February pages,   but since this week there is a lot of my nephew's birthday party snapshots i also used a colorful spread... Here is the first page,  I am using Amy Tangerine's Finders Keepers collection for some of the small cars, while the larger 4x4 cards come from American Crafts, Simple Stories and Heidi Swapp collections.


The second page of this week's PL layout.


A few weeks a lot I came across this American Crafts Birthday collection, and added it to my stash.  It worked perfectly to showcase my nephew's 3rd birthday celebration.  The  added decoration, comes from different collections.  The top sticker on my nephew's picture comes from Freckled Fawn, while the large love sticker comes from Echo Park's Our Family collection... The phrase stickers come from Teresa Collins' Our Daily stories collection, and My Mind's Eye marketplace collections.


The third page of this week's layout


Since there was a lot of pictures taken at my nephew's party.  I used a third page to add them to our album.  I chose to print the pictures in 2x2, 2x3  cells so that i could collage them into the Birthday collection cards. Though this page is picture heavy, I enjoy seeing all the happy faces of the celebration.

I hope this gives you a little inspiration on how to document and display your pictures.

See you next week!