Showing posts with label Vicki Boutin. Show all posts

Feb 17, 2020

FABULOUS YOU - Scrapbook Nerd


Hi there!
This week, the DT at Scrapbook Nerd is working with stencils to create their projects.  I chose to create my background by combining a few stencils, materials and textures in the background of my layout.


I started with a piece of Marshmallow cardstock from Bazzill.  First i used a Vicki Boutin script stencil and diluted acrylic paint (Dina Wakely) to create the impression on the page.  By applying the paint with a stencil brush, it is easy to control the richness of color and also create the ghost effect of the application. 


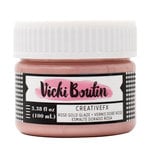
Using Acrylic paint helps to prevent the impression from disappearing when adding the watercolor layer ( VB watercolor markers).  Then to finish the background work, i  added a bit of texture using VB Rose Gold glaze and a Kaisercraft stencil.  This time, i run the glaze with a palette knife on the stencil, thus creating the bumpy texture on the background.


While the background completely dried, i used Heidi Swapp's Honey and Spice collection to build all the paper layers behind the picture.  I tried to add the bulk of the papers towards the left of the picture,  for this, i reached for a cut file from Just Nick studio to help me elongate the paper cluster to the left of the picture.   I set all these on the top right side of  the page.


When the background was created, i made sure to add a small section of mixed media to the side of  the page, so that i could balance the layout.  I used a few of the collection's embellishments to create a small cluster and then used Kaisercraft Stickers to construct my title as a link between the two corners of the page.


I love how this turned out, especially with the beautiful Boston Terrier image on the collection.  The following video will show you how the page came together:


Don't forget to stop by the shop to check the materials used in this page, and please do not hesitate to contact me with any questions

XO

Nov 5, 2019

BUT FIRST COFFEE - Just Nick Studio


Hello there!
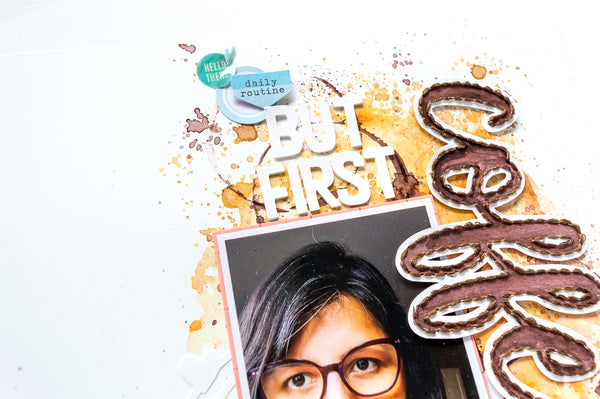
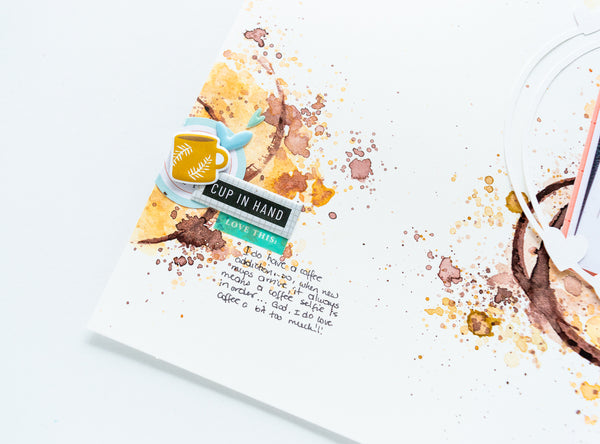
Nathalie with you today with a new layout that is all about my devotion/addiction to coffee.   Every time i get a new coffee mug, i always take a selfie with it, and this new mug is probably a new favorite and large enough to hold 2 cups of coffee at once :)  .. So, just imagine how happy it made me to see the new Just Nick Studio cut files, just perfect for this page!


 I started by creating the mixed media background of this page using VIcki Boutin Art Crayons and Pinkfresh Studio Liquid watercolors. While the background dried, i started working on the title for the page.


I used the But First Coffee cut file to cut the title of the page from white cardstock.  First, i set the machine to cut the "But FIrst" part of the title four times from white cardstock so i could stack them together, and create my own dimensional alphas.


I chose to stitch the "coffee" part of the title; for this, i first added an offset to the word -on my Silhouette Studio platform-, then set the inner lines of the word as a perforated line, and then send it to cut from white cardstock.  This is an easy way to obtain a stitching guide without having to pierce the holes.  I then used some embroidery thread and Espresso Liquid Watercolor - Pinkfresh Studio - to detail the word.


To continue the circle shape of the background (mug ring marks) i cut a circle frame from white cardstock using the Infinity Hearts cut file.   I used it to frame my picture and continue the look of the background.


To embellish my page, i chose to add embellishments from Pinkfresh Studio's Office Hours collection and Citrus Twist Kits.  I made sure that the embellishments stayed within a small color palette and had a circular shape.


I hope this inspires you to check the new cut files available at JustNick Studio - if you are a coffee lover, then you must get the cut file--, there is always something for everyone.   Remember you can always contact me with any questions!

xo

Oct 24, 2019

GRATEFUL HEART - Just Nick Studio

Hi there!
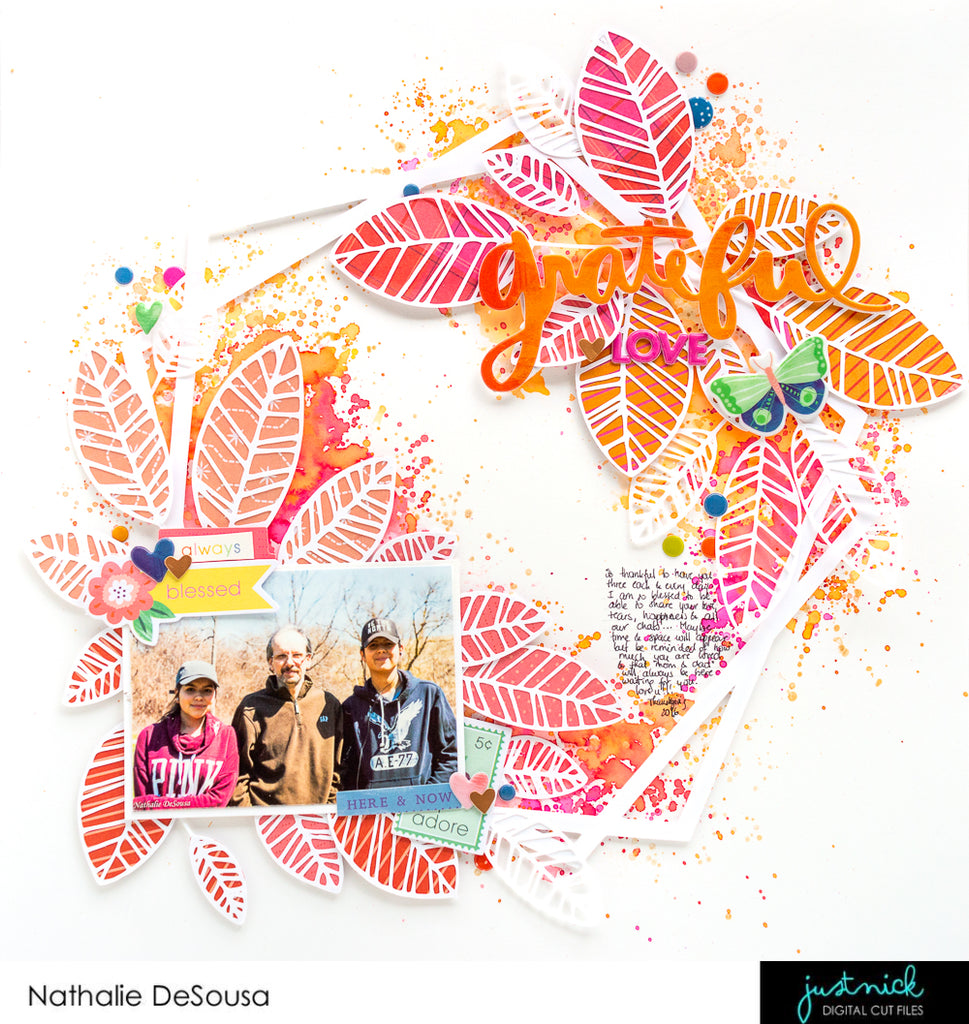
Nathalie with you today bringing you a project all about those beautiful Fall colors.   I love the Fall, and all the new designs that Nicole has been adding to the JustNick  store make it so easy to bring our ideas to life.


As soon as i saw the new Geometric Frames 2 cut file, i knew that one of  them will be perfect to create a wreath for one of my pages.


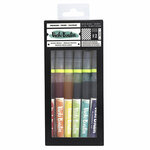
I used a bit of Vicki Boutin watercolor markers to add a color to the area where the  picture and clusters would be placed.


Once i set the frame on top of the watercolor background, i pulled the new  Leaf Cluster 2  and cut a few of the clusters from white cardstock.  Some of the clusters were also backed with papers from Paige Evan's Truly Grateful collection.


I weaved the clusters of leaves so that  they read as a large cluster on the page. I even added a few extra leaves to bulk the cluster.


I added small embellishments throughout the page so that they pick up the colors of the photo and add small details throughout the page.


 I hope this has inspired  you to check the new cut files available at the JustNick Studio shop.  Remember you can contact me with any questions,
xo

Jul 24, 2019

SUMMER DAYS - Scrapbook Nerd


Hi there!

This week the Scrapbook Nerd DT has been working with sketches.   I chose to create a multi picture layout all about the girls love for our outdoor pool.  The sketch was the perfect starting point for this page.


My choice was to stay close to the sketch with a few modifications.  First, i added some mixed media to the background using Vicki Boutin's watercolor marker onto Bazzill Marshmallow cardstock.


Once the mixed media dried, i used papers from the Kaisercraft Paisley Days collection to create the triangular paper strips  at the edges of the page.   In this case, i chose to move them around so that they guide your eye to the top of the page.


I chose to replace some of  the pictures with a cut file from Handipaper which was backed with papers from the collection, and then used the  some of the ephemera to complete the clusters just like in the sketch.


To finish the page, i used the larger ephemera pieces to create the floral cluster at the bottom of the paper strip, then added a title to the page using chipboard stickers from a 1Canoe2 collection, and mini Alphas from the Joyful Day collection from Pinkfresh Studio.  Here is the final layout:


This page came together rather quickly as the sketch was a great starting point.  I hope you stop by the Scrapbook Nerd Friends page to check the sketch and more inspiration from the DT.   As always let me know if you have questions on how this came together.

XO

Materials Used  (images contain affiliate links)

American Crafts - Color Kaleidoscope Collection - Watercolor Markers Pinkfresh Studio - Joyful Day Collection - Puffy Stickers - Mini - Alpha Kaisercraft - Paisley Days Collection - Collectables - Die Cut Cardstock Pieces Kaisercraft - Paisley Days Collection - 12 x 12 Paper Pack

Jul 11, 2019

LET YOUR LIGHT SHINE - JustNick Studio

Hello everyone!
Nathalie with you today and so excited to continue for another term as part of the JustNick studio DT  and get to work with Nicole's beautiful designs.   I was born and raised in Ecuador, but call Toronto home for over half my life.  My biggest blessing are my husband, two teenagers and our Boston Terrier baby.   My love for paper crafting was grown along with me, and i am so happy i get to share a part of it with you all.  Now, let me show you what i have created for today:


For this page , i chose the Let Your Light Shine and Leafy Florals (soon to be released) to document a recent selfie. 


It all started with a bit of mixed media,   some Vicki Boutin Rose Gold glaze pushed through a Kaisercraft stencil, on  one of the new papers from the Indigo and Ivy collection from Pink Paislee.


While the background dried, i used the soon-to-be-released Leafy Florals cut file to cut a few of the images out of white cardstock.   These would be used as accents and layers behind the picture and paper layers.


For the title of this page, i chose the Let Your Light Shine cut file. This was cut twice from white cardstock, the cut outs were then attached to each other with a bit of foam adhesive in between, then glued to the background.  A few embellishments from the Indigo & Ivy collection were added to the page, as well as a few lines of journal.


I hope this has inspired you to check all the designs at the JustNick studio shop.  There are always new designs being added to the store.   If you have questions on how this came together, please do not hesitate to contact me!

XO

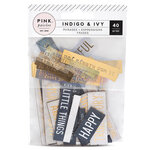
Materials Used (images contain Affiliate links)


Pink Paislee - Indigo and Ivy Collection - 12 x 12 Double Sided Paper - Paper 5 Pink Paislee - Indigo and Ivy Collection - 12 x 12 Double Sided Paper - Paper 8 Pink Paislee - Indigo and Ivy Collection - 12 x 12 Double Sided Paper - Paper 12 Pink Paislee - Indigo and Ivy Collection - 12 x 12 Vellum with Foil Accents Pink Paislee - Indigo and Ivy Collection - Ephemera with Foil Accents Pink Paislee - Indigo and Ivy Collection - Mixed Embellishments Pink Paislee - Indigo and Ivy Collection - Cardstock Stickers with Foil Accents Pink Paislee - Indigo and Ivy Collection - Chipboard and Acetate Ephemera with Foil Accents American Crafts - All The Good Things Collection - Mediums - Glaze - Rose Gold American Crafts - Color Kaleidoscope Collection - Art Wedge - Silicon

Jul 8, 2019

SUNKISSED DREAM - Scrapbook Nerd


Hi there!
This week the CT at Scrapbook Nerd has been challenged to create projects inspired by a color moodboard.   The colors are vibrant and very summery, so i decided to apply them to a new layout all about one of our Summer Trips a couple years ago.


I started by adding a mixture of Blue Hawaiian, Saltwater Taffy and white paint to the background to bring color to the page.   Once it dried, i used papers from the It's All Good -Dear Lizzy-, Saturday Afternoon -1Canoe2-, Flower Market -Carta Bella- collections to back and layer behind the picture, and attached it to the background with foam adhesive.


Cut outs from Handipaper were layered along the pictures, and then clusters of ephemera from the same collections were added to the picture.  The title was created using chipboard stickers from 1CAnoe2 collection.


The page was trimmed on its right edge, and then the background was backed with a patterned paper from the Saturday Afternoon collection.   A small cluster of ephemera was then added along this edge to complete the diagonal design of the page.  A few enamel dots from various collections were added along the page.  Here is the final layout


I love the simplicity and graphic design of the page.   My choice to focus on the background so that it creates that soft shadowing effect on the page was key for this layout.  The following video will show you how it all came together:


Remember to check the  Scrapbook NErd store to pick all the materials that were used in this video.   You can always contact me if you have questions  on how this came together.

XO
Jun 4, 2019

SWEET LIFE - JustNick Studio


Hello everyone!
Nathalie with you today with a new layout that is fitting for the Spring season.   I love combining Mixed Media and cut files to create my pages, and JustNick Studio cut files are always the perfect complement to my colorful messes. 


For this page, i chose to mix a bit of Vicki Boutin Mixed Media (art crayons) with the new Floral Sprig cut file to create the background for the page.  I welded the image three times and cut it from white cardstock  so that they cascade from the corner of the page.


I love the soft look of the white cut out on top of the mixed media background, and really this takes care of a large part of the page.   So i nestled the picture at the end of the cut out and just added a few embellishments from different collections -I went through my stash and pulled embellishments that matched  the colors-.


To create the title of this page, i wanted something really soft, so, i pulled the  Girl Power cut file and welded on of its word to another from the This is Life cut file.   The title was cut three times from white cardstock and once from gold glitter paper.   These were stacked together, so that the gold paper is the top one on the cut out.


I really enjoyed putting this together,  and it was so easy to do with just a few supplies.   There are so many possibilities when you combine mixed media and cutfiles, and there are so many to choose from in the JustNick Studio shop

As always do not hesitate to contact me with any questions on how this came together.
XO