Pages

Nov 30, 2019

MIX AND MATCH DIE HIGHLIGHT - Altenew


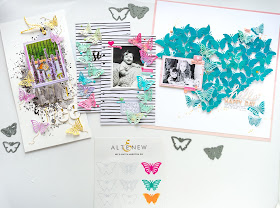
Hi there! Nathalie here to show you new project ideas with the new MIX & MATCH MARIPOSA DIE SET.  This new set is filled with infinite possibilities that will create butterfly die-cuts from different materials, colors, and designs.  Let's start!

DIE CUT BACKGROUND

@altenew_ MIX & MATCH MARIPOSA DIE SET HIGHLIGHT by NAthalie DeSousa 

 I love creating large cut file backgrounds for my pages, but this time I will use the Mix and Match Mariposa Die set.  This will result in a large focal background.


To create the background, I first created a template (heart) that will dictate the number of butterflies and paper needed for it.  I cut all the butterflies from a paper from the Our Family Scrapbook Collection using only the simple butterfly outlines. This will take some time but it will be worth the work.


The key to creating this background is to fill the shape with the butterfly die cuts.  Having the wings touch each other will help attach them together as a large image.  A bit of foam adhesive on the back of the die cuts will bring dimension to the page.

  @altenew_MIX & MATCH MARIPOSA DIE highlight by Nathalie DeSousaA few simple embellishments and a title (created with the Handwritten Hello Die Set and Verdant Walk paper pack) complete the page.  Check the following video to see the page come together: 


SOFT EMBELLISHMENTS

The Mix & Match Mariposa Die Set creates the perfect soft embellishment for your scrapbook pages. 

@altenew_mix & Match Mariposa Die Set_Nathalie DeSousa  

This page is bold and dramatic, but the soft airy butterflies bring the colors together, add movement on the page, and soften the overall look of the page.


I used the Evening Grey Watercolor Refill to create a mixed media background.  Then used the Bold Alphabet Die Set to cut the title and attached it back to the page with foam adhesive - a paper from the Blushing Blooms pack.


A little hand stitching helps to create movement on the page while the soft vellum layer in the butterflies adds soft and airy feeling on the page.

COLORFUL EDGES

@altenew_Mix&match Mariposa die set highlight_nathalie desousa  

Rainbows and butterflies are a classic combination!  This time I created my colorful paper using Watercolor Marker refills in Purple wine, Turquoise, Lagoon and Misty Mountain and the Metallic Watercolor pan set.


The detailed butterflies create the fun colorful butterfly silhouettes.  Two of the butterflies are attached together.  This helps to bring movement and dimension to the page.   To create balance on the page, the title is created from black cardstock using the Script Word 3 and Fine Alphabet die sets.


All the colorful enamel dots bring the extra pop of color to the page.  You can see the page come together in the following video:


 I hope these projects inspire you to check the new Mix & MAtch Mariposa Die Set and use it to create your next project.  I cannot wait to see what you create.

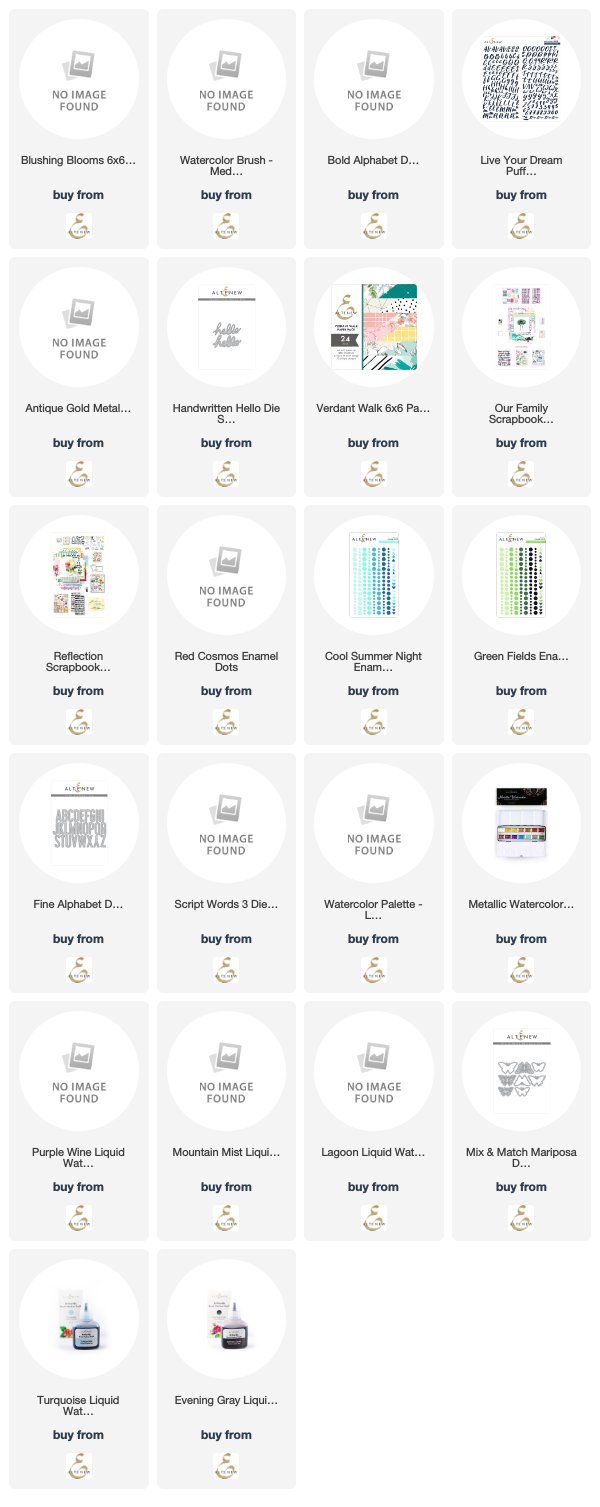
~SUPPLIES~
https://linkdeli.com/widget.js?1559654439292

Nov 25, 2019

HOLIDAY TRADITIONS - Scrapbook Nerd


Hi!  it is time for some inspiration for Scrapbook Nerd, and it is also time to pull all the festive goodies and document Christmas!!!   Well, i am all about playing with paper and glue, but when it comes to Christmas, there is just a little extra incentive to get creative.


For this page, i mixed a few different things that i am loving lately.  One is the papers in the This is Family collection from Pebbles, the colors and designs in the Merry Little Christmas also from Pebbles and circles.


I started by punching circles from the 6x6 paper pad from Pebbles and the 6x8 paper pad from Crate Paper's Snowflake collection.  I punched a hole at the top of each circle so i can form a banner with the circles, and wrapped the cord around a piece of 8.5x11 cardstock.


Once the banner was set in place (foam adhesive and glue dots are holding the circles in place) i glued the letter size cardstock to a paper from the THis is Family collection, and then added the picture so it sits between the two pieces of paper.


i used embellishments from Pebbles, Simple Stories, Crate Paper to bring the Christmas sentiment to the page.  Lots of pops of red, gold, green and teal bring the festive look to the  page.


All that was left to do was add a title ( Crate Paper and Pinkfresh Studio alphas) and some lines of journal.  The gold stamped elements were created with a stamp set from Citrus Twist Kits.

Just love how it turned out, and all the space i still have to write my lines of journal!!!  I hope this inspire you to pull some of your favorite things and mixed them up on your next page, and make sure you check Scrapbook Nerd for all the materials (there are so many new collections and good ol' staples),

XO

Nov 22, 2019

THANKFUL - JustNick Studio


Hi there!
Nathalie with you today in time to celebrate Thanksgiving with our American friends.  This time of the year always bring lots of reflection, love and gratitude, and what better way to documenting than to create a scrapbook layout using some of the JustNick Studio cut files.


Our biggest blessing are our kids.  So i wanted to make them the highlight of this page.  I started by creating the background with a bit of handstitching and using the Compressed Chevron background as a stitching guide.


I chose embroidery floss that will match the colors in the Maggie Holmes Heritage collection for the background, and watched a few Christmas movies while i finished detailing the lines.


I set the picture in place and added embellishments to create the clusters on the page.   I then used the Card Sentiments 3 cut file to  cut the "thankful"  from a piece of Vicki Boutin Foundation paper and then added a bit of shine by coloring it with Gold Glaze.


The title was attached with a bit of foam adhesive to the page, and then all was left to do was add some journal lines and embellishments to complete this page.


I hope that this has inspired you to document your gratitude using some of Just NIck Studio beautiful cut files.

Til Next time,

Nov 18, 2019

CHRISTMAS CUTIE - Scrapbook Nerd


Hi there!

It is sketch week at Scrapbook Nerd.  Since we are so close to Christmas, i decided to use the sketch to document a picture of my goddaughter from last year's festivities.  But before i show you what i have created, let me share with you the sketch:


Sketches are a great source of inspiration and a map-of-sorts when it comes to creating layouts.   This week's sketch is a perfect way to combine many manufacturers and techniques in one page.


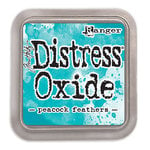
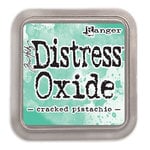
I added a bit of diluted Distress Oxide (Cracked Pistachio and Peacock Feather) in  the background of the page.  While it dried, i started to work on the paper strips for the page.


I cut random triangular strips of paper from one of the specialty papers from Maggie Holmes Heritage collection, as well as papers from the 6x6 paper pad from Pebbles.  I diluted VIcki Boutin Gold glaze and splattered it on white cardstock to create a texture paper for the layout.


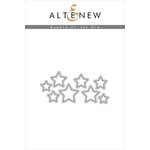
To continue the clear look of the acetate paper, i chose to die cut stars from Metallic Kraft paper using the Altenew Bundle of Joy die set,  The stars were glued onto strips of acetate, then trimmed to fit inside the strip.


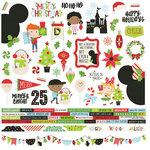
I clustered the papers to follow the look of the sketch,but not covered the entire page with the strips.  Instead, i chose to just cover half of the page, and used the empty space to add my title using a combination of alphas from Pebbles and Pink Paislee.   The embellishment phrases come from the Simple Stories Say Cheese Christmas collection.


I love how this turned out, and how nicely the paper strips bring the focus of the page to the picture of my goddaughter.

Remember to stop by Scrapbook Nerd to check all the materials used in this page.  If you have questions on how it came together,please do not forget to contact me!

XO


Materials used:

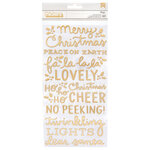
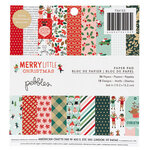
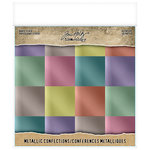
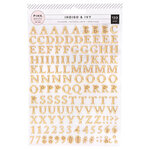
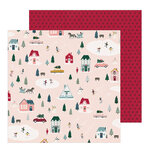
Pebbles - Merry Little Christmas Collection - Thickers - Puffy with Foil Accents Pebbles - Merry Little Christmas Collection - 6 x 6 Paper Pad with Foil Accents Crate Paper - Heritage Collection - 12 x 12 Specialty Paper - Gratitude with Gold Glitter Accents Idea-ology - Tim Holtz - 8 x 8 Kraft Stock - Metallic - Confections Altenew - Dies - Bundle Of Joy Lawn Fawn - 8.5 x 11 - Specialty Clear Acetate - 5 Pack Simple Stories - Say Cheese Christmas - Combo Sticker Pink Paislee - Indigo and Ivy Collection - Puffy Vinyl Stickers with Foil Accents - Alpha American Crafts - All The Good Things Collection - Mediums - Glaze - Gold Ranger Ink - Tim Holtz - Distress Oxides Ink Pads - Peacock Feathers Ranger Ink - Tim Holtz - Distress Oxides Ink Pads - Cracked Pistachio Crate Paper - Snowflake Collection - 12 x 12 Double Sided Paper - Village

Nov 14, 2019

Altenew November 2019 Gradient Cardstock Release Blog Hop + Giveaway


Hi there!
Welcome to the Altenew November 2019 Gradient Cardstock Release Blog Hop + Giveaway.   You are arriving from Laura Jane's blog  ( a list of all the participants is available at the bottom of this post).


Today, I am so excited to join this blog hop as Altenew is releasing a set of Gradient Cardstock  that will make your die cut florals just that much easier to create.   The new cardstock has been designed to match the colors of the Altenew Inks and are perfect not just for florals, but titles, sentiments, etc.  Let me show you!


I am working on my Gratitude journal at the moment, so i used the cardstock to create entries for it.  In this first layout, i used the Virginia Rose 3D die and the Sea Shore, Shades of Purple and Green Meadows gradient cardstock bundles.


I used the Sea Shore and Shades of Purple along with the Virginia Rose to florals, and then cut the leaves from some of the Sea Shore and Green Meadows cardstock.  I clustered them all on the page as to form my own textured patterned paper, and then added a simple label with a the title of the page.


For my next entry I used the Summer Afternoon, Red Cosmos and Green Meadows along with the Layered Rose Die set to create the embellishments for this layout.  This time i tried a few combinations of the cardstock to layer my florals.


I clustered the floral die cuts at the corners of the page as to help frame the pictures on the pages.   I used the Bold Bunch Stamp set to  heat embossed the title to the picture.


I used the same cluster configuration to frame the journaling on the page -which was mounted on a paper from the Our Family collection-.  Then finished the page with a sentiment from the new Across the Pond stamp set.   Super simple and vibrant idea for this page.


For my next project, i chose a monochromatic approach to my simple layout.  I used the Sea Shore Cardstock bundle and the new Fancy Thanks Die for this layout.


I cut the word Thanks once out of three of the papers in the Seashore  cardstock pack and glued them to the top of the layout so that they show the gradient in color as they approach the picture. I created a pocket behind the photo and used a PL Card to add my journal.


For my last layout, i chose to create a rainbow for my page, and showcase it with a large title.   For this i used all the Gradient Cardstock sets, the Bold Alpha die set, the Magnolia Heart and the Half tones Nesting Hearts Die sets.


Unfortunately, there was an issue with my camera  and the video was damaged so i cannot show you how i created this page ( my apologies), but i started by chosing two cardstocks from each pack to create a rainbow.  Then cut 0.5" strips and glued them to white carstock.  I used the Bold Alpha die set to cut the word "THANKFUL" from the rainbow paper.


I used a paper from the Our Family collection for the background, and set the picture and title in place.   Then decided to work on creating embellishments. For this, i cut 1/8" strips of the same cardstock, and glued them all in a rainbow order.   I cut hearts using the Magnolia Heart and Halftones Nesting die sets.


I arranged the smaller hearts so that they resemble a cascade of hearts surrounding the picture and embellished with a few clear stickers.   Just love how easy it was to build all of these pages using the new Gradient cardstock packs.

Now it is time for the fun part of this blog... GIVEAWAY

To celebrate this release, Altenew is giving away a $30 gift certificate to 6 lucky winners! Please leave a comment on the Altenew Card Blog and/or Altenew Scrapbook Blog by 11/20/2019 for a chance to win.

We’ll also draw a winner to receive a $15 gift certificate from the comments left on each designer’s blog on the blog hop list below. All winners will be announced on the Altenew blogs on 11/23/2019.


Good Luck everyone!

This is all for me today  - my apologies for the video malfunction-  and now it is time to hop onto Therese's blog and be inspired by her work... remember you can start the loop at the Altenew Card Blog or the Altenew Scrapbook blog, or come back here to start the loop.  A list of all the participants has been for your convenience.


Nathalie DeSousa <<< you are here


That is all for  me!  Thank you so much for joining me, I hope you are inspired to check the new Gradient Cardstock and get to work projects of your own.  If you have questions on how these came together, please do not hesitate to contact me.

XO